Adoption is climbing. A 2023 systematic review tracked a steady rise in multi-material additive manufacturing research output from 2017 through early 2022, a signal of growing engineering and manufacturing interest rather than a market-share figure.
Here's the catch: many buyers confuse multi-material printing with multi-color printing. That mix-up leads to the wrong hardware purchase, mismatched material pairings, wasted filament, and failed prints. This guide walks through how true multi-material printing actually works, from digital model setup through material switching, bonding, and post-processing.
Key Takeaways
- Multi-material printing mixes materials with different properties; multi-color only changes appearance
- Printer, slicer, material profiles, and part design must align on temperature, flow, cooling, and bonding
- Single-nozzle, dual-extruder, and tool-changing systems trade waste and reliability differently at each material switch
- Most common uses: soluble supports, rigid-flexible parts, and integrated multi-material components
What Is 3D Printing Multiple Materials?
Multi-material 3D printing is the controlled placement of two or more different materials within a single build. Each material gets assigned to specific regions, layers, interfaces, or support structures, based on what that section of the part needs to do.
This delivers functional variety in one part. A single print can combine:
- Rigidity in structural sections and flexibility in hinge or grip areas
- Impact resistance on outer surfaces with softer cores
- Chemical resistance or heat tolerance where needed, standard material elsewhere
- Conductivity, transparency, or color variation for visual or functional signaling
- Removable support material that dissolves or breaks away after printing
This differs from multi-color printing. Printing a model in five shades of PLA changes how it looks. Printing a rigid PLA shell around a Nylon wear surface, or building a part with a water-soluble support inside it, changes how it performs.
UltiMaker draws the same distinction between appearance-only color swaps and true multi-material builds that change part performance.

What Multi-Material Printing Isn't
It's not a free-for-all. Not every material combination bonds, and not every material runs through the same nozzle or temperature profile. A material rated for 280°C extrusion can't share a hot end with one that degrades above 210°C without careful process control.
Common material categories used across multi-material workflows include:
- Thermoplastic filaments — PLA, ABS, PETG, Nylon
- Flexible materials — TPU and rubber-like elastomers
- Soluble or breakaway supports — PVA, Ultimaker Breakaway
- Composites — carbon-fiber or glass-filled blends
- Resins and photopolymers — used in material-jetting and vat photopolymerization systems
Always verify compatibility against your specific printer platform before assuming two materials can share a build.
The process itself also changes by technology. FDM/FFF systems switch or route filaments through nozzles.
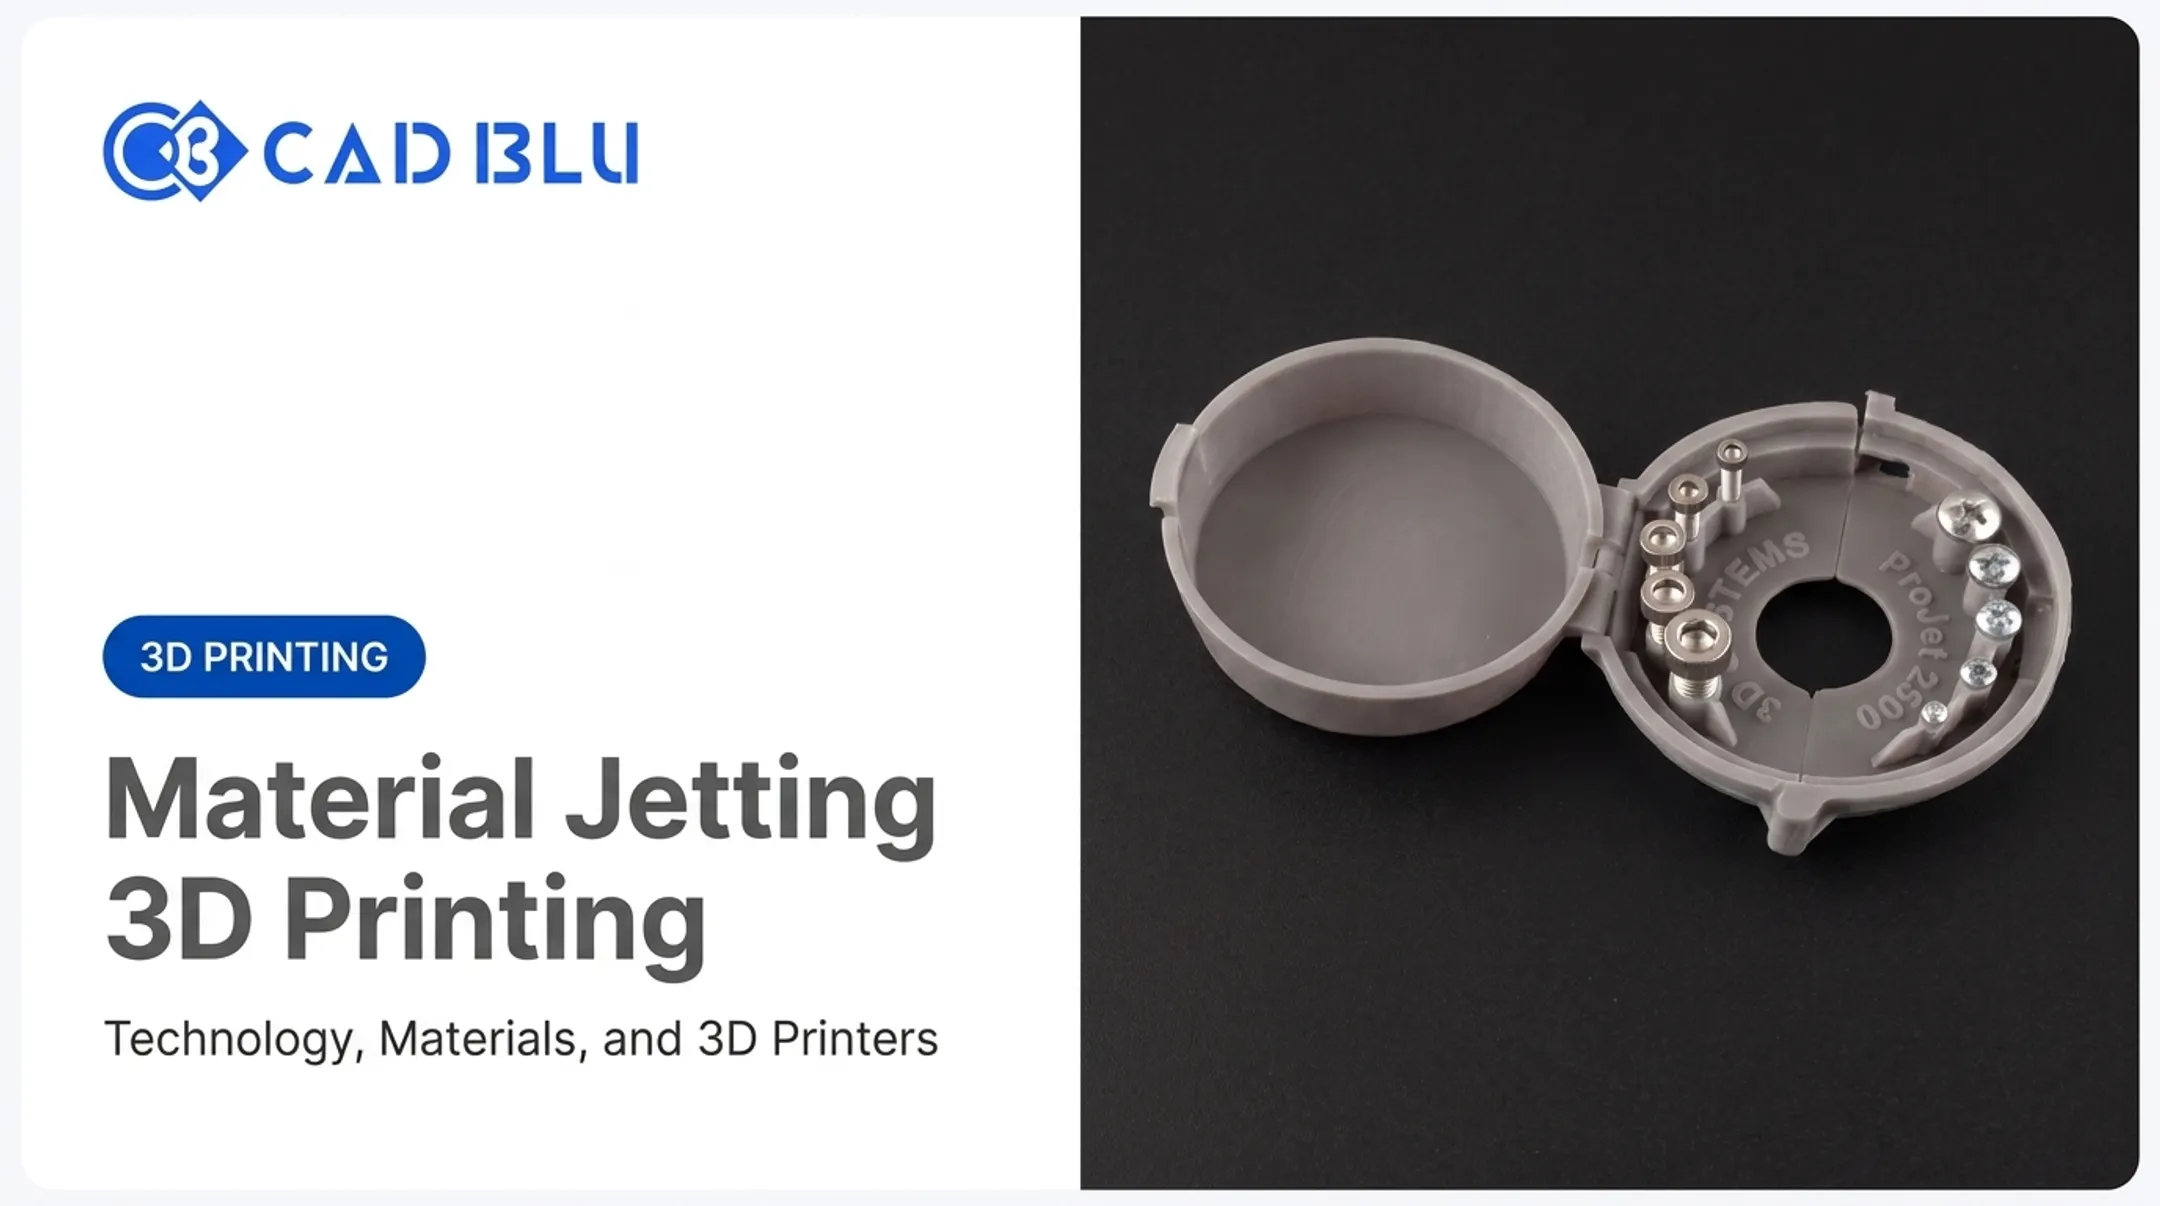
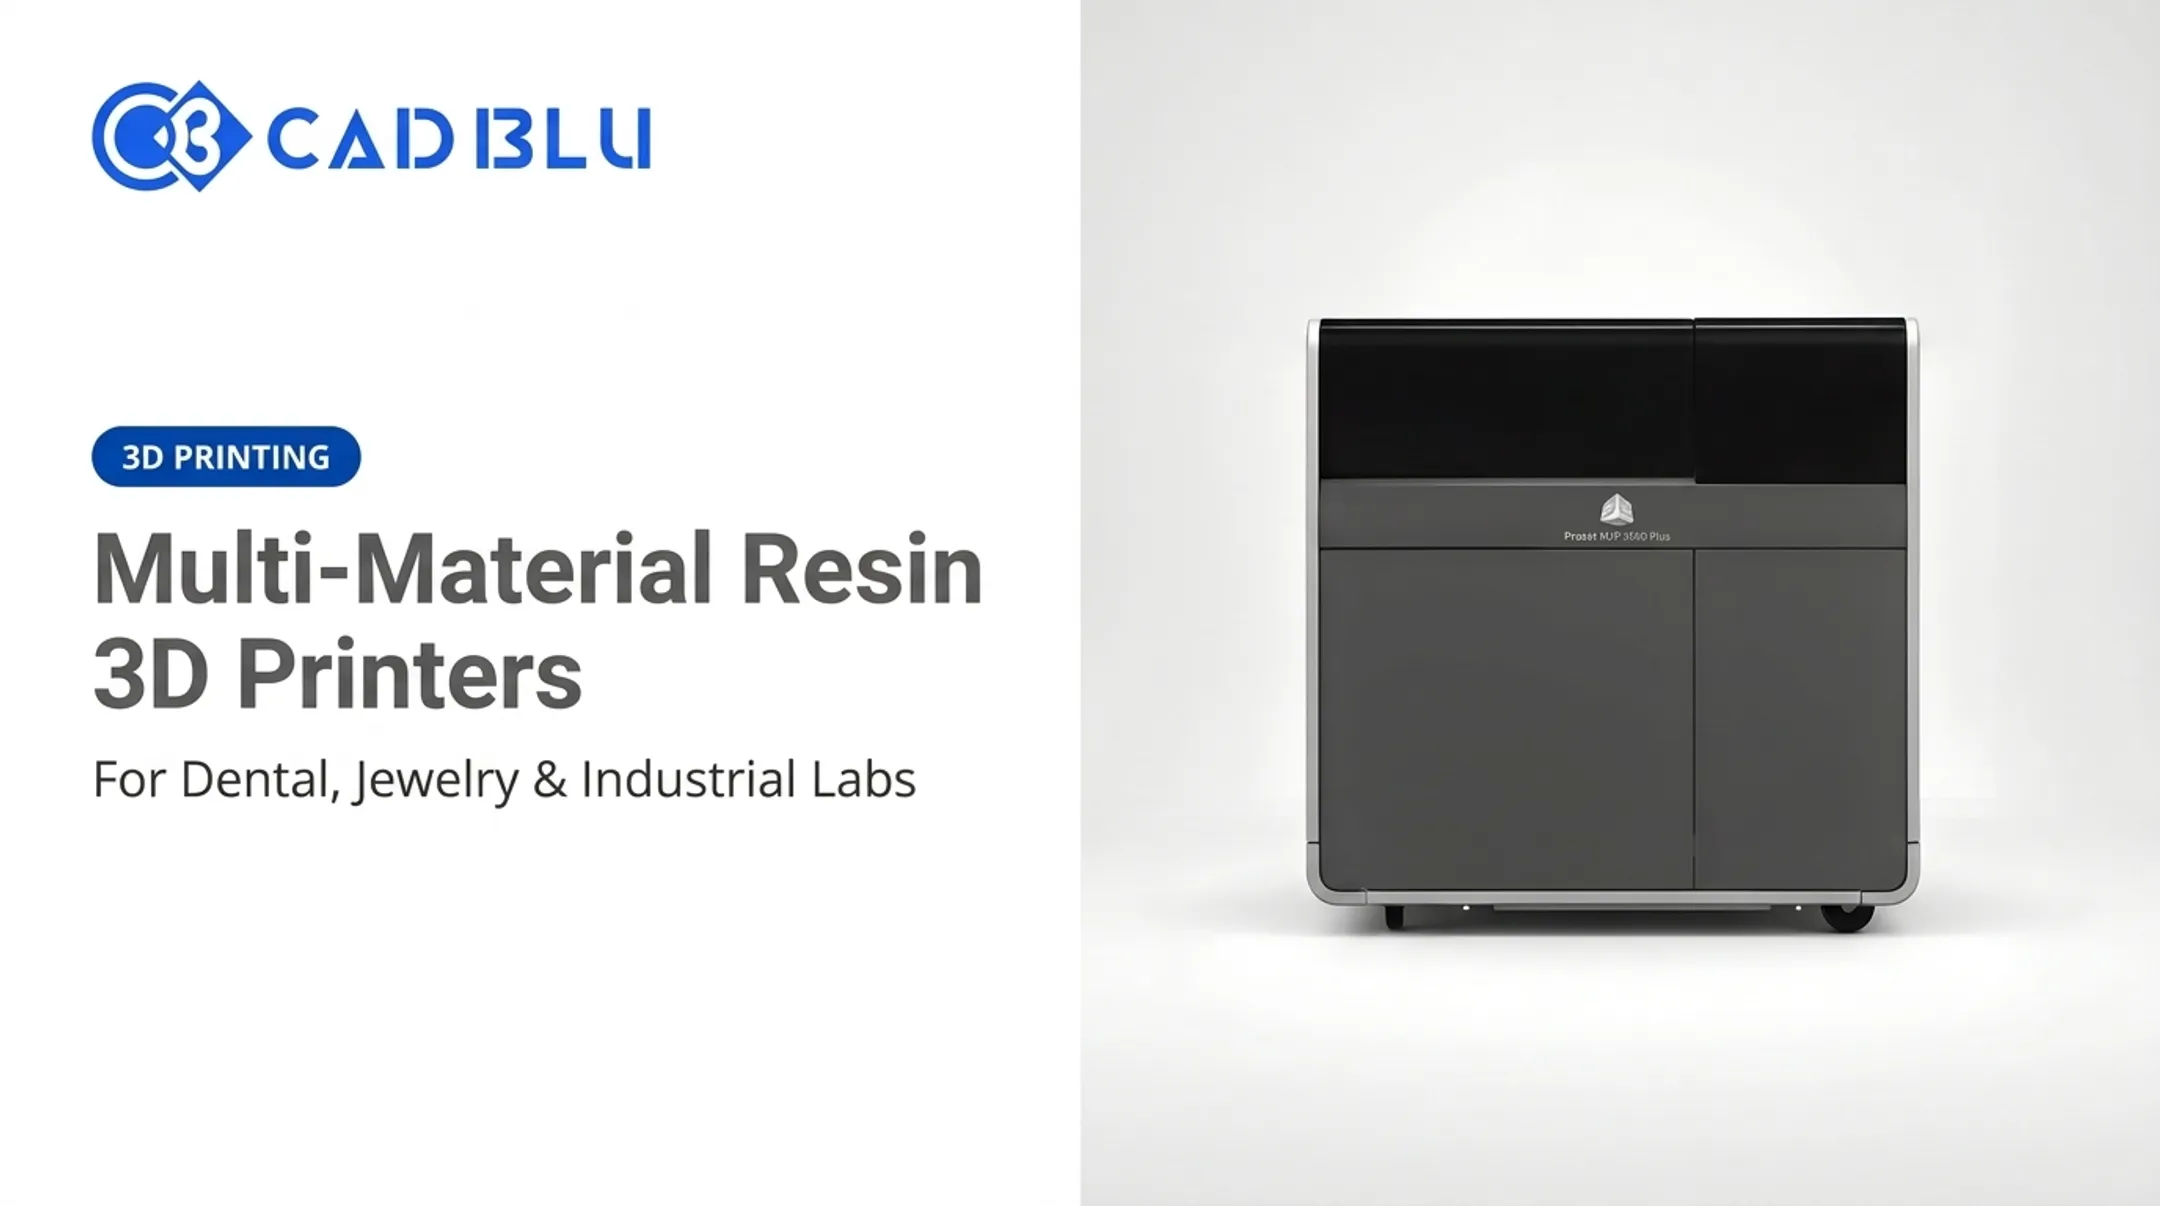
Material-jetting systems, like PolyJet, deposit different photopolymers through separate channels and cure them with UV light as they go. Some resin-based workflows use multiple vats or dynamic fluid-delivery systems to introduce a second material mid-print.
How Does Multi-Material 3D Printing Work?
The process runs as a sequence: a multi-material digital model goes in, and a finished part with distinct material regions, bonded interfaces, and removable supports comes out. Four stages make that happen.
Initiation: Preparing the Model
Multi-material printing starts in CAD or 3D modeling software, where the model gets separated into material regions or individual bodies. A designer might model a phone case as two separate bodies: a rigid shell and a flexible bumper.
From there, the file moves into slicing software, where the operator:
- Imports the multi-body model
- Selects validated material profiles for each material
- Assigns each body, surface, or support structure to a specific extruder, toolhead, or material channel
- Configures shared settings like support material and wipe/purge structures
PrusaSlicer, for example, lets users assign different print features, including perimeters, infill, and support material, to different extruders directly from the object list.
Not every slicer works the same way. File formats and settings vary by platform, so confirm your slicer's multi-material workflow before you commit to a build.
Core Operation: How Materials Get Deposited
Once the model is sliced, the printer deposits, jets, cures, or fuses each material layer by layer, following the toolpath the slicer generated. How that happens depends heavily on the hardware:
| Hardware Approach | How It Works | Trade-Off |
|---|---|---|
| Single nozzle, filament switching | One nozzle changes between materials mid-print | More purging required; longer print times when temperatures differ significantly |
| Dual/independent extruders (IDEX) | Two nozzles operate independently, with the idle one parking away from the part | Reduces oozing and cross-contamination; more moving parts to maintain |
| Tool-changing / multi-head systems | Separate tools or nozzles maintain full material separation | Better for incompatible material pairs; higher hardware complexity and cost |
Independent material paths matter most when materials need genuinely different processing conditions. Polymaker, for instance, recommends a two-nozzle setup like IDEX or a tool changer specifically for its PVA support material, warning that running two materials through one nozzle risks clogging.
Newer platforms bake more of this control into the hardware. The UltiMaker Factor 4, for example, uses a dual-extrusion direct-drive print head with swappable print cores rated from 280°C up to 340°C depending on the core.
The ARGO 500 takes a similar path: a double extruder with automatic calibration between nozzles.
During a material switch, the printer retracts or unloads the current filament, then loads the next one. It purges leftover material through a prime tower or waste structure, parks or cleans the nozzle, and resumes the print.

Regulation and Control: Keeping Materials in Line
Calibration is the control layer that keeps multi-material prints reliable. The printer and slicer jointly regulate:
- Temperature and extrusion rate per material
- Cooling behavior and fan speeds
- Nozzle offsets and layer height
- Bed adhesion settings
- Material-change and purge commands
Purge towers, wipe structures, and prime lines stop one material from contaminating another. UltiMaker Cura, for example, uses prime towers to purge excess filament and ooze shields to catch stray material before it reaches the part. Skip or misconfigure these, and you get weak interfaces, stringing, or clogged nozzles.
Contamination control is only half the story. Moisture is another process variable that quietly ruins adhesion. Materials like Nylon and PVA are notably hygroscopic:
- Nylon (BASF Ultrafuse PA): requires drying at 70°C for 4-16 hours and dry storage at 15-25°C
- TPU: needs drying at 70°C for at least 5 hours before use
- PVA supports: highly hygroscopic; Polymaker recommends dry-box storage and 80°C drying for 12 hours if moisture is absorbed
Skip drying on a moisture-sensitive material, and surface quality and layer adhesion both suffer, regardless of how well the rest of the print is calibrated.
Bonding works two ways: chemical adhesion between compatible materials, or deliberately weak adhesion for supports meant to come off. Ultimaker PVA, for instance, bonds well to PLA and Nylon specifically so it releases cleanly once dissolved.
Output and Result: What You Get, and What Goes Wrong
What leaves the printer depends on the design: distinct material regions, bonded interfaces, removable supports, or embedded features.
Post-processing depends entirely on the materials used:
- Soluble supports get dissolved in water or a solvent bath
- Breakaway supports get snapped or peeled off by hand
- Resin parts get washed and post-cured
- Multi-material interfaces often need inspection for gaps or weak bonding
In a documented Stratasys case study, Kärcher combined rubber-like Agilus with rigid Vero—sometimes up to six materials in one build—to prototype parts with both soft and hard properties. The company reported shorter design cycles and faster validation of function and durability.
Common failure points to watch for:
- Incompatible material pairs that never bond
- Excessive purge volume wasting material and time
- Nozzle contamination from residual material
- Moisture-related surface defects
- Incorrect or unvalidated slicer profiles
- Poorly designed interfaces between material regions
Where 3D Printing Multiple Materials Is Used
Multi-material printing shows up wherever a single part needs to do more than one job. Typical workflows include prototyping, tooling, support generation, low-volume production, and inspection models.
It earns its keep most clearly in these conditions:
- Parts needing both stiffness and flexibility in different zones
- Complex overhangs or internal cavities that need removable support
- Integrated grips, seals, or soft-touch areas on an otherwise rigid part
- Localized use of a higher-performance (and higher-cost) material
Three design patterns cover most real applications:
- Rigid body, flexible grip or hinge: a structural shell with a soft-touch or hinged section built in
- High-performance shell, standard-material core: reserving expensive material for surfaces that need it
- Soluble or breakaway support for complex geometry: enabling shapes that would otherwise require assembly

Dental is one of the more concretely documented verticals here. NextDent's platform, for one, uses digital shade mixing to jet custom-color, multi-material dentures as a single piece, no assembly required.
Stratasys has also introduced multi-material anatomical model presets that reproduce the feel of bone, teeth, nerves, and soft tissue for dental training, a use case covered in TCT Magazine as recently as 2026.
Before adopting a system, weigh the limitations honestly:
- Material compatibility isn't guaranteed across brands or even product lines
- Different processing temperatures may rule out certain pairings entirely
- Moisture-sensitive materials add drying steps to your workflow
- Purge waste and slower changeovers affect both cost and throughput
- Tool-changing and independent-extruder hardware costs more upfront
- Calibration and validated material profiles take time to establish
This is where working with a specialist pays off. CAD BLU supplies commercial 3D printers, materials, and software, along with installation, workflow optimization, repair, and ongoing support for organizations across jewelry, dental, medical, aerospace, automotive, industrial, and education.
If you're matching hardware architecture to a multi-material application, or building a turnkey digital manufacturing workflow from scratch, a team that works these tradeoffs across industries can help you decide.
Conclusion
Multi-material 3D printing works when five elements stay in sync:
- Digital material assignments
- Compatible hardware
- Calibrated process settings
- Well-designed material interfaces
- Post-processing matched to each material
Miss any one, and you get weak bonds, wasted material, or a failed print.
The right system depends on what you need:
- Color variation — a simple multi-color setup
- Removable supports — soluble or breakaway materials matched to your build material
- Rigid-flexible or production parts — independent extruders or tool-changing hardware with tighter calibration
Before a long or production-scale build, run small test prints and check manufacturer data for your material pairing. If you're evaluating equipment, materials, or workflows for a multi-material application, CAD BLU's team can help you match the setup to your requirements.
Frequently Asked Questions
Can you 3D print with multiple materials?
Yes, using compatible dual-extruder, tool-changing, multi-head, material-jetting, or other specialized systems. The result depends heavily on material compatibility and the printer's specific architecture.
Can a 3D printer print multiple items at once?
That's different from multi-material printing. Printing several separate objects in one build depends on build volume and slicer setup, not on material switching within a single object.
What materials can you use in 3D printing?
Common options include PLA, PETG, ABS, Nylon, and TPU filaments, plus soluble supports like PVA. Resins, composites, and metals are also used, depending on the printer and process.
What are SLA, SLS, and FDM?
SLA cures liquid resin with light, SLS fuses polymer powder with a laser, and FDM/FFF extrudes thermoplastic filament. Multi-material capability varies by process and machine design.
What is safer, PLA or PETG?
Neither is inherently "safer" in general terms; it depends on exposure, ventilation, temperature, and intended use. Both require dry, cool storage, and PETG's strong bed adhesion needs careful handling during removal.