Final appearance depends on the resin chemistry, part geometry, print orientation, surface condition, and post-processing. Skip any one of these, and a technically transparent material can print looking frosted, hazy, or cloudy.
This article breaks down clear SLA materials, where they're used, what actually drives optical clarity, and how US-based engineering and design teams can choose a resin and finishing workflow that matches their application, not just the marketing name on a product page.
Key Takeaways
- Clear SLA prints range from hazy translucence to near-glass transparency based on material and finishing choices.
- Resin selection matters, but sanding, coating, and design decisions influence final clarity just as much.
- Optical, medical, and fluid-contact applications require documented validation, not just a "clear" label.
- Testing representative coupons beats trusting a catalog photo every time.
What Is a Clear SLA Print?
Stereolithography cures liquid photopolymer resin layer by layer using a light source, typically a laser or projector. Because the process works with liquid resin rather than extruded filament, SLA produces isotropic, watertight parts with fine detail and smooth surfaces compared to most other 3D printing methods.
That said, "clear" doesn't mean one thing. It helps to separate three terms:
- Translucent — light passes through, but internal details stay obscured
- Transparent — objects behind the part are recognizable, though some distortion remains
- Optically clear — visual distortion and surface scattering drop low enough for lens-like or glass-like use
Why As-Printed Parts Look Frosted
A resin can be fully transparent chemically and still come off the printer looking cloudy. Formlabs's guide to transparent 3D printing notes that clear resin parts often leave the printer with a frosted appearance. Residual layer lines and micro-scratches stay visible at shallow viewing angles even after finishing. This is surface scattering, not a flaw in the underlying polymer.
Clear SLA vs. Clear PLA
Clear or translucent PLA filaments exist too. Bambu Lab's PLA Translucent product, for instance, is built around a frosted, light-diffusing finish designed for lampshades and decorative lighting rather than transparency.
Fused filament printing's layer-line structure tends to limit how transparent a finished part can become, even with post-processing. A well-finished SLA print starts from a smoother baseline surface. Neither process is universally "better"; the right choice depends on the application and required clarity level.
Clear SLA Print Materials
Clear and translucent SLA resins fall into a few practical categories, and choosing between them means looking well past the word "clear" on the label.
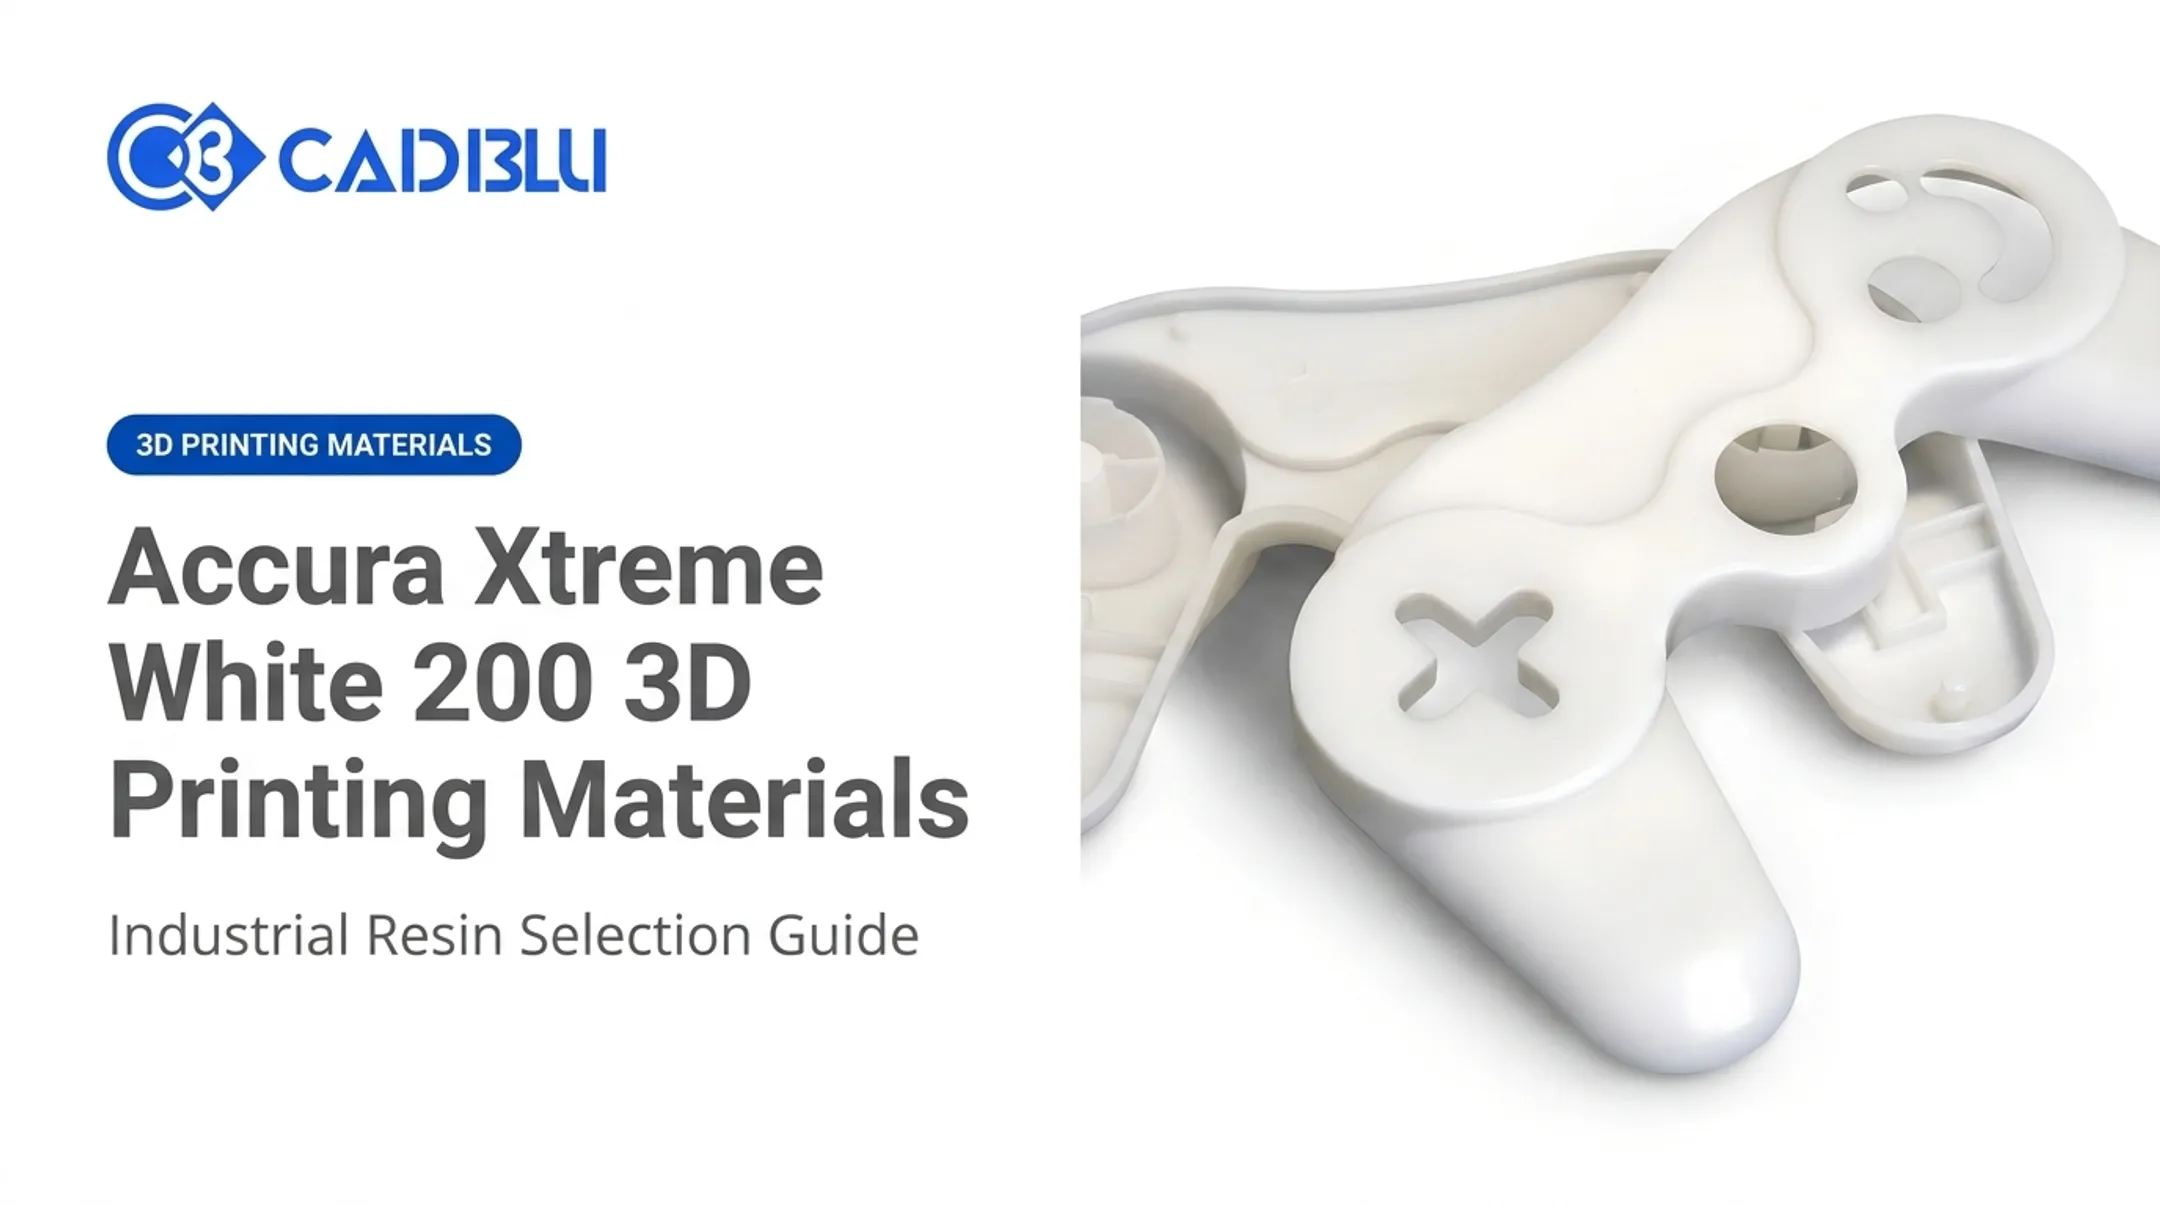
General-purpose clear resins cover most visual prototyping needs: housings, display models, packaging concepts, and parts meant to reveal internal components. 3D Systems' Accura ClearVue is marketed as one of the clearest, most colorless materials available. It is formulated for fine detail and a smooth surface finish, and used across consumer goods, automotive, and aerospace prototyping.
Flexible or elastic translucent materials trade maximum transparency for softness and stretch. Formlabs' Flexible and BioMed Flex resin lines are translucent rather than fully clear. They prioritize elongation and Shore hardness values suited to gaskets, seals, and rubber-like components.
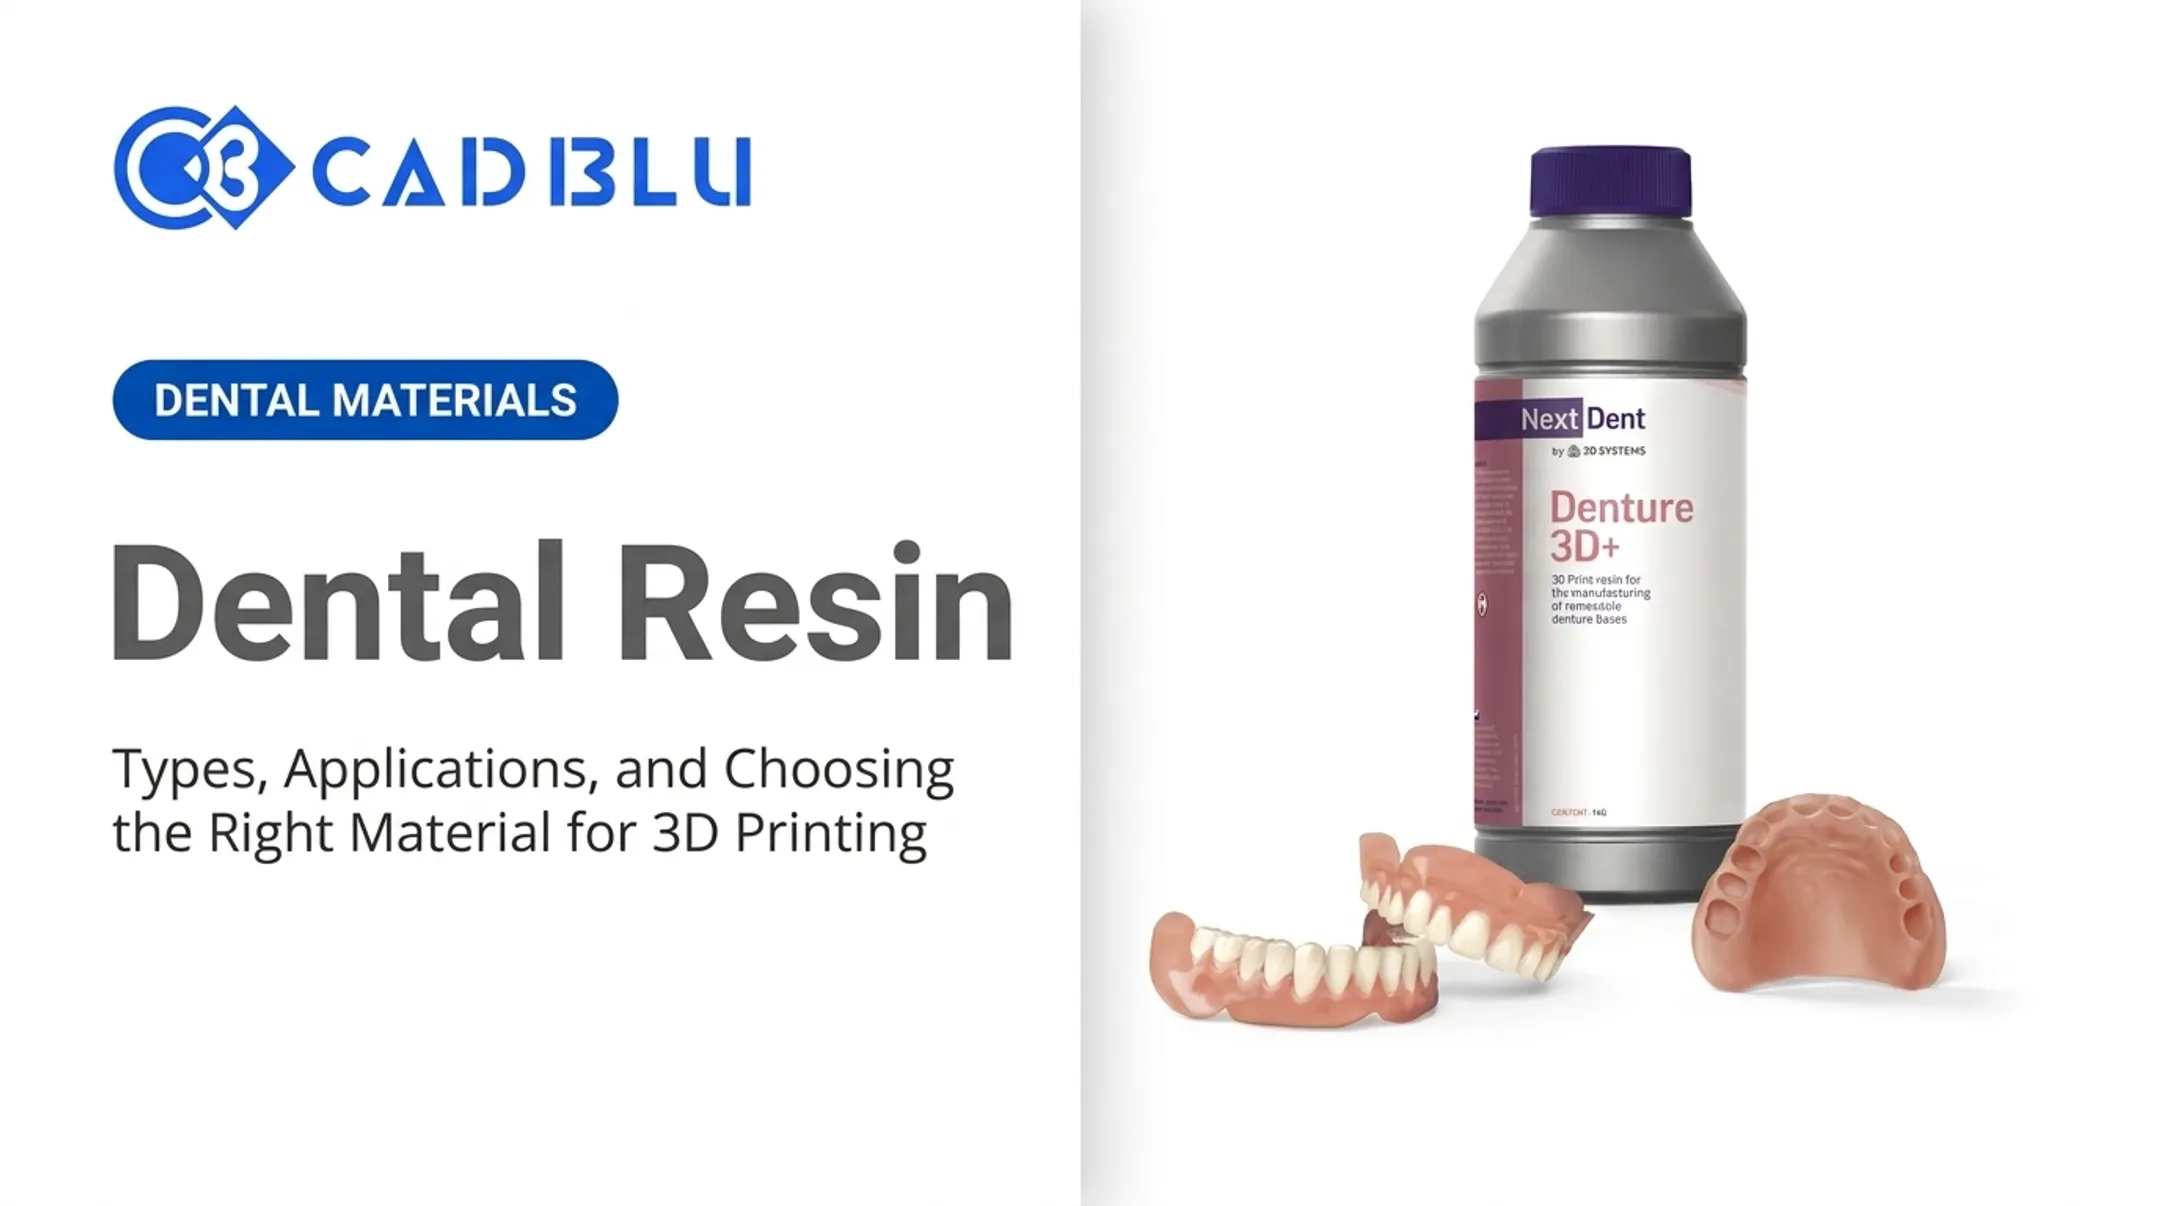
Biocompatible clear materials need a separate evaluation. NextDent's biocompatible grades carry CE marking under Medical Device Directive 93/42/EEC and FDA listing. That certification holds only under specific conditions: an approved material, printed on an approved printer, and post-cured exactly as specified.
Swap in a different printer or skip the validated post-cure cycle, and the biocompatibility claim no longer holds.
Material Comparison at a Glance
| Application Need | Priority Characteristics |
|---|---|
| Visual models & presentation parts | Surface finish, color stability, ease of finishing |
| Light pipes, lenses, windows, fluidics | Haze/transmittance data, dimensional accuracy, chemical compatibility |
| Flexible components | Elongation, Shore hardness, tear resistance |
| Medical/dental models & devices | Documented biocompatibility, validated printer/post-cure combination |
Color and cure behavior also affect perceived clarity over time. UV exposure can cause yellowing or unintended post-curing in clear resins, which is why manufacturers recommend keeping UV-curable materials sealed and away from direct sunlight until use.
A resin that looks water-clear on day one may shift in tone after months of light exposure. Test that behavior before committing to a production run.
A "clear" designation on a product page is a starting point, not a spec. The finish you need, the part's wall thickness, its exposure conditions, and its intended use should all drive the decision — always confirmed against the current technical data sheet from the resin manufacturer.

Teams evaluating printers, resins, or a full additive manufacturing workflow for clear parts often benefit from a second set of eyes here. CAD BLU works with businesses on equipment, material, installation, and workflow decisions so the resin, printer, and post-cure setup all line up with the validated process a given application requires.
Applications for Clear SLA Prints
Visual and Functional Prototyping
Product housings, bottle concepts, enclosures, and window prototypes are the most common entry point for clear SLA. When the goal is just confirming fit or showing a concept internally, a translucent, as-finished part is often enough. When the part needs to look presentation-ready or photograph well, the extra sanding and coating labor becomes worth it.
Optical and Light-Management Parts
Light pipes, diffusers, lenses, prisms, and LED covers are common Accura and Formlabs application examples. Optical performance still depends on geometry, surface quality, and dimensional accuracy, not just how clear the resin looks on a shelf. A lens geometry that isn't validated for focal length or transmittance can look perfect and still fail in application.
Fluidics and Flow Visualization
Transparent walls let engineers watch flow paths directly instead of guessing from sensor data. 3D Systems reports clear SLA parts used for automotive engine cylinder-head oil-coverage testing and heavy-equipment air-filter visualization. Seeing fluid movement in real time speeds up design iteration. Trapped bubbles, internal resin residue, and surface roughness all need checking before trusting what you're seeing through the wall.
Medical, Dental, and Anatomical Models
Clear and translucent models help surgeons and technicians visualize anatomy before a procedure. 3D Systems has reported using ClearVue for patient-specific heart and aortic-branch models built for surgical preparation (a manufacturer-reported example, not an independently validated clinical outcome).
One distinction matters more than any other here: a visualization model is not the same thing as a patient-contact device. NextDent's biocompatible grades are cleared for specific patient-contact uses only when printed and post-cured exactly to specification. General-purpose clear resins, no matter how good they look, are not automatically suitable for anything touching a patient.
Other Common Use Cases
- Jewelry and investment casting: clear resin lets technicians inspect mold cavities and alignment pins during casting
- Industrial and automotive lighting: headlight, turn-signal, and brake-light prototypes for form and fit review
- Aerospace: functional prototypes and wind-tunnel test components
- Education: teaching models for engineering and design courses
When Clear SLA Isn't the Right Call
Skip clear SLA when a project needs certified optical performance, extreme outdoor UV durability, sustained high-temperature service, or production-grade glass-like behavior. These situations usually call for injection-molded acrylic, polycarbonate, or an application-specific material qualified against the relevant industry standard.

What Determines Optical Clarity?
Four factors decide whether a clear resin print ends up looking like glass or like frosted plastic: geometry, orientation, the wash/cure process, and finishing method.
Geometry and Wall Thickness
Internal scattering gets worse with abrupt thickness changes, sharp corners, enclosed cavities, and inconsistent wall sections. Design critical transparent surfaces so they stay accessible for sanding and coating later — a beautiful internal channel does no good if nobody can reach it to polish it.
Build Orientation and Supports
Layer direction and support contact points directly affect how much finishing a part needs. Support scars increase sanding work, and orienting critical faces away from supports makes polishing considerably easier. No single orientation is always best for clarity, so test a few options on any part where clarity matters before committing to a full print run.
Washing and Post-Curing
Wash and cure mistakes show up fast on clear parts:
- Incomplete washing leaves resin residue that dulls the surface
- Curing before a spray coating step can cause yellowing or dimensional shift
- Wrong cure time or temperature can change final mechanical properties
Follow the resin manufacturer's current instructions for solvent choice, wash duration, and cure time and temperature. These parameters vary by material and change with manufacturer updates.
Finishing Options Compared
| Finish Level | What It Involves | Best For |
|---|---|---|
| Standard | Support removal, minor touch-up | Geometry checks, basic visual models |
| Frosted/satin | Controlled sanding or blasting | Diffused light, reduced visibility applications |
| Quick clear | Clear coating over as-printed surface | Faster turnaround, retained print texture |
| High-clarity | Progressive sanding, polishing, coating | Glass-like appearance requirements |
Each step up in clarity costs more labor and carries trade-offs. Extended sanding can soften sharp edges and erase fine detail. Coatings add thickness and can change scratch resistance and UV stability over time.

Formlabs recommends starting wet-sanding at roughly 800 grit and working up to 1,200 grit or finer, then optionally applying two to three thin coats of clear coating in a dust-free space.
Before approving any clear part, check it under consistent lighting against the intended viewing distance. Look specifically for bubbles, scratches, cloudiness, trapped resin, coating defects, and dimensional changes.
For measured performance instead of a visual check, ASTM D1003-21 defines standard methods for luminous transmittance and haze. Use it when a project needs documented optical data, not an eyeball call.
No finishing method turns a resin print into glass, injection-molded acrylic, or a certified optical component on its own. Application-specific testing is still required, no matter how good the part looks on the bench.
Choosing a Material and Finishing Workflow
Work through these steps in order rather than starting from a resin name:
- Define the actual goal. Translucency, visual transparency, light transmission, internal visibility, and true optical performance are five different targets—and each needs a different solution.
- List mechanical, thermal, chemical, and regulatory requirements. Rigidity, heat exposure, chemical contact, and biocompatibility needs narrow the material list fast.
- Select a resin using current manufacturer documentation. Use the current data sheet—not last year's version or a reseller summary.
- Design for accessible finishing. Choose an orientation and geometry that protect critical transparent surfaces during sanding and coating.
- Pick the simplest finish that meets the requirement. Then validate it on a real sample before scaling up.
Test coupons matter more than catalog photos. A sample that matches your wall thickness, geometry, orientation, and finishing process tells you far more than a marketing image.
Even strong published data is geometry-specific. 3D Systems' Accura ClearVue testing reports 4.3% haze and 87.2% luminous transmittance at 0.495 mm—values tied to that specimen and finish, not a guarantee for every part shape.
Bring in an additive manufacturing specialist when the workflow carries more variables than trial and error can absorb:
- Moving from prototype runs into production adoption
- Working with biocompatible or fluid-contact materials
- Designing complex optical paths
- Building a repeatable multi-part finishing process
In these cases, a documented, validated process matters more than ad-hoc tuning.

CAD BLU works with dental, medical, jewelry, industrial, and prototyping teams to match printers, resins, software, and post-cure equipment to the clarity and performance targets at hand. Support covers installation, workflow optimization, and technical help as programs move from prototype to production.
Frequently Asked Questions
What does "SLA" mean in printing?
SLA stands for stereolithography, a 3D printing process that cures liquid photopolymer resin layer by layer with a light source. It's known for producing fine detail and smooth surfaces, which makes it a common choice for clear resin applications.
Is there such a thing as clear PLA?
Yes, clear and translucent PLA filaments exist, such as products with a frosted, light-diffusing finish. However, the filament-based layer structure typically limits how transparent the final part looks compared to a carefully finished clear SLA print.
Can SLA 3D prints be completely transparent?
Highly transparent results are achievable with the right resin, geometry, orientation, and post-processing. That said, true optical performance and glass-like clarity still require application-specific validation before use.
What is the best resin for clear SLA printing?
There's no single best resin — it depends on required clarity, flexibility, strength, heat resistance, chemical exposure, and regulatory needs. Always check the current manufacturer data sheet for the material you're considering.
How do you make a clear SLA print more transparent?
Thorough washing, correct curing, careful support removal, progressive sanding and polishing, and a suitable clear coating all improve transparency. Each resin has its own validated process, so follow the manufacturer's specific instructions rather than a generic routine.
What are clear SLA prints used for?
Common uses include transparent prototypes, internal-feature models, light pipes and lenses, fluidics prototypes, medical and dental visualization models, and packaging concepts where light transmission or visibility matters.