For U.S. dental practices, laboratories, prosthodontic teams, and technology buyers, this shift matters because crown production has to balance fit, occlusion, strength, esthetics, biocompatibility, and repeatability, all while meeting applicable regulatory requirements. "3D-printed crown" is a broad term. Provisional crowns, resin-based restorations, ceramic-filled materials, and emerging zirconia workflows each carry different indications and production rules.
This article breaks down how the workflow actually works, why practices are adopting it, where it fits (and where it doesn't), the quality factors that matter most, and what to watch for before you invest.
Key Takeaways
- Crown printers sit inside a full digital workflow: scan, CAD, materials, post-processing, and clinical checks
- Printing improves customization, select-case speed, and material efficiency versus milling
- Materials, calibration, curing, and training matter as much as the printer hardware
- Permanent crown use depends on material clearance, not on printing technology alone
- Milling still leads on strength and surface finish for many permanent restorations
What Is a Dental Crown 3D Printer and How Does It Work?
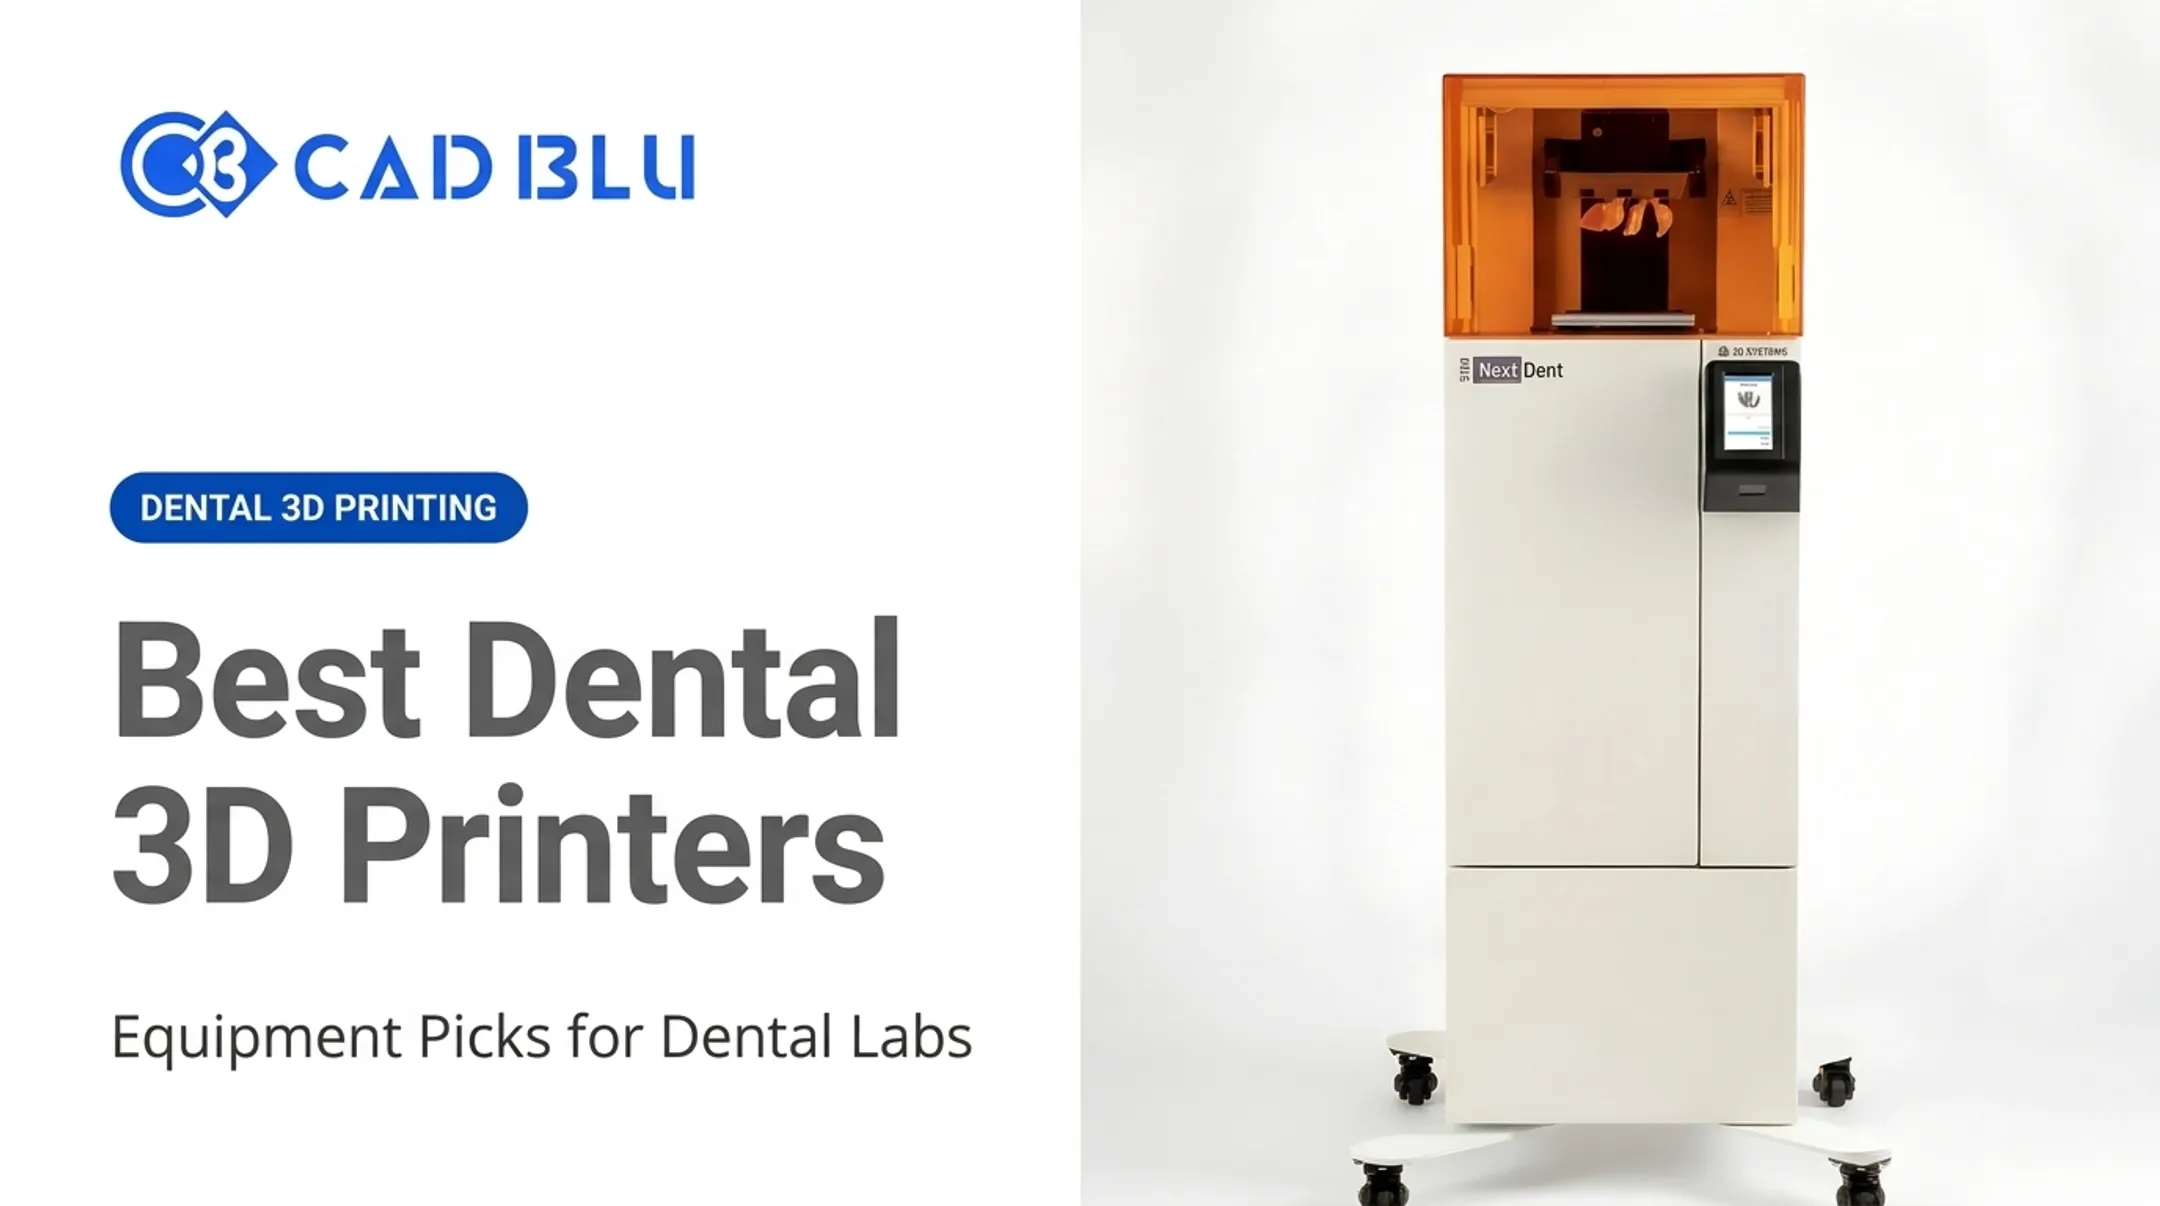
A dental crown 3D printer is a purpose-built additive manufacturing system that produces a crown or crown-related component from a digital model, typically using a light-curable dental resin. Systems like the NextDent 5100 combine hardware with a portfolio of validated materials, from crown-and-bridge resins to surgical guide and model materials, plus dedicated CAD software.
The printer has hard limits. It cannot fix an inaccurate scan, a flawed design, or an unsuitable material choice. It executes the file it's given. Garbage in, garbage out still applies here.
The Digital Workflow, Step by Step
The process runs through three main stages:
- Case capture and design approval — An intraoral or lab scan captures the prepared tooth, adjacent teeth, opposing arch, and bite relationship. CAD then sets margins, occlusal anatomy, proximal contacts, emergence profile, wall thickness, and cement space before approval.
- Printing — The approved design becomes a build file with orientation, supports, layer settings, and a material profile. On the NextDent 5100, for example, layer thickness options run 25, 50, 100, or 200 microns, with curing at roughly 3-8 seconds per layer at 100 microns depending on the resin.
- Post-processing and verification — Parts get washed, supports removed, then post-cured (often in a dedicated UV unit), followed by polishing, staining, and a fit check before anything reaches the patient.

Ceramic and zirconia workflows add extra steps entirely: debinding and sintering at high temperatures. A 2024 study on DLP-printed zirconia crowns tested sintering at up to 1600°C and reported density and process data specific to that lab setup. Those cycle times aren't universal across systems, so manufacturer instructions always take precedence.
Why Dental Practices and Labs Are Adopting 3D Printing
3D printing shortens certain production workflows by cutting dependence on physical models. A scan file can be reprinted months later without storing a physical cast, and multiple cases can be nested into a single build.
Adoption is no longer niche. The 2025 NADL Dental Technology Survey found that 72% of surveyed dental labs reported using an in-house 3D printer, the highest figure in the survey's history, with another 30% of nonusers planning to buy or lease one within three years.
What's Driving the Shift
- Customization from existing files: adjust anatomy, contacts, occlusion, and contours without rebuilding the case
- Material efficiency: a 2025 review reported 20% less waste for 3D-printed ceramic-reinforced composite versus its machinable equivalent (supports and failed builds still affect real cost)
- Workflow flexibility: labs batch mixed case volumes; practices gain more control over chairside turnaround
Printing and milling aren't interchangeable, though. Milling generally holds an edge in strength and surface finish for many permanent restorations, while printing tends to win on setup speed, nesting flexibility, and equipment cost for select indications.
Faster production doesn't mean same-day delivery, either. Scanning, design approval, printing, washing, curing, quality checks, and patient scheduling all add time.
A provider like CAD BLU works through that reality with customers directly. They match printer, material, and post-processing gear (such as the NextDent 5100 with an LC-3DPrint Box) to real case volume and workflow—not a speed promise that skips the steps in between.
Where Crown 3D Printing Fits — and Where It Doesn't
3D printing is well established for provisional crowns, diagnostic models, try-ins, surgical guides, occlusal appliances, and select permanent restorations when the material and workflow are cleared for that use. NextDent C&B MFH and CROWNTEC, for instance, are both marketed for permanent and temporary crown-and-bridge use as Class II biocompatible materials.
Lab vs. Chairside vs. Milling
| Setting | Where It Tends to Fit |
|---|---|
| Laboratory | Higher case volume, dedicated technicians, centralized QC, broader material choice |
| Chairside | Faster access to provisionals or appliances, less back-and-forth shipping |
| Milling/outsourcing | Specific strength needs, complex esthetic layering, zirconia workflows, or volume beyond printer capacity |
One clear limit today: direct 3D-printed zirconia crowns remain a research-stage application. A 2023 critical review describes 3D-printed zirconia as still "in its infancy", with clinical feasibility depending on unresolved production challenges. Don't treat it as routine commercial practice yet.
Before choosing a pathway, work through this checklist:
- What restoration type and material is actually indicated?
- Is the material regulatory-cleared for that specific use?
- Does expected case volume justify the equipment?
- What strength and esthetic profile does the case demand?
- Do you have the post-processing equipment and trained staff?
- What's the service and support response time?
- What's the total cost of ownership, not just the printer price?
If case volume is too low, staff can't manage post-processing consistently, or there's no maintenance plan in place, printing may cost more than it saves. In those situations, milling or outsourcing to an established lab often remains the more practical choice.
Key Factors That Affect Crown Quality and Clinical Suitability
Printer capability alone doesn't determine crown quality. Error risk sits in every layer of the workflow:
- Digital inputs: scan accuracy, margin capture, and bite registration drive final fit and occlusion
- Design parameters: wall thickness, contact strength, and cement space must follow the material maker's rules—not generic defaults
- Materials: provisional, permanent, ceramic-filled resin, and zirconia workflows differ in strength, wear, and translucency
- Printer control: calibration, vat condition, and build-platform stability shift outcomes between builds
- Post-processing: wash time affects internal and marginal accuracy; incomplete curing weakens strength and biocompatibility
- Quality assurance: margins, contacts, occlusion, and batch traceability need documented sign-off—not a quick visual check
A 2025 systematic review found printed resin-based composites generally showed lower fracture resistance and flexural strength than milled materials, largely due to filler content differences.
Those same process controls decide whether a biocompatibility claim still holds.
Regulatory Reality Check
Biocompatibility claims only hold when an approved material runs on an approved printer with the manufacturer-specified post-cure.
Substituting a non-validated curing unit or shortening the cure cycle voids the claim. That part should not go near a patient's mouth. NextDent, for example, requires its LC-3DPrint Box and LC-3D Mixer for its biocompatible crown-and-bridge grades.

Common Issues and Misconceptions
Not every resin printer produces a safe crown. Dental applications require compatible materials, validated parameters, and appropriate post-processing. A printer that handles jewelry wax or industrial prototypes isn't automatically suited to patient-contact parts.
A few misconceptions worth clearing up:
- A visually accurate print isn't proof of clinical performance. Strength, wear resistance, and long-term fit need separate validation.
- Higher resolution doesn't guarantee a better crown. Scanning, design, curing, and finishing all play a role together.
- Reported print times are misleading when they exclude design, washing, curing, and quality control. A 20-minute print can still mean hours of surrounding workflow.
- Regulatory clearance doesn't always mean clinical trial data exists. The FDA record for CROWNTEC, for instance, explicitly notes no human clinical testing was performed to support its substantial equivalence finding. Clearance and clinical evidence are two different things.
Common operational failures usually stem from staff training gaps rather than equipment defects:
- Contaminated resin
- Incorrect material profiles
- Poor support placement
- Under-curing
Pilot the workflow with representative cases and document outcomes before rolling it into routine patient care. Don't assume day-one results match the manufacturer's marketing.
Conclusion
A dental crown 3D printer connects digital scans and CAD designs to a repeatable additive workflow, but the printer itself is only one link in a longer chain. Material indication, process validation, post-processing, and staff capability matter just as much as the machine on the counter.
Printing can be highly effective for provisional crowns and select permanent restorations. For other cases, milling, conventional fabrication, or outsourcing may still be the smarter call. The right answer depends on the specific case, not a blanket preference for one method.
If your practice or lab is weighing a printer, material, or full workflow upgrade, CAD BLU supports dental customers across the U.S. with printer selection, materials, software, installation, and ongoing technical support. Reach the team at (212) 481-8700 or info@cadblu.com to talk through what fits your case volume and goals.
Frequently Asked Questions
How much does a 3D printed crown cost?
Patient price differs from production cost. Fees usually bundle scanning, design, lab labor, and adjustments. Material alone, such as NextDent C&B MFH at roughly $493.65 per kilogram, is only one line item beside equipment, labor, and post-processing.
How long does a 3D printed crown last?
Longevity depends on material, design, bonding, occlusion, and patient habits. A 2024 study of temporary printed crowns reported 98% survival over a mean 266 days, reflecting short-term provisional use rather than multi-year definitive data.
Are 3D printed crowns any good?
Yes, when validated materials and workflows are used for provisional and select permanent indications. Quality depends on the full process from scanning through post-curing, not the printer alone.
Can you 3D print a dental crown?
Yes, in materials and workflows cleared for that purpose, such as certain resin and ceramic-filled resins. Your dentist or lab needs to confirm the material's regulatory status and post-processing requirements before clinical use.