Introduction
Plaster models still fill cabinet after cabinet in dental offices across the country. They chip. They break in shipping. They take up shelf space that could go to something else.
Digital impressions, CAD software, and resin 3D printing are changing that equation. A scan replaces the impression tray, a design file replaces the pour-and-wait process, and a printer produces a physical model in hours instead of days.
The shift is already underway. A 2023 JADA survey found that 17% of surveyed dentists currently use a 3D printer, with 62% of those printer owners using it specifically for diagnostic models.
This article covers what 3D printed dental models actually are, how the scan-to-print workflow operates, and where the benefits and limitations sit. It also breaks down how to evaluate a printing setup, whether that means building an in-house workflow or partnering with a provider like CAD BLU.
Key Takeaways
- A 3D printed dental model is a physical replica generated from a digital scan through a CAD-to-print workflow.
- Model quality depends on every step: scanning, design, and material selection.
- Printer calibration, post-processing, and inspection are equally critical to the outcome.
- Advertised print speed and resolution matter less than the workflow surrounding them.
- Clinical teams must follow material manufacturer instructions and applicable U.S. dental requirements.
What Are 3D Printed Dental Models?
A 3D printed dental model is a physical object built from an intraoral scan, laboratory scan, or other approved digital source. Instead of pouring stone into an impression, a printer builds the model layer by layer from a digital file.
Getting from scan to physical object requires several design steps:
- Trim the digital arch to remove unnecessary scan data
- Add a base so the model sits flat and handles like a traditional cast
- Hollow the model, where appropriate, to save resin and reduce print time
- Orient the model on the build platform
- Place supports to hold thin or overhanging features during printing
- Slice the file into the layers the printer will actually build
Types of Models by Purpose
Not every model serves the same function, and that changes which material and accuracy level makes sense:
- Study and diagnostic models support occlusion review, tooth position analysis, arch form evaluation, and tracking treatment progression over time.
- Working or laboratory models support the fabrication of appliances, restorations, aligners, and retainers.
- Surgical, orthodontic, implant-planning, and patient education models each carry their own accuracy and material expectations, since a model used to explain a procedure to a patient doesn't need the same tolerance as one guiding restorative work.
Digital vs. Traditional Models
Printed models and stone models both have a place, and neither wins every comparison. Digital files store easily, transmit instantly, and can be reproduced on demand. Physical casts still offer familiar handling and don't depend on having working software or a functioning printer on hand.
One difference matters more than any other: model resin isn't the same as a resin approved for patient contact. A material designed for an accurate study model hasn't necessarily been evaluated for use inside a patient's mouth.
ISO 10993-1 is an FDA-recognized framework for biological evaluation of medical devices, but it doesn't function as a blanket clearance. FDA guidance notes that device-specific dental standards may take precedence over general ISO 10993-1 recommendations, so always verify biocompatibility claims against current manufacturer documentation before assuming a material is suitable for anything beyond a model.
How the 3D Printing Workflow Works
Producing a usable model requires a specific sequence of steps, and skipping or rushing any of them is where most quality problems start.
- Acquire and verify the scan. Confirm the scan is complete, free of missing anatomy or scanning artifacts, and captures the correct arch and bite relationship before moving forward.
- Export a compatible file. Most scanning systems, including Medit's clinic software, export STL, PLY, or OBJ files that work with common CAD platforms.
- Prepare the CAD file. Trim, base, label, hollow, and orient the model depending on its intended use.
- Place supports and set layer parameters. Orientation, support placement, and layer height all affect surface quality, dimensional accuracy, and how long post-processing takes.
- Select the printer and material. Resin wavelength, validated print profiles, and build platform capacity all need to match the model's intended use.
- Print, then post-process. Remove the build, wash it, remove supports, and post-cure according to the resin manufacturer's instructions.
- Inspect before use or delivery. Confirm the print matches the digital file and that margins, occlusal surfaces, and labels are intact.
What "Accurate" Actually Means
Accuracy isn't one fixed number. A 2020 systematic review of full-arch printed dental models found errors ranging from under 100 to more than 500 micrometers across studies, with stone models generally producing a lower mean error.
Twenty of the 28 studies reviewed fell within a range the authors considered clinically acceptable. However, the same review cautioned that what's acceptable for orthodontic work may not transfer to prosthodontic applications requiring tighter tolerances.

Build angle and layer height matter too. A separate 2021 study printing 132 DLP models at different build angles and layer heights found that both variables interacted significantly with accuracy, though every setting tested stayed within the study's clinically acceptable range.
Don't Skip File Management
A model is only as reproducible as the file behind it. Practices should:
- Track patient identifiers and case dates on every stored file
- Maintain version control when a design changes
- Store files securely with defined access permissions
- Retain the original scan so a model can be rebuilt if lost or damaged
Benefits, Applications, and Limitations
Dental practices and labs use printed models across diagnosis, treatment planning, orthodontic workflows, implant planning, appliance fabrication, restorative design, and patient conversations.
Where the Advantages Show Up
- Reproducibility. A stored scan can regenerate a model without repeating an impression, as long as the file is complete and securely retained.
- Workflow control. In-house printing reduces dependence on shipping; outsourcing shifts equipment, training, and maintenance burden elsewhere.
- Communication. A physical model often explains a treatment plan to a patient faster than a screen ever will.
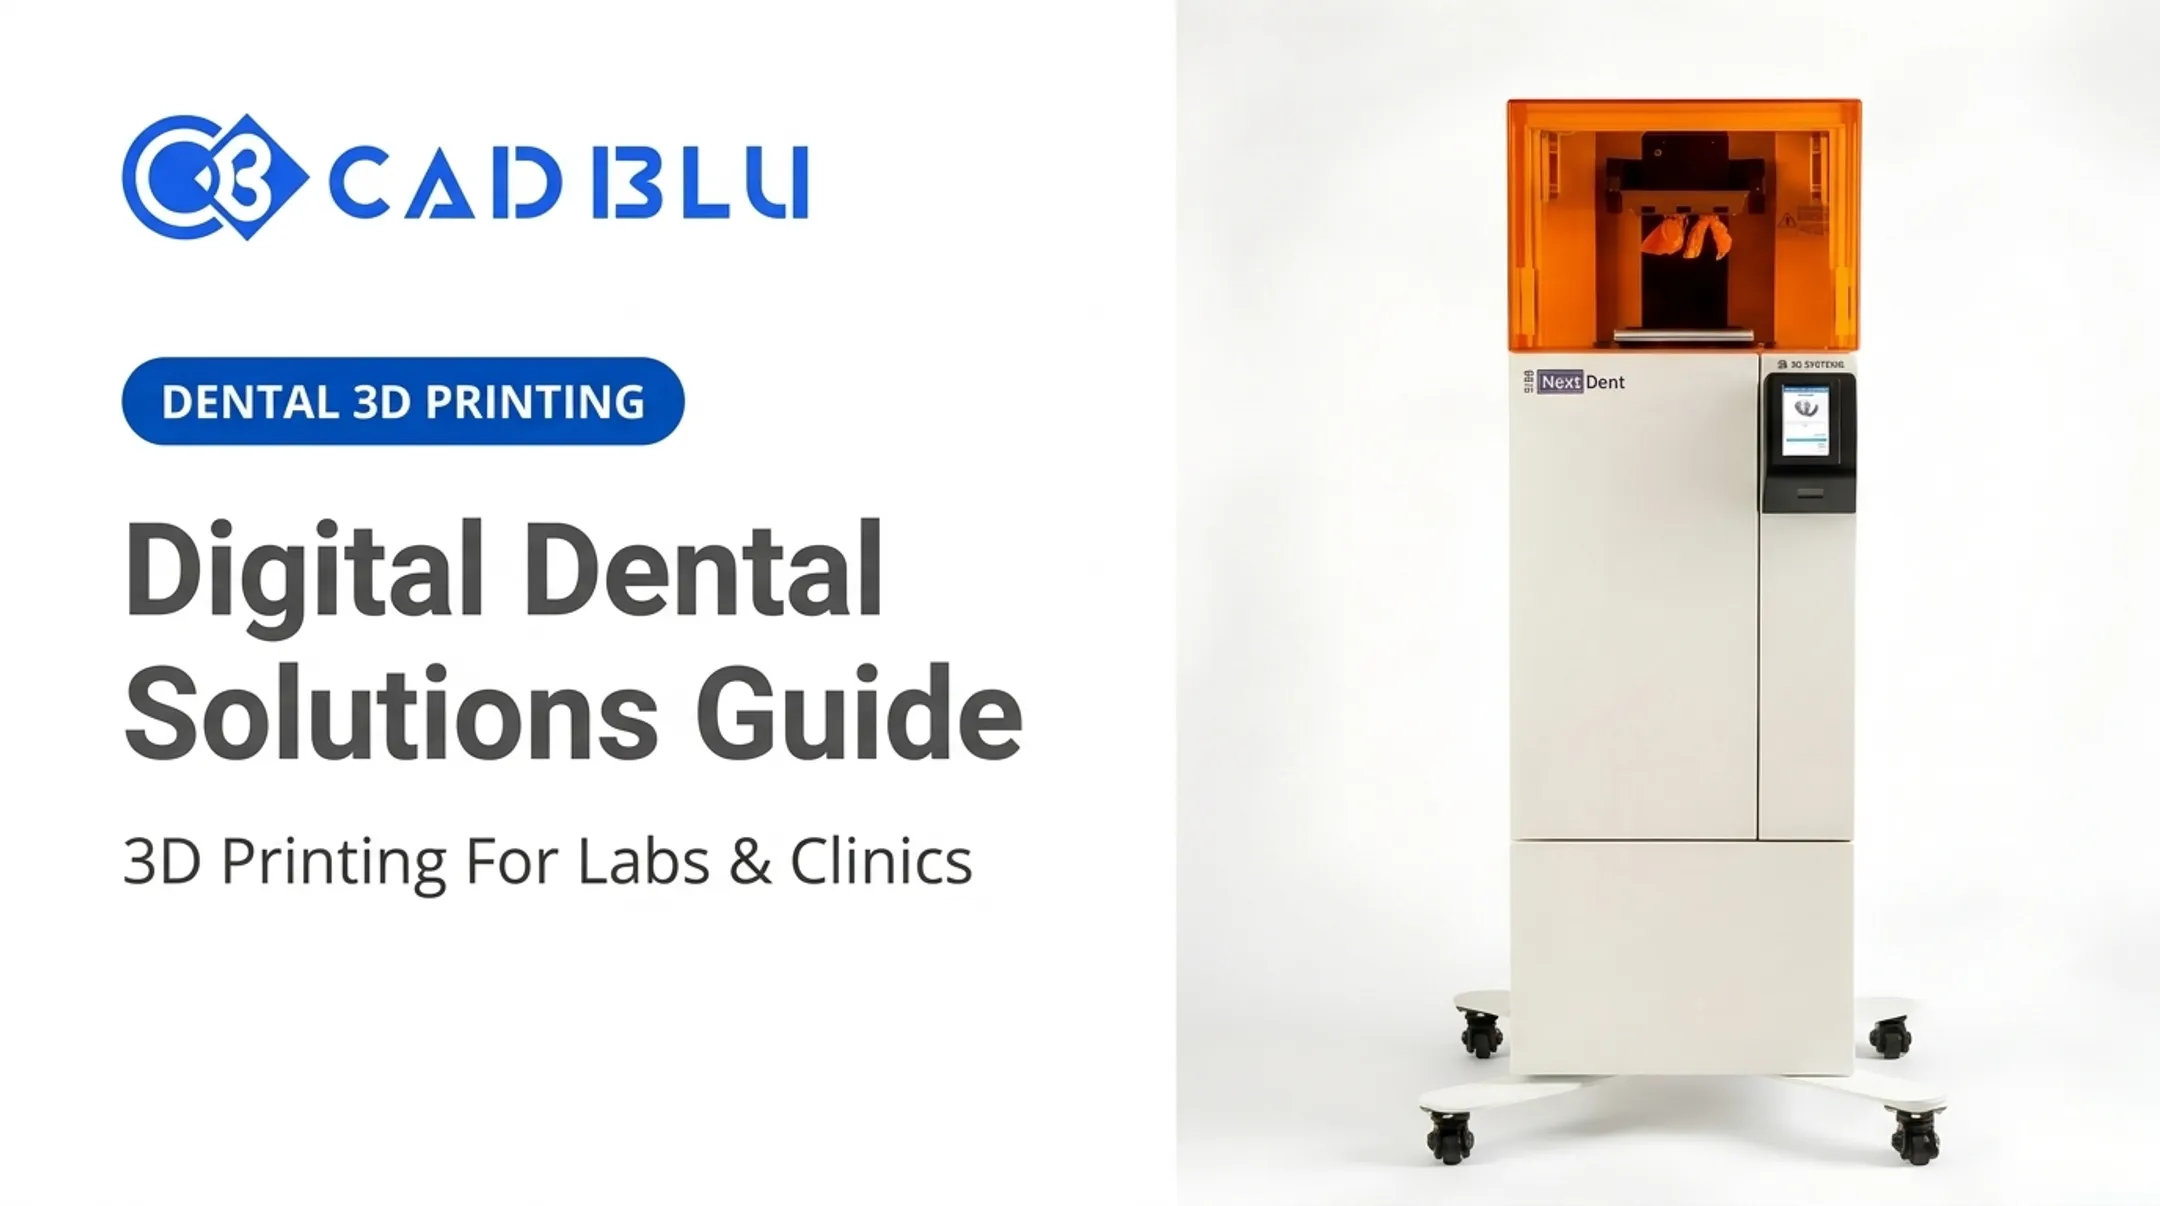
CAD BLU's NextDent 5100, for example, supports a portfolio of 30 NextDent materials across applications including orthodontic models, crown-and-bridge models, and surgical guides, giving practices flexibility as case types shift.
One CAD BLU customer, Greater Baltimore Prosthodontics, reported that models produced on this system were more accurate and precise than the traditionally fabricated prosthetics they replaced.
What Actually Drives Return on Investment
No single number tells the whole story here. ROI depends on:
- Case volume and how consistently the printer runs
- Labor time for design, printing, and post-processing
- Resin consumption, including failed prints
- Equipment maintenance and software costs
- Facility requirements and staff training time
A 2024 systematic review found that model orientation alone changed material use substantially. In one included study, printing 50 models horizontally used 915 grams of resin for model bodies versus 1,989 grams printed vertically, nearly doubling material cost for the same job.

Where the Limits Sit
- A printed model can't fix a scan that's missing data or a clinical error baked into the source file.
- Shrinkage, distortion, visible support marks, and incomplete washing or curing all degrade the finished piece.
- A model printer is not automatically qualified for surgical guides, dentures, splints, or other patient-contact devices. That requires a validated, biocompatible material and a workflow built for that specific application.
A printed model supports diagnosis and planning. It doesn't replace clinical judgment, patient-specific evaluation, or the verification steps a dentist would normally apply to any model, printed or poured.
Choosing a Dental 3D Printing Setup
The right setup depends on what a practice or lab actually produces, not on which printer has the flashiest spec sheet.
Match the Equipment to the Workload
- Low-volume practices often do better with simple operation, a compact footprint, and minimal setup complexity.
- High-volume labs and orthodontic providers need larger build platforms, nesting efficiency, repeatable results, and enough post-processing capacity to keep up with output.
- Teams new to in-house printing benefit from guided software, training, validated material profiles, and responsive technical support.
It's Not Just the Printer
A printer is one piece of a larger equipment picture. Budget also needs to cover:
- CAD or model-preparation software
- Wash and curing equipment
- Ventilation or workspace controls
- Resin storage, tools, and personal protective equipment
- Waste-handling procedures for uncured resin
Material strategy adds another layer to the budget conversation. Closed systems typically offer validated profiles and manufacturer support, but limit material choice. Open systems offer flexibility and often lower consumable costs, but shift more validation responsibility onto the practice.

Choosing a resin without a workflow built to support it is a common way labs run into inconsistent results.
Look at Total Cost of Ownership, Not Just the Sticker Price
Published dental printer prices vary widely. The ADA's 2023 3D printing guide lists prices ranging from $5,000 to more than $100,000, depending on printer type and capability. Desktop units sit at the lower end, while large-format systems occupy the top of that range.
Beyond the purchase price, factor in resin costs, service plans, software fees, training time, and expected case volume before comparing options.
Pre-Purchase Checklist
- What applications will this printer support (models, guides, appliances)?
- What model size and daily or weekly volume do you expect?
- Does it integrate with your existing scanner and software?
- What connectivity and data security does it offer?
- Who on staff will own quality control and maintenance?
- What vendor support is available after the sale?
CAD BLU works with dental labs and practices across this full equipment ecosystem. The company offers commercial 3D printers, materials, CAD and scanning solutions, software, installation, workflow optimization, repair, and support for teams pursuing either a partial upgrade or a fully turnkey digital manufacturing setup.
How CAD BLU Can Support a Dental Workflow
CAD BLU works as a full-service additive manufacturing partner for dental practices and labs. The company helps teams evaluate and build out the equipment and workflow side of digital model production.
Support includes:
- OEM-trained and certified technicians for installation and repair
- A materials portfolio covering multiple print technologies and applications
- Software support for CAD preparation, scanning integration, and print management
- Workflow guidance across the full scan-to-print process
There are two ways to work with CAD BLU:
- Partial solutions for practices adding a specific printer, material, or software component to an existing workflow.
- Turnkey solutions for teams that need broader implementation support, from equipment selection through installation and staff training.
If you're evaluating whether to bring model production in-house or refine an existing setup, schedule a consultation with CAD BLU. You can cover intended applications, current equipment, production volume, and support needs. Always confirm application-specific accuracy, material, and regulatory requirements directly with CAD BLU and the relevant equipment or material manufacturer.
Frequently Asked Questions
Can I get a 3D printed tooth model?
Yes, a tooth or dental arch model can typically be produced from an intraoral or laboratory scan. This depends on complete scan data, compatible software, an appropriate material, and the model's intended use.
What is a 3D printed dental model used for?
Printed models support diagnostic review, treatment planning, orthodontic and restorative workflows, surgical planning, patient communication, and laboratory fabrication work.
How are 3D printed dental models made?
The process runs from scan capture through CAD preparation, slicing, resin printing, washing, post-curing, support removal, and a final inspection before use or delivery.
Are 3D printed dental models accurate?
Accuracy depends on the scan, design, printer, material, and post-processing quality. A 2020 systematic review found reported errors ranging from under 100 to over 500 micrometers across different studies and applications.
What material is used for 3D printed dental models?
Dedicated dental model resins are the most common choice, though different applications may call for different validated materials. Model resins are distinct from resins approved for patient-contact devices.
Should a dental practice print models in-house or use an outside provider?
That depends on case volume, staff expertise, turnaround needs, and available budget for equipment and maintenance. CAD BLU can help you evaluate either a partial or turnkey workflow based on those factors.