Introduction
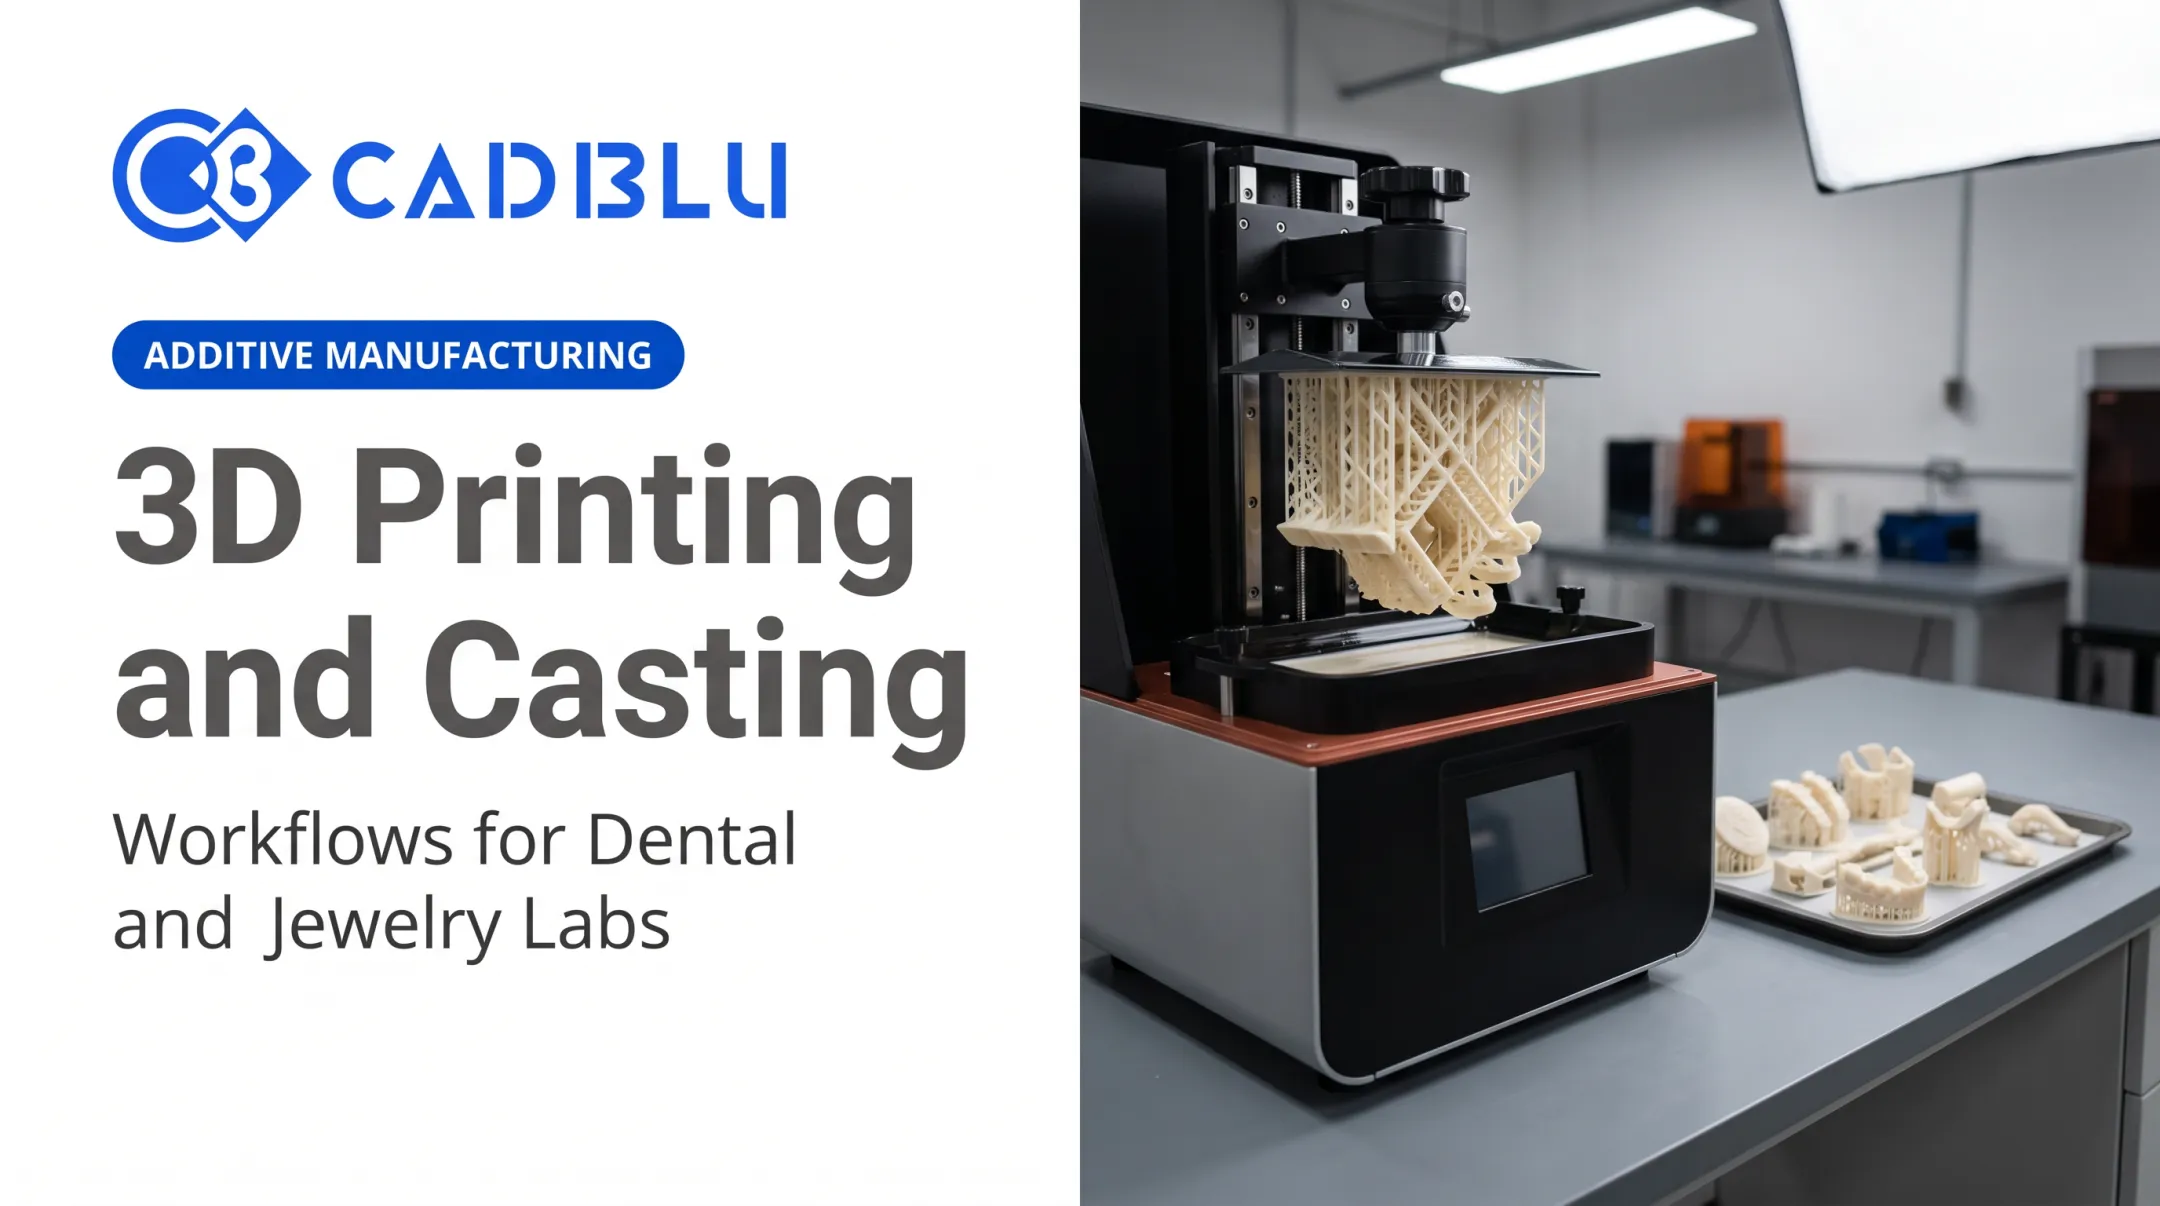
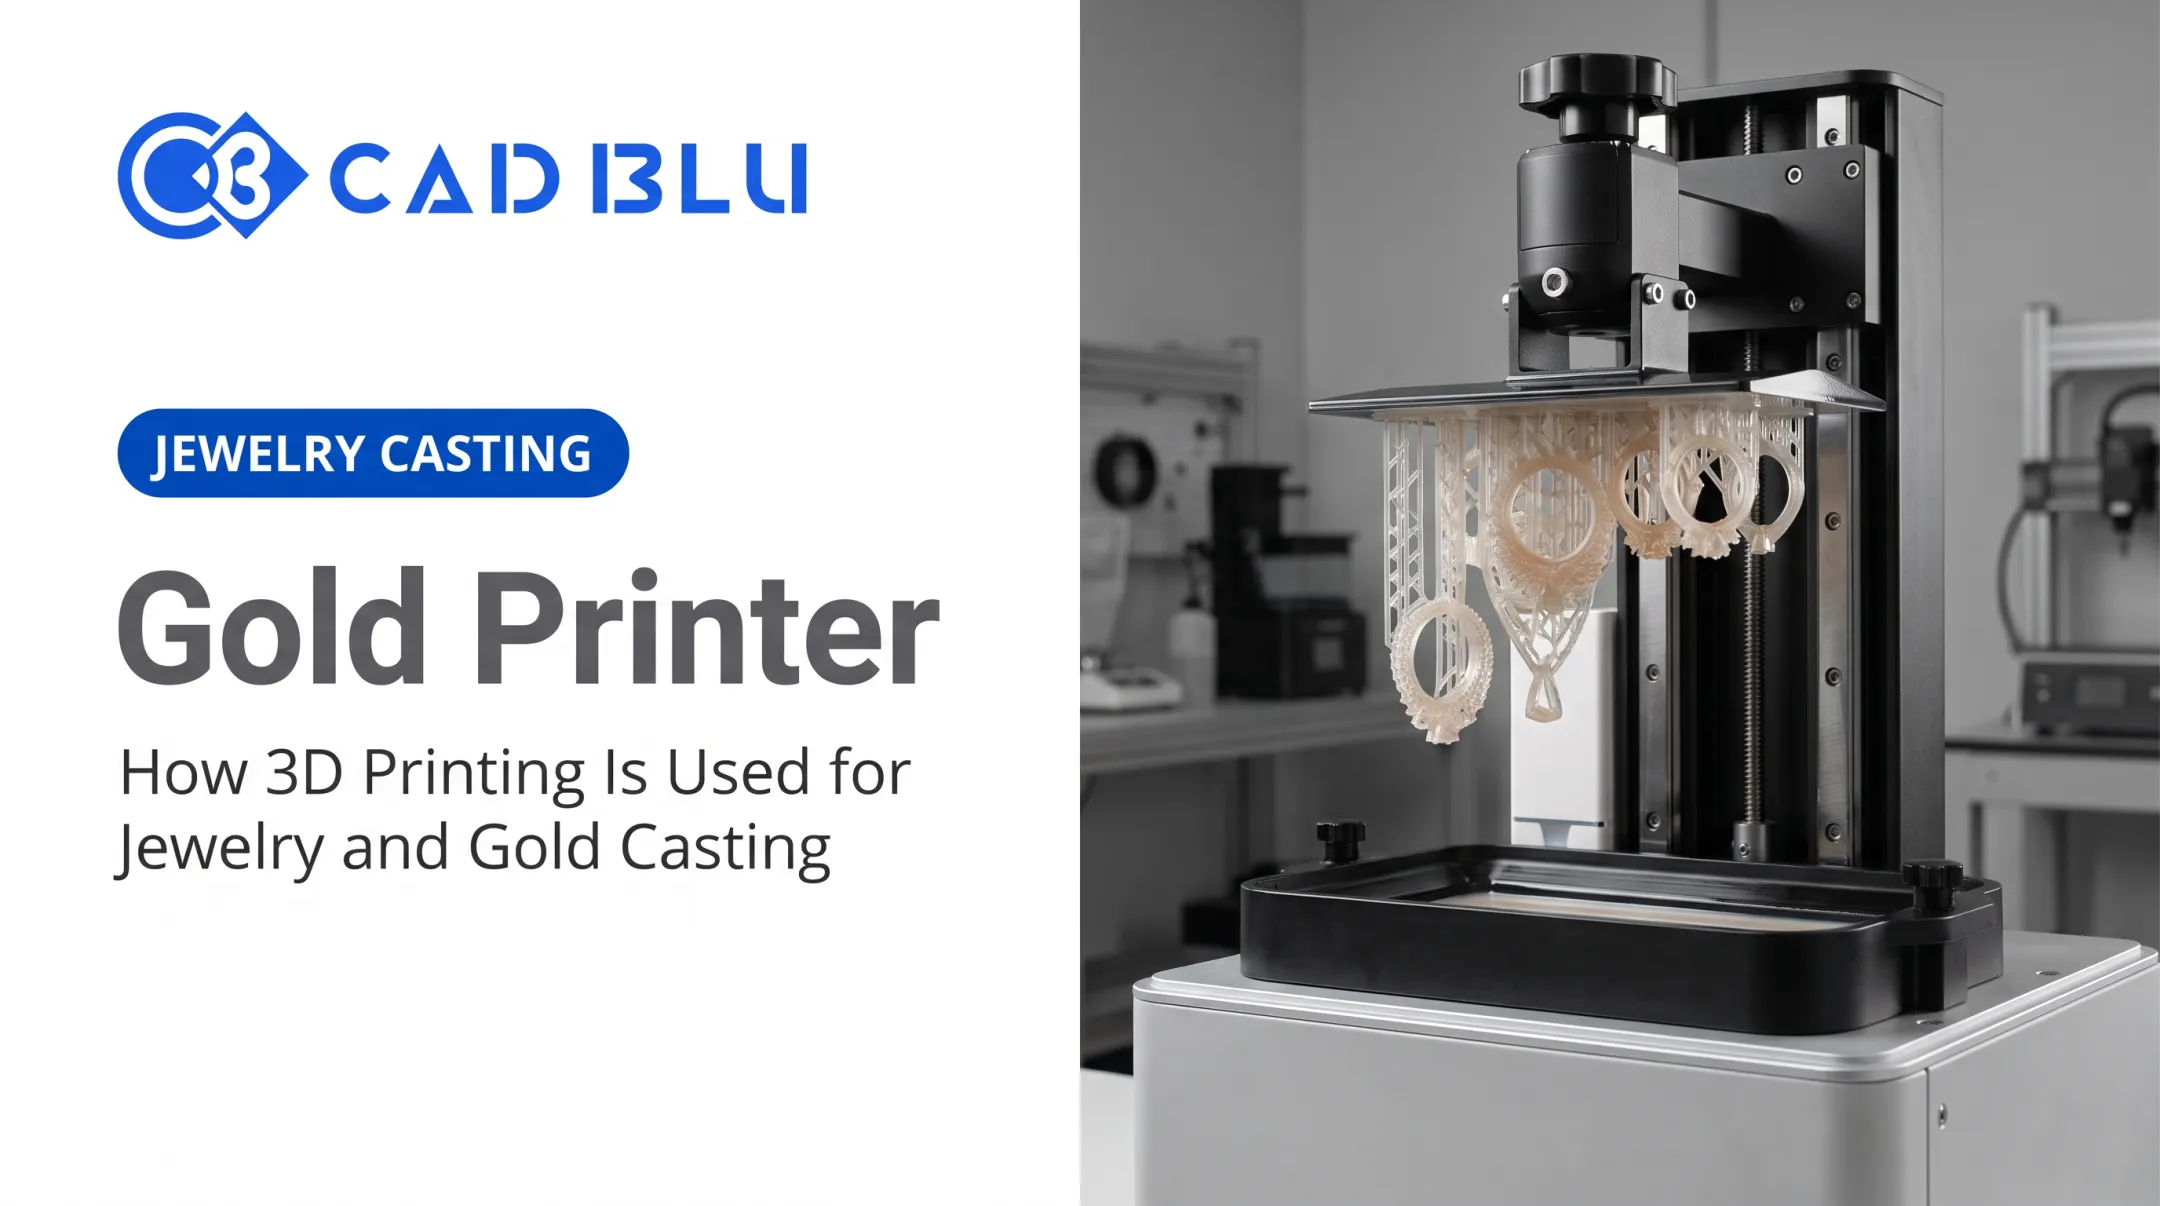
A 3D-printed casting pattern is a physical replica of a part, built layer by layer from a digital file, then used to shape a mold or cavity for metal casting. The pattern is mold tooling, not the finished metal part.
This guide is for foundries, pattern makers, engineers, and manufacturers weighing digital production against traditional pattern making for sand casting, investment casting, or prototype work. Many teams struggle with long tooling lead times and expensive design changes that stall a project for weeks.
Printed patterns handle complex geometries, shorten pattern-development cycles, and absorb design revisions without cutting new hard tooling. Below, we cover how the process works, what affects pattern quality, where it fits best, and when traditional tooling remains the smarter call.
Key Takeaways
- A printed pattern is an intermediate tool, not the finished casting itself
- The workflow runs from CAD design through slicing, printing, post-processing, and inspection
- Material, orientation, allowances, and printer size all shape the final casting
- Printing suits prototypes, low-volume runs, and complex or large geometries best
- Judge the whole casting chain, not the printed pattern in isolation
What Is a 3D-Printed Pattern for Metal Casting?
A 3D printer builds a positive model, the pattern, that shapes molding material before molten metal enters the cavity. The goal is straightforward: transfer a digital design into a mold with enough dimensional accuracy, surface quality, and strength to survive handling and removal.
That's a different job than a printed mold, a printed core, or a directly printed metal part. Each one serves a different stage of the casting process:
- Printed pattern – creates the impression that becomes the mold cavity
- Printed mold – is the cavity itself, often printed in sand or a bonded material
- Printed core – forms internal features once placed inside the mold
- Direct metal AM – skips molds entirely and builds the final metal part
Pattern Categories by Casting Method
Printed patterns themselves split into three groups, based on how the mold is made:
Sand-casting patterns create impressions in sand or related molding media. Materials such as PolyCast filament are formulated specifically for this workflow.
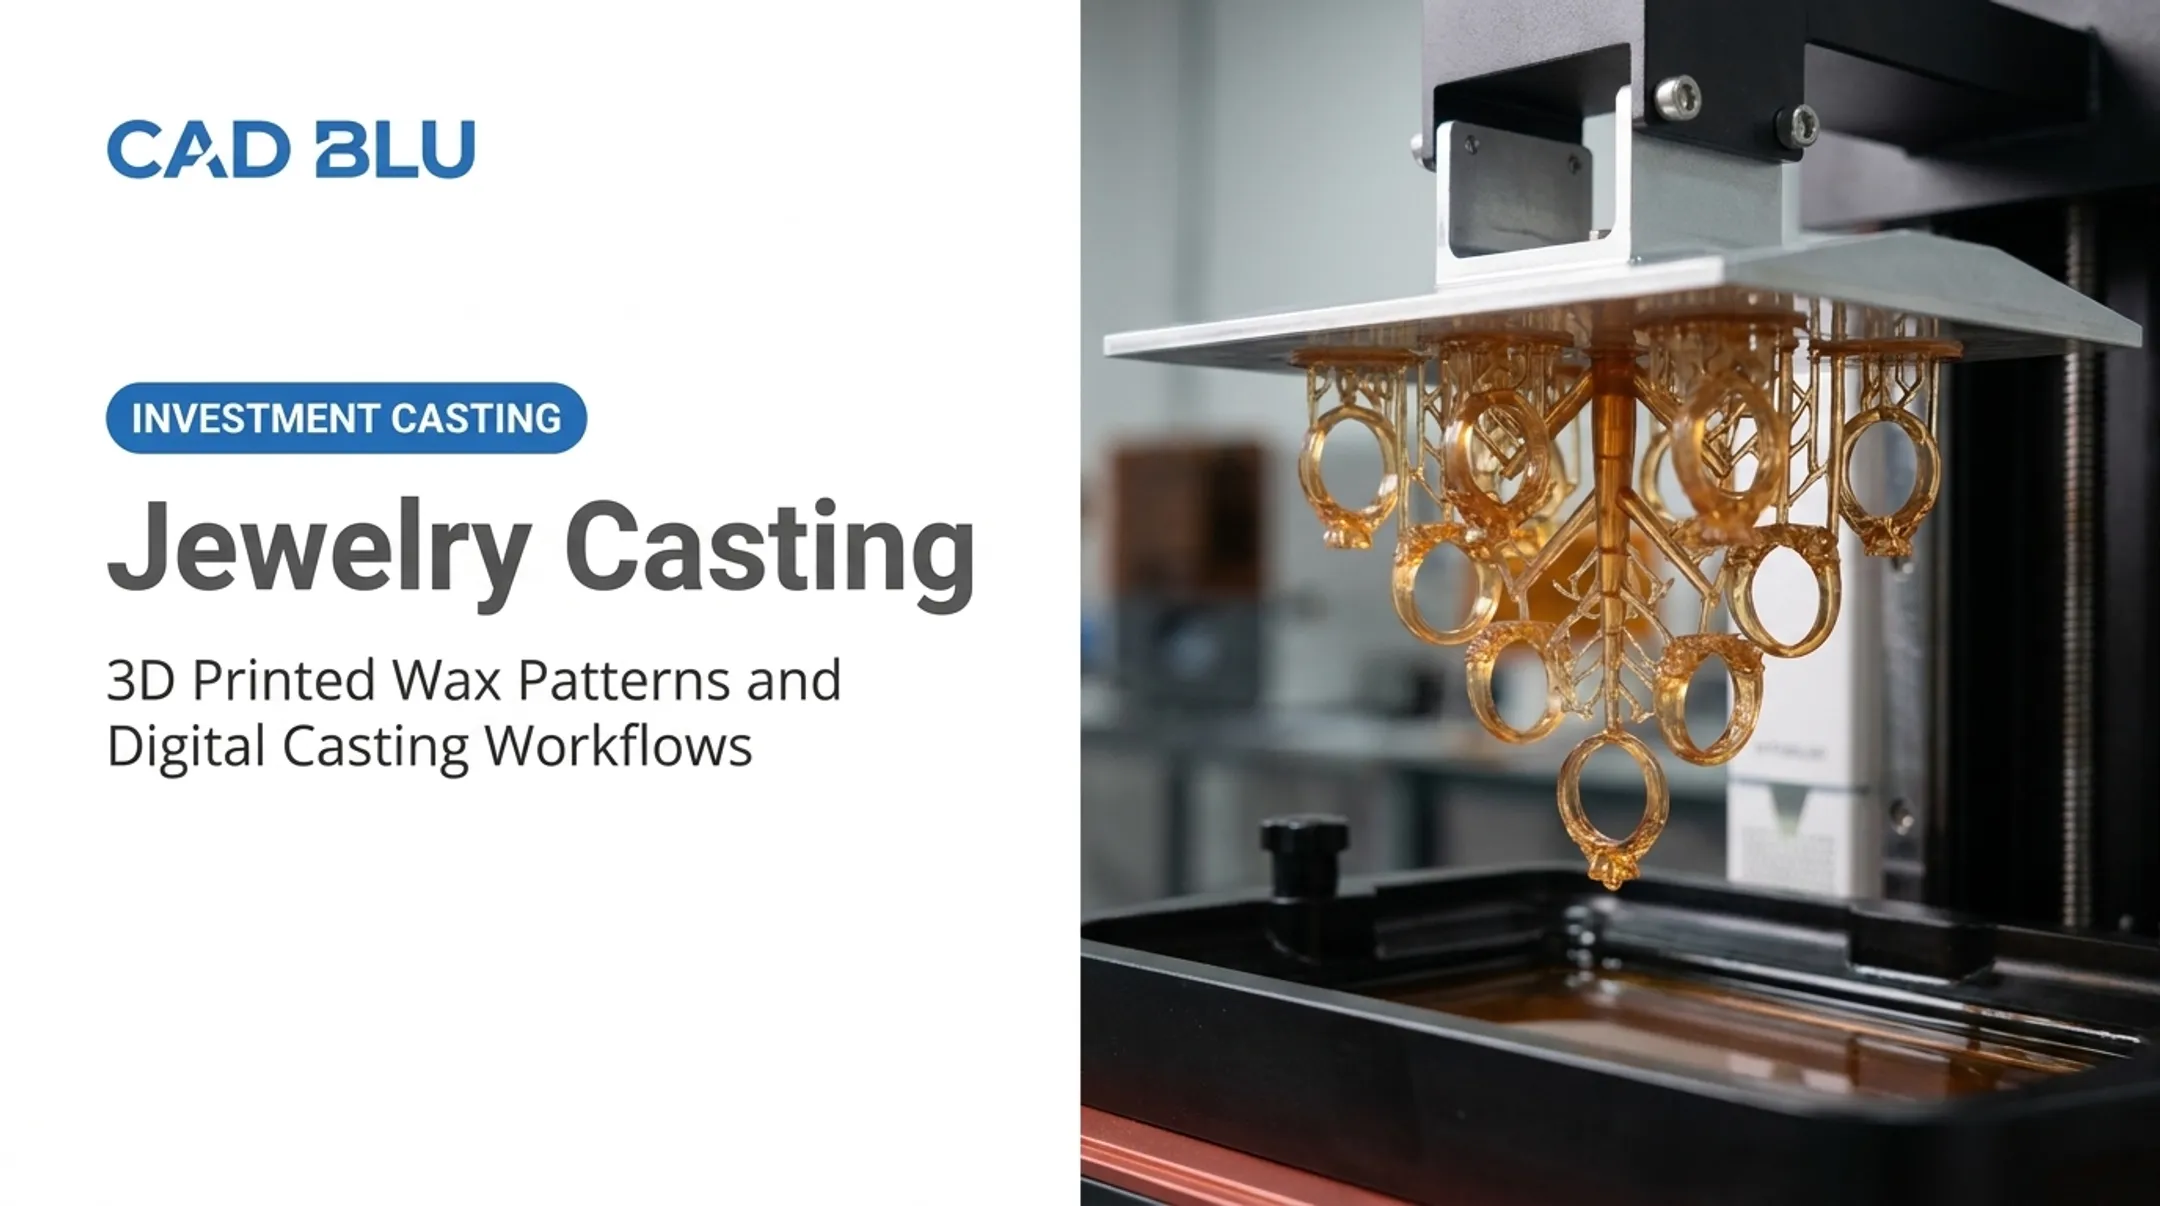
Investment-casting patterns are sacrificial. They're invested in a ceramic shell and then burned out, leaving the cavity behind. Wax-based materials like 3D Systems' VisiJet M2 ICast and resins such as Accura CastPro are built for this step.
Master patterns create reusable tooling or secondary molds, often for parts that will be reproduced many times through a different downstream process.
Whichever category applies, the final pattern design usually needs allowances for metal shrinkage, machining stock, draft angles, parting lines, and finishing. Those values depend on the alloy and casting method chosen.

Why 3D-Printed Patterns Are Used in Metal Casting
Foundries adopt printed patterns for a handful of concrete reasons: faster design iteration, lower tooling commitment for short runs, easier production of complex forms, and the ability to generate replacement patterns straight from a digital file, without waiting on a pattern shop.
None of this means 3D printing beats wood, resin, foam, or machined patterns in every scenario. It depends on tooling cost, lead time, repeatability, part size, surface finish, and expected volume. A repeatable, high-volume run of one unchanging part often still favors a cut mold and injection wax.
Where Printed Patterns Make the Most Sense
- Prototype castings and development programs where the design keeps changing
- Low- to medium-volume production or specialized replacement parts
- Large or geometrically complex components that are hard to machine as one piece
- Jewelry, aerospace, automotive, marine, and investment-casting workflows with frequent design revisions
Whatever the application, the pattern still has a job to do: hold dimensional fidelity, stay rigid during molding, carry the right draft and parting features, accept surface treatment, and survive removal from the mold without breaking apart.
Those requirements still have to make economic sense. The Investment Casting Institute's 2022 guidance places the typical break-even for printed patterns at roughly 10 to 50 castings, depending on part size and complexity. Molded wax takes minutes per part, while printed patterns take hours or days.
Modern Casting reported a sand-pattern equipment workflow using pellet-extrusion PETG that cut lead time from 7 weeks to 2.5 weeks, a reduction of more than 60%, while also eliminating wood assembly and machining steps.
A separate 3D Systems white paper on an axial-blisk comparison found wax-injection tooling took at least five weeks and over $20,000, versus an overnight turnaround and under $2,000 for a printed investment pattern.
These savings come from removing pattern-tool design, machining, and procurement steps, not only from faster printers.
Fitting a printed pattern into an existing digital manufacturing workflow, from CAD revision control through molding and inspection, is where teams often need guidance. CAD BLU works through that equipment, material, and workflow evaluation with foundries and manufacturers, including installation and technical support once a system is in place.
How 3D-Printed Casting Patterns Work: Process and Key Factors
Getting from a casting-ready CAD model to an inspected pattern ready for molding involves five steps. Skip or rush any of them and the pattern may print fine but still fail in the mold.
Prepare the CAD model. Add or verify casting allowances: metal shrinkage, machining stock, draft, parting lines, fillets, cores, gates, and risers. Check for watertight geometry, correct scale, and wall thickness that won't collapse or trap material.
Select the printing method and material. Polymer extrusion, resin printing, powder-based processes, and wax or castable-material printing all behave differently. PolyCast filament suits sand-mold patterns; wax materials like VisiJet M2 ICast are built for investment-casting burnout without ash or residue; castable photopolymers such as Daylight Castable need their own burnout ramp.
Orient, slice, and print. Build orientation, layer height, infill, and support placement all affect accuracy, strength, and visible layer lines. Hollowing can cut material use and handling weight, but the cavity needs drainage and enough rigidity to survive handling.
Post-process and prepare the pattern. Support removal, sanding, sealing, joining printed sections, and mold-release treatment all matter here. Daylight Precision Cast patterns, for instance, are oven post-cured at 120°C (248°F) for four hours, and any part that stays tacky goes back in.
Inspect and hand off the pattern. Check dimensions against the CAD model, especially at parting surfaces and locating features. Then the pattern gets packed, coated, or burned out according to the casting method chosen.

What Actually Determines Pattern Accuracy
These factors compound across the workflow:
- Printer calibration
- Material behavior
- Build volume and part orientation
- Operator skill
- Post-processing consistency
ProJet MJP 3600W documentation lists typical accuracy of ±0.001 to 0.002 inch per inch, but notes this varies with build parameters, part geometry, size, orientation, and post-processing choices. A printer spec sheet is a starting point, not a guarantee for your specific part.
Quality control has to look at the whole chain: digital model, pattern, mold, casting, and final machining, because a defect can originate at more than one stage.
Common Issues, Misconceptions, and When 3D Printing May Not Be Appropriate
Printing a pattern does not automatically guarantee a defect-free casting. Mold preparation, gating and risering, alloy behavior, porosity, shrinkage, and finishing all still affect the outcome, independent of how the pattern was made.
Common pattern problems include:
- Warping and layer lines that transfer into the mold surface
- Support marks left behind after removal
- Inadequate rigidity, leading to distortion during handling
- Dimensional drift from incorrect shrinkage allowances
- Trapped resin or powder that leaves incomplete burnout residue
- Difficulty removing the pattern cleanly from the mold
Incorrect allowances or an unsuitable parting strategy can produce a pattern that prints perfectly and still fails to produce a usable casting. The print isn't the whole job.
When Another Method Fits Better
| Situation | Better-suited approach |
|---|---|
| Very high production volume | Durable reusable tooling or machined wax tooling |
| Extreme tolerance or finish demands | Machined pattern with validated process history |
| Heavy heat or mechanical loads on pattern | Metal or hardened tooling |
| Part exceeds print volume without safe assembly | Machined or segmented traditional pattern |
Direct printing of molds, cores, or metal parts can sometimes replace the pattern step entirely, but these are different workflows with different tradeoffs. Treat them as separate processes—not drop-in substitutes for a printed pattern workflow.
Quick decision checklist:
- Expected production volume and pattern lifespan
- Part size and geometric complexity
- Required surface finish and tolerances
- Material availability for your printer
- Inspection capability to catch problems early
- Whether heat, load, or volume push you past printed-pattern limits

Conclusion
3D printing turns a casting design into a physical pattern through a repeatable digital workflow. That workflow supports complex, customized, and lower-volume metal-casting work without a new hard-tooling commitment for every revision.
Success still depends on designing for the casting method, picking a suitable material and process, and controlling post-processing and inspection at every stage. Choose printed patterns when your full production requirements justify them, not only for speed or flexibility on a checklist.
If you're evaluating equipment, materials, or software for casting-pattern production, CAD BLU works with foundries and manufacturers on selection, installation, and ongoing technical support.
Frequently Asked Questions
Where do I get patterns for 3D printing?
Patterns can come from an in-house CAD model, a pattern designer, a foundry, or a 3D printing service. Whichever route you choose, confirm casting allowances and file ownership before committing to production.
What is a 3D-printed casting pattern?
It's a printed replica used to form a mold or cavity for casting. That's different from a printed mold, a printed core, or a finished metal component, each of which serves a different stage.
Can 3D-printed patterns be used for sand casting?
Yes, for many sand-casting workflows. Material, geometry, surface treatment, draft, rigidity, and pattern-removal method still need to match the process. PolyCast filament is one material built for this purpose.
Which materials are used to 3D print casting patterns?
Common options include polymer filaments, castable resins, and printable waxes such as VisiJet M2 ICast. The right choice depends on pattern size, detail level, molding method, and whether the pattern needs to burn out cleanly.
How accurate are 3D-printed patterns for metal casting?
Accuracy depends on the printer, material, build orientation, calibration, and post-processing. Manufacturer data, such as the ±0.001 to 0.002 inch per inch figure for the ProJet MJP 3600W, is process-specific rather than universal.
Is 3D printing better than traditional pattern making?
It depends on the job. Printing tends to win for complex, customized, or frequently changing low-volume work. Conventional tooling remains preferable for high-volume, long-life production.