This guide is written for jewelry designers, independent jewelers, small manufacturers, and students trying to decide between hand-carved patterns, outsourced casting, or digital production. Many people assume casting is a single step. It's actually a sequence of decisions, each one capable of ruining or elevating the final piece.
Here's what you'll get: the full workflow from pattern to finished jewelry, the material choices that matter, how digital tools fit in, realistic cost factors, common defects, and a straightforward answer to when lost wax casting isn't the right call.
TL;DR
- Lost wax casting removes a wax or castable pattern during burnout, leaving a cavity the metal fills.
- Core steps: pattern creation, spruing, investing, burnout, metal pouring, devesting, and finishing.
- Wax type, sprue design, investment quality, and burnout schedule all shape the final result.
- CAD and 3D printing work alongside hand carving for complex or repeat designs.
- For low-volume work, outsourcing is often more practical than buying casting equipment.
What Is Lost Wax Casting for Jewelry—and Why Is It Used?
Lost wax casting goes by other names too: investment casting and, in older jewelry texts, cire perdue. Whatever you call it, the core idea stays the same. You destroy a sacrificial pattern to create the mold, unlike die casting, which reuses a permanent steel mold for every part.
You get a rough metal version of your wax, resin, or printed pattern, then clean it up and finish it into a wearable piece. Casting is the middle of the process, not the end.
Direct vs. Indirect Casting
- Direct casting uses your original wax or castable pattern straight into the investment mold. One pattern, one casting.
- Indirect casting starts with a finished master, from which you create a reusable rubber mold. That mold produces as many wax patterns as you need, each one cast separately.

Jewelers reach for lost wax casting because it handles what sheet, wire, and stock metal can't: organic shapes, undercuts, fine filigree, and custom stone-setting layouts. According to Formlabs, castable wax resin can capture raised text, delicate filigree wires, and detailed pavé features that would be extremely difficult to fabricate by hand.
Batesville Products notes that investment casting is specifically suited to small, intricate parts, including jewelry, because a new disposable mold is created for each piece rather than reused.
That said, lost wax casting isn't automatically the right choice for everything:
- Simple bands or basic shapes may be faster and cheaper to fabricate from stock.
- Extremely intricate designs sometimes need casting-oriented redesigns before they'll cast cleanly.
- Very high volumes may eventually justify different tooling entirely.
How the Lost Wax Casting Process Works
Lost wax casting turns a disposable pattern into metal jewelry by building a mold around it, burning the pattern out, and filling the empty cavity. The wax disappears, but it leaves a negative space shaped exactly like your design—and every step exists to protect and fill that cavity correctly.
Step 1: Create and Prepare the Jewelry Pattern
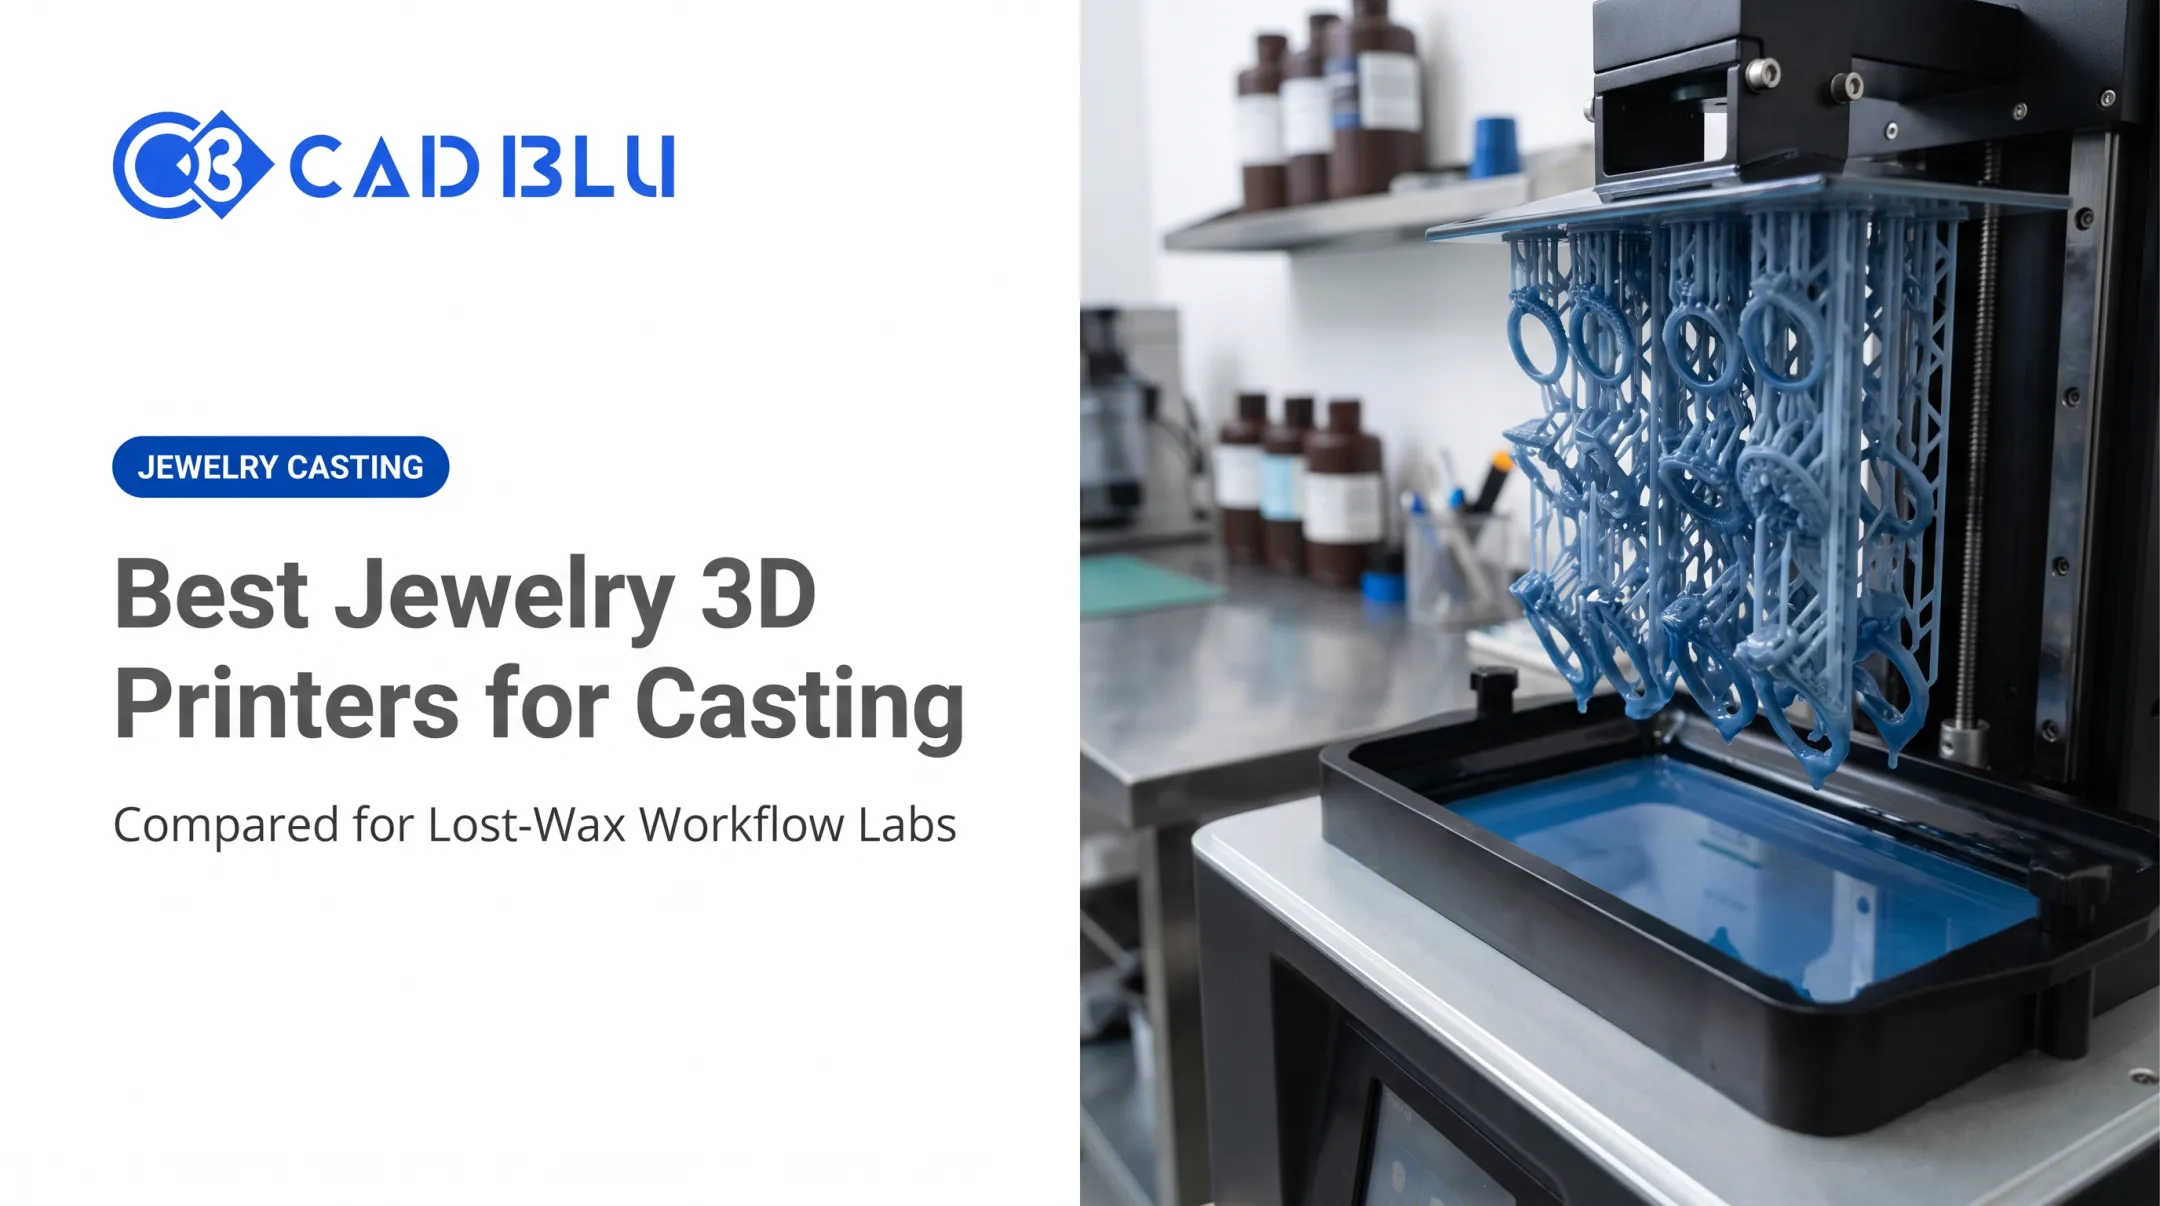
The pattern can be hand-carved from jeweler's wax, injected from a rubber mold, modeled in CAD, or printed with a castable resin or wax material. Before moving forward, check for:
- Minimum wall thickness (thin sections can fail to fill or warp)
- Delicate prongs, deep recesses, and enclosed spaces
- Sharp transitions that concentrate stress
- Expected metal shrinkage during cooling
Pattern weight is not pour weight. Sprues, casting allowance, and metal density all raise the total metal you need.
Step 2: Add Sprues and Assemble the Tree
Once the pattern is sound, add sprues—channels that let wax escape during burnout and give molten metal a path into the cavity. Place them near heavier sections and hard-to-fill areas so metal has a clear route before it solidifies.
Multiple patterns often get attached to one central sprue, forming a casting tree. Spacing, orientation, and flow planning should be handled by someone experienced. Get this wrong and you'll see incomplete fills on an otherwise perfect pattern.
Step 3: Invest the Pattern
With the tree assembled, investment material surrounds it and hardens into a heat-resistant mold that captures every surface detail. Powder-to-liquid ratios, thorough mixing, and bubble removal through vibration or vacuum all directly affect surface quality.
Manufacturer guidance from Stuller recommends roughly 38-40 grams of investment powder per 100 ml of water for most jewelry investments, with about three minutes of mixing and careful vacuum de-airing.
Step 4: Burn Out the Pattern
The flask goes into an oven following a controlled burnout schedule that removes the wax and prepares the cavity for metal. As one example, CAD BLU's Figure 4 JCAST-GRN 10 material uses a staged schedule: 150°C (302°F) for 1-3 hours, 370°C (698°F) for 1-2 hours, then 730°C (1,346°F) for 2-3 hours, followed by at least an hour of stabilization before pouring.
Incomplete burnout leaves ash or residue behind. That residue can cause porosity, gas defects, or blocked metal flow. Always follow the schedule specified by your material and equipment manufacturer, not a generic one.
Step 5: Melt and Cast the Metal
After burnout, the chosen alloy melts and enters the heated mold through gravity, vacuum, or centrifugal force. Metal temperature, mold temperature, and timing all need tight control.
This step involves real hazards—molten metal, open flame, and fumes—and belongs only to trained personnel with proper equipment.
Step 6: Devest, Clean, and Finish the Casting
Once the casting cools, break away the investment, cut off the sprues, and file, polish, texture, plate, or prep the piece for stone setting. A casting straight from the flask is not finished jewelry—finishing labor often drives final look, timeline, and cost as much as the pour itself.

Where It Is Applied and What Affects the Result
Lost wax casting shows up across nearly every jewelry category: one-off custom commissions, sculptural or organic designs, signet rings, textured pendants, and full production collections built from CAD files.
Producing Multiples the Right Way
For repeat pieces, jewelers typically finish one master, create a flexible rubber mold from it, then inject wax patterns repeatedly. Each pattern gets sprued and cast individually, but the labor-intensive carving only happens once.
How Digital Workflows Fit In
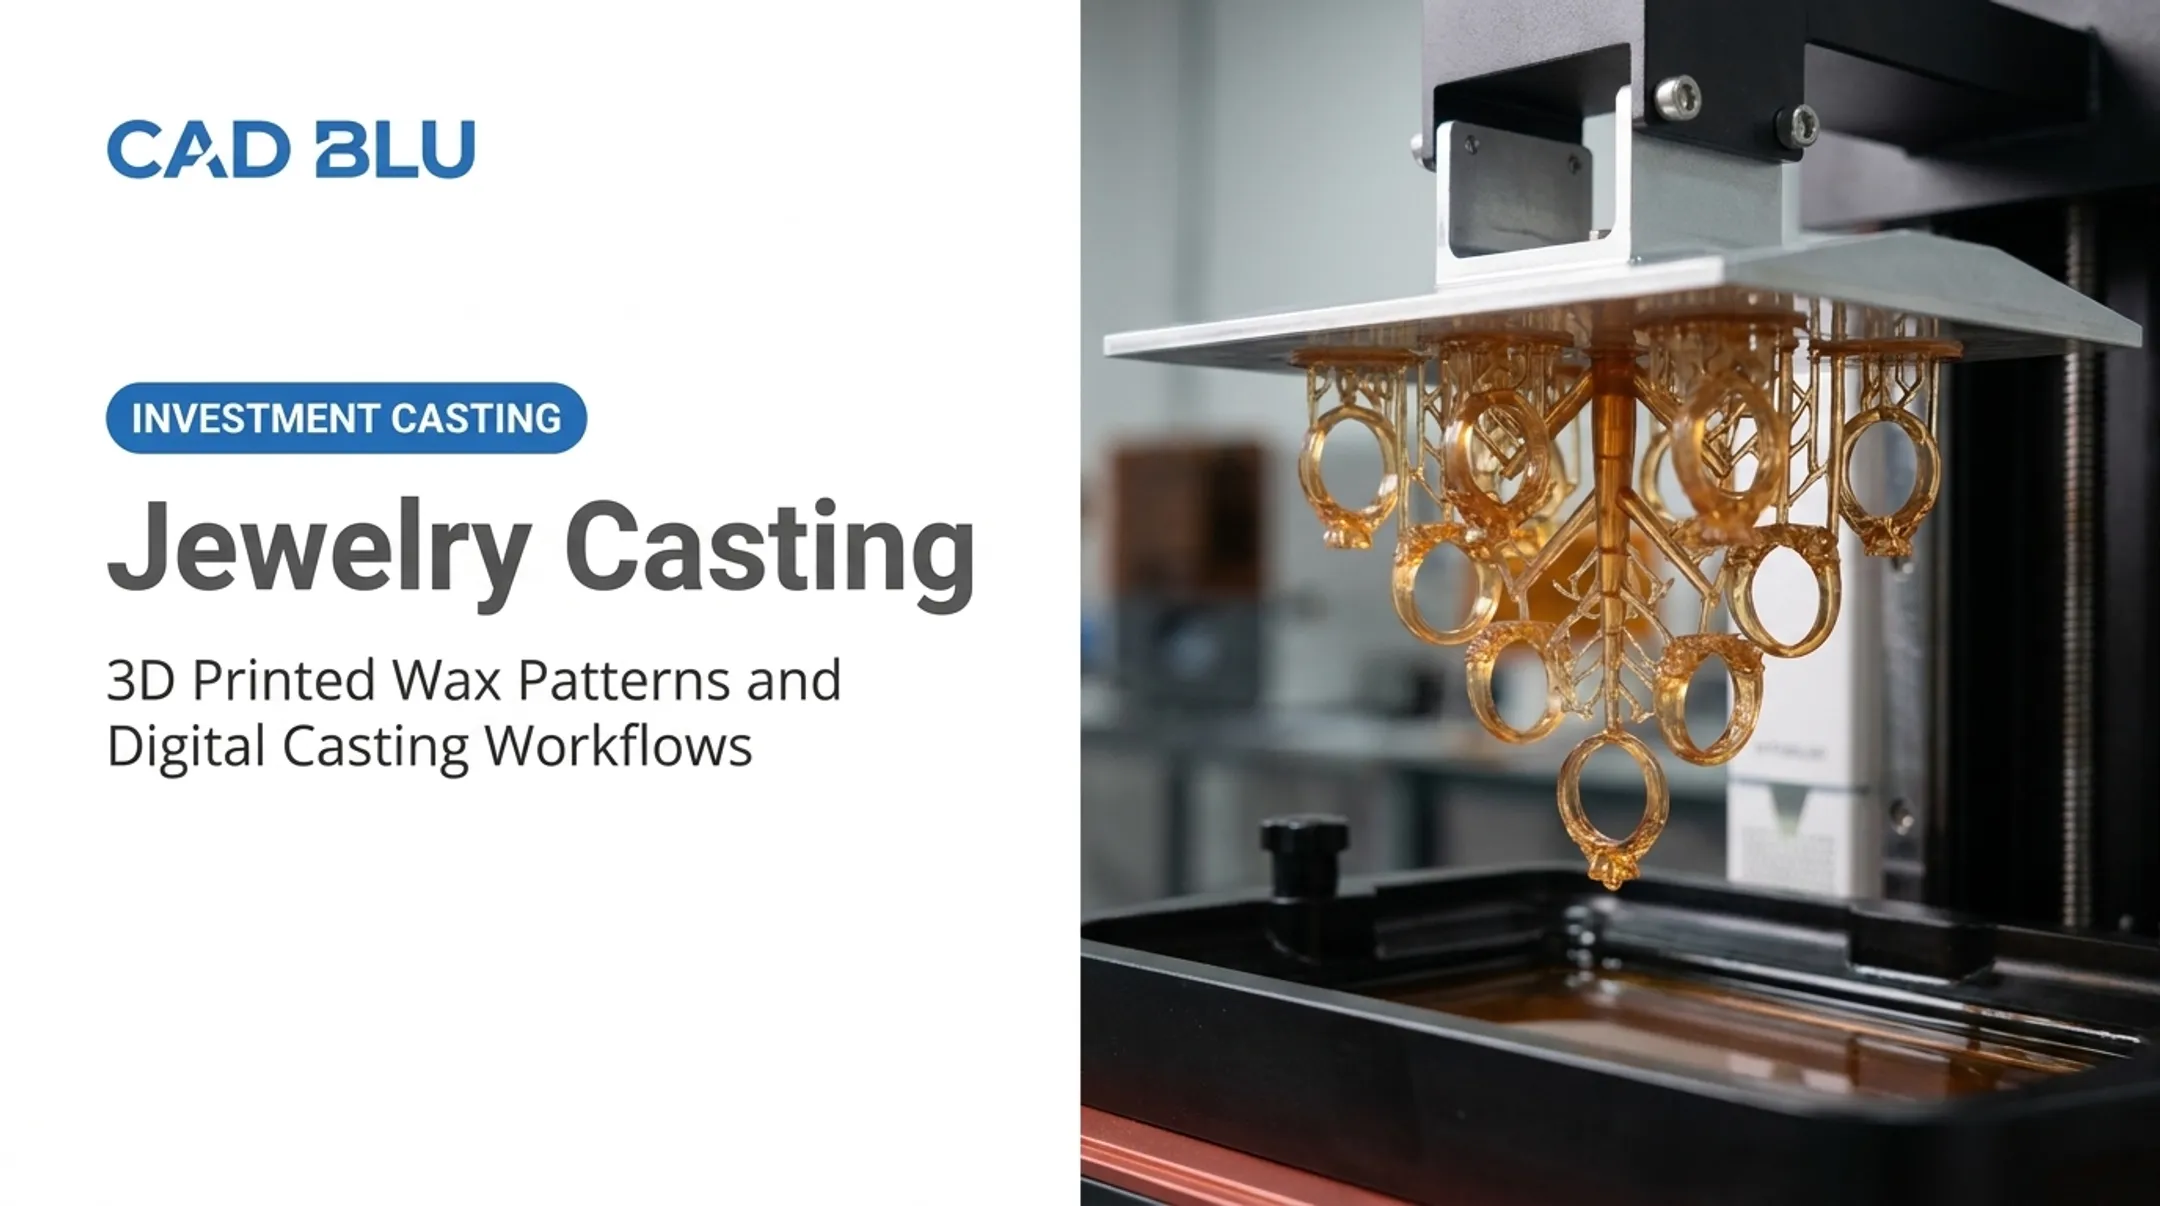
CAD modeling, file prep, and castable 3D printing have replaced hand pattern-making—without changing the steps that follow. A designer models in CAD, prints the pattern in castable wax or resin, removes supports, cleans the part, and then follows the same investment, burnout, and casting steps as a hand-carved wax.
Goldsmith Abbas Saleh, in a Formlabs case study, reported that producing rings in-house cost about one-fifth of outsourcing, and that a batch of 10-15 rings saved him roughly four days per production run compared to his previous process.
That kind of shift is why more small jewelry businesses look at printers like the ProJet MJP 2500W, which can print up to 25 rings in under three hours, or materials such as VisiJet M2 Wax Jewel Ruby, built to hold up through handling and burnout.
Businesses weighing an in-house digital setup can talk to CAD BLU about castable printers, wax materials, installation, workflow setup, and OEM-trained technical support before buying equipment.
What Actually Affects the Result
- Pattern material: wax or resin that burns out cleanly
- Metal and volume: alloy, casting temperature, and mold temperature
- Sprue design: size, count, placement, and flow paths
- Investment quality: mix accuracy, bubble removal, and burnout schedule
- Design factors: wall thickness, detail size, and target surface finish
Before you pour, build in a quick QC pass:
- Check the wax or file for defects
- Inspect sprues and investment
- Record metal and pattern weights
- Inspect the casting for porosity or incomplete fill
Common Issues, Misconceptions, and When It May Not Be Appropriate
The biggest misconception: the wax doesn't stay inside the piece. It melts, vaporizes, or decomposes during burnout, leaving a cavity for the metal.
Different pattern materials also need different burnout procedures. A schedule built for hand-carved wax won't necessarily suit a 3D-printed resin.
Common Defects and Likely Causes
| Defect | Possible Causes |
|---|---|
| Incomplete fill or missing detail | Metal flow, sprue design, temperature, pattern geometry |
| Porosity, pits, or rough surfaces | Gas, contamination, investment failure, alloy handling |
| Cracks or fins | Poor melting practice, shrinkage, excessive casting temperature |
| Sprue marks or flash | Normal cleanup labor, not a true defect |
| Distorted patterns | Poor handling, weak supports, unsuitable wax |
Casting expert Chris Corti notes that cracking in jewelry manufacturing often traces back to contamination, poor melting practice, or excessive casting temperature rather than a single universal cause.
When It May Not Be the Right Call
- Very simple parts — often faster to fabricate directly
- Very high-volume runs — may justify different tooling strategies
- Overly intricate designs — may need redesign before they cast reliably
A Word on Home Casting
Home casting is not a casual beginner project. Kilns, torches, molten metal, investment dust, fumes, and vacuum or centrifugal equipment create real hazards. Trained operators, proper ventilation, PPE, and documented procedures are required, not optional.
Quick Decision Checklist
Before choosing in-house casting, a professional caster, or a digital manufacturing partner, weigh these five factors:
- Design complexity and required detail
- Quantity and repeatability needs
- Metal type and desired finish
- Available equipment and operator expertise
- Timeline and total cost, including likely remakes

Conclusion
Lost wax casting converts a temporary pattern into a detailed metal piece through investment, burnout, casting, divesting, and finishing. No single step determines quality. Results depend on several linked choices:
- Pattern material and sprue design
- Investment mix and burnout schedule
- Metal control and finishing labor
Rather than defaulting to one method, match your approach to the piece in front of you. Hand carving, repeat molding, outsourced casting, and CAD-driven digital production each solve different problems. Pick the path that fits the design, volume, skill level, and budget for that piece—not the method you used last time.
Frequently Asked Questions
How much does lost wax casting cost?
Cost depends on metal weight, pattern creation, spruing, investment, casting labor, finishing, and the odds of a remake. Request a quote based on your specific design rather than relying on a general price range.
What is lost wax casting jewelry?
It's jewelry made by creating a wax or castable pattern, investing it in a heat-resistant mold, removing the pattern during burnout, and filling the resulting cavity with molten metal.
Where does the wax go during jewelry casting?
The wax melts, vaporizes, or decomposes during a controlled burnout cycle, leaving an empty cavity in the investment mold. Different castable materials need different burnout procedures.
What type of wax is best for lost wax casting?
It depends on whether you're carving, injecting, patching, or building a master pattern. Whatever you choose, it needs to be compatible with your investment material and burnout process.
Is lost wax casting still used today?
Yes. It remains standard for custom and production jewelry, and it's increasingly paired with CAD modeling and 3D-printed castable patterns for faster iteration.
What are the four types of casting?
There's no single universal "four types" standard; classification depends on the source. Lost wax or investment casting sits under expendable-mold processes, alongside sand casting, distinct from reusable-mold methods like die casting.