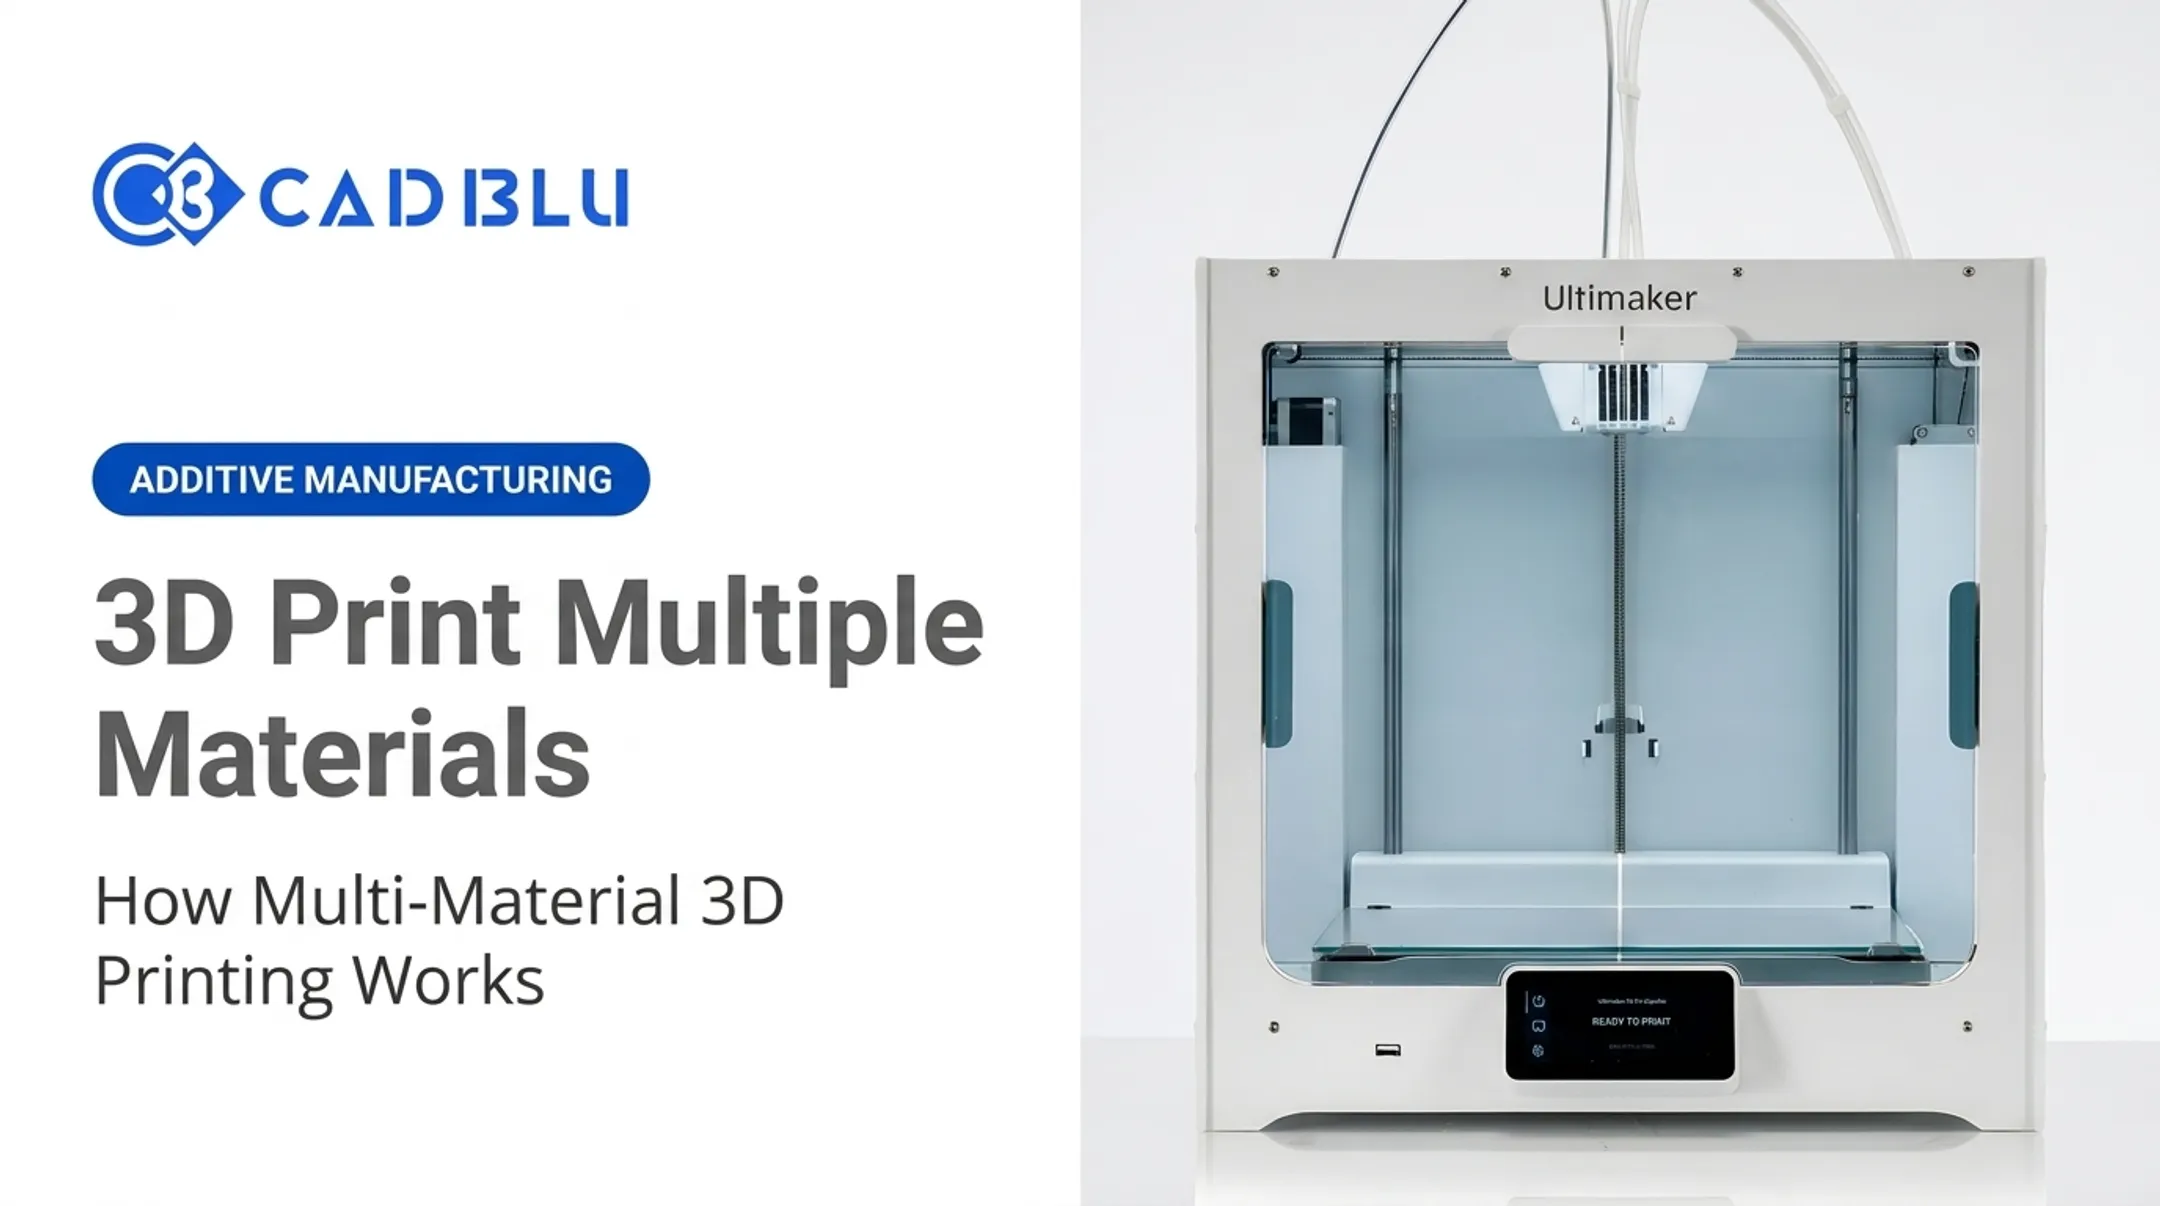
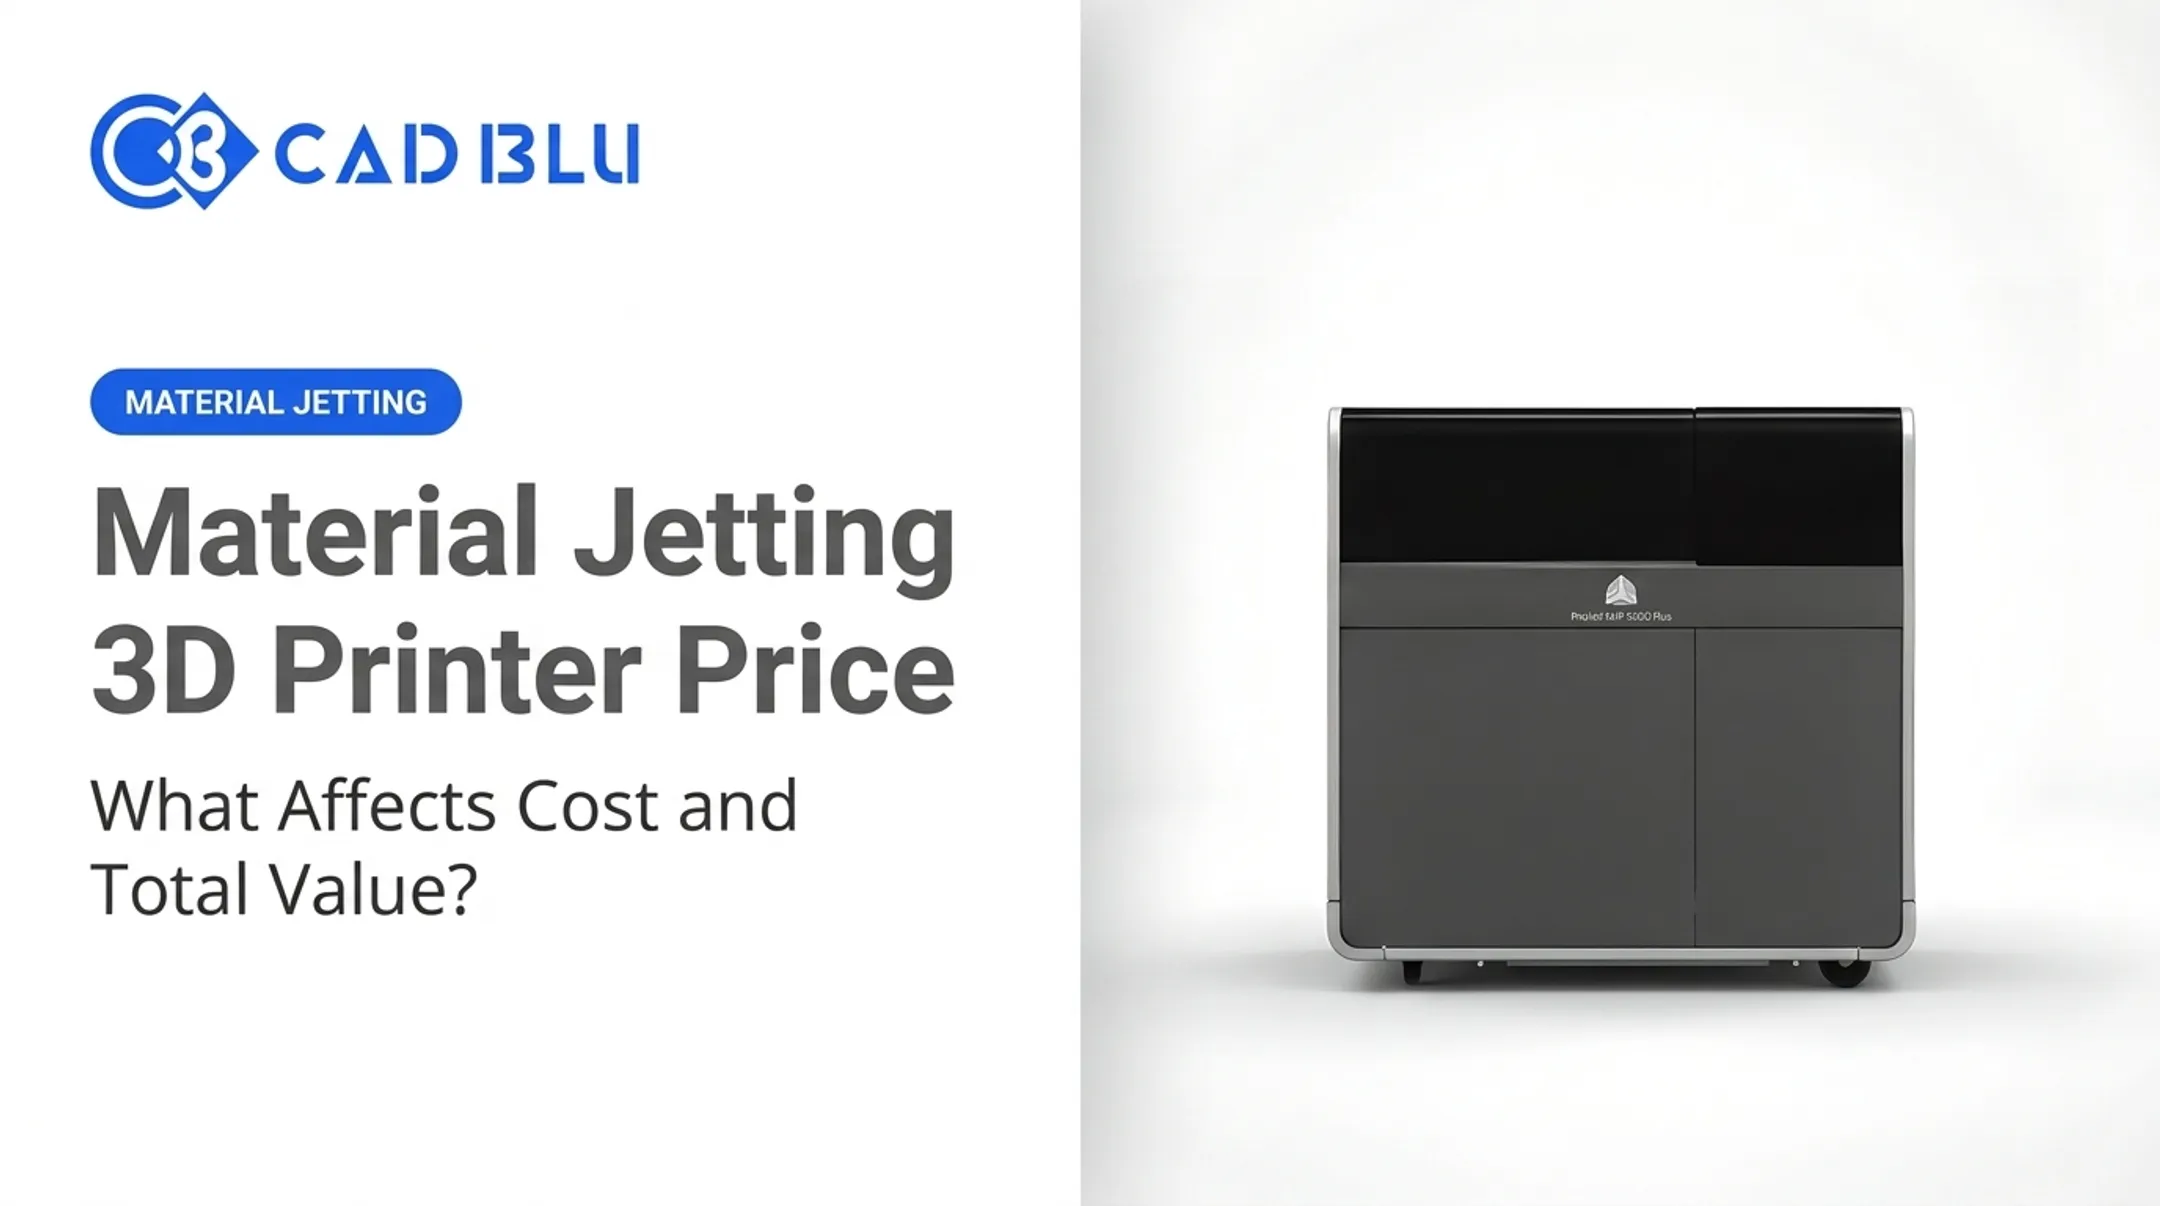
The result is some of the smoothest, most detailed output in additive manufacturing. Multi-material and multi-color parts come off the build plate looking closer to finished products than prototypes.
If you're evaluating this technology, you're probably asking three things: how it actually works, which materials and printers fit your application, and whether it holds up for prototyping, casting, dental, medical, or jewelry work. This guide covers the process, the material landscape, printer selection criteria, real applications, and where material jetting falls short compared to SLA, FDM, and powder-based processes.
Key Takeaways
- Material jetting deposits build and support droplets, then cures each layer with UV light or heat for high-precision parts.
- It delivers fine detail, smooth surfaces, and multi-material or multi-color capability few other processes match.
- Choose printers by build volume, resolution, materials, throughput, and post-processing needs—not brand name alone.
- Photopolymer parts suit prototypes, models, and casting patterns better than high-stress, long-term functional parts.
What Is Material Jetting 3D Printing and How Does It Work?
Material jetting is an additive manufacturing process that deposits small droplets of liquid build material through printhead nozzles onto a build platform, forming an object one layer at a time. ISO/ASTM 52900 formally defines it as a process where feedstock droplets are selectively deposited, citing photopolymer resin and wax as example materials.
Think of a 2D inkjet printer, but instead of ink on paper, the printhead places material across an X-Y plane and then rises to add another layer. Height builds through repeated deposition and curing, not a single pass.
The Core Process Steps
- Load materials – Build and support materials go into the printer, often as sealed bottles or cartridges.
- Slice and assign – Software slices the 3D model into layers and maps materials, colors, or digital-material properties to specific regions.
- Jet droplets – One or more printheads deposit droplets according to the sliced pattern.
- Cure each layer – UV lamps or heat solidify the layer before the next one begins. On systems like 3D Systems' MJP wax printers, the wax is jetted and simply cooled rather than UV-cured.
- Post-process – Remove support material, then wash, polish, or post-cure as needed.
Why Support Structures Matter
Overhangs, cavities, and complex internal geometries need something to hold them up mid-print. Material jetting systems typically use wax-based, dissolvable, or gel-like supports for this. VisiJet M2 SUW, for example, is a wax support that melts away rather than requiring manual cutting, which protects fine detail during release.
What Affects Print Quality
These variables drive surface finish and dimensional accuracy:
- Droplet size and nozzle condition
- Material viscosity and temperature control
- Layer thickness (commonly 25, 50, 100, or 200 microns depending on material and printer)
- Curing consistency across the build
- Model orientation and support placement
Miss on any of them and you get uneven finish or dimensional drift. Most manufacturers publish material-specific settings so you are not left guessing.

Material Jetting Materials and Printer Types
Not all material jetting systems use the same feedstock. The main categories are photopolymer build materials, support materials, waxes, and in specialized systems, nanoparticle suspensions for metal or ceramic printing.
Photopolymer Options
Photopolymer resins cover a wide property range:
- Rigid – durable models and tooling aids
- Flexible/elastomeric – gaskets, grips, and pliable prototypes
- Transparent or opaque – visual and optical mockups
- Castable – clean burnout in investment casting
- High-temperature – warm-environment testing
- Biocompatible – dental and medical parts under validated workflows
3D Systems' M2S-HT90, for example, is a transparent, rigid, high-temperature resin used for rapid tooling and fine-feature medical device models.
Always verify manufacturer performance and regulatory claims for your application. Category labels are not a substitute for certification.
Composite and Digitally Mixed Materials
Some systems combine base materials within a single build to simulate different stiffness, color, or texture in one part. NextDent's Jetted Denture Solution uses this approach for multi-material, monolithic dentures with digital shade mixing, cutting out several manual lab steps.
Comparing the Major Approaches
| Approach | How it works | Common use case |
|---|---|---|
| PolyJet | Photopolymer droplets deposited and UV-cured, often multi-material in one pass | Multi-color, high-detail prototypes |
| Drop-On-Demand | Material deposited only when required | Wax patterns, casting workflows |
| NanoParticle Jetting | Liquid suspensions with metal or ceramic nanoparticles | Metal/ceramic parts requiring debinding and sintering |
XJet describes its NanoParticle Jetting process as jetting liquid nanoparticle dispersions directly rather than working with loose powder, so material handling differs sharply from powder-bed systems.
One caution: materials are usually printer-specific. VisiJet, Figure 4, and NextDent resins aren't interchangeable across machine families, so your printer choice locks in your material roadmap. Teams selecting equipment through partners such as CAD BLU typically map resin or wax families to the target printer and end use before purchase.
How to Choose a Material Jetting 3D Printer
Start with what the part needs to do, not with a spec sheet. A jewelry caster and a surgical-planning lab have almost nothing in common in terms of requirements, even though both might use material jetting.
Technical Specs Worth Comparing
- Build volume – about 294 × 211 × 144 mm on compact systems up to 508 × 508 × 305 mm on larger color units (e.g., Mimaki 3DUJ-553)
- Resolution modes – selectable quality settings; ProJet MJP 2500W reaches 1200 × 1200 × 1600 DPI with 16-micron layers
- Printhead configuration and material channels – determines how many materials or colors you can run per build
- Dimensional accuracy – the ProJet MJP 2500W lists typical accuracy of ±0.004 inch per inch
Ownership Costs to Factor In
Beyond the sticker price, budget for:
- Support-material consumption and cleaning systems (like the MJP EasyClean System)
- Printhead replacement and routine maintenance
- Curing equipment and adequate ventilation
- Training time and service contracts
List prices already span a wide band: the ProJet 2500 Plus at $55,700 and the NextDent 300 dental printer at $72,000. Materials add ongoing cost—a 1.3 kg bottle of M2 ICast wax runs $478, with support wax such as VisiJet M2 IC SUW priced separately.

Workflow Integration
Check compatibility with your CAD and slicing software, multi-material file formats, and automated support generation. The ProJet MJP 2500W, for example, accepts STL, OBJ, PLY, AMF, and several other formats through 3DSPRINT software, and connects to 3D Systems' service team via 3D Connect.
Match Printer Type to User Type
- Designers and product teams – prioritize realistic appearance, color, and fast iteration
- Jewelry and casting teams – need castable or wax materials with clean burnout and dissolvable supports
- Dental and medical users – require validated workflows and documented biocompatibility
- Industrial users – weigh durability, repeatability, and cost per part
- Schools and smaller businesses – value ease of use and accessible support
NextDent materials, for example, are CE-marked under MDD 93/42/EEC and FDA-listed only when printed on an approved printer with the specified post-cure unit.
CAD BLU works through technology, build volume, material, and budget fit before quoting a system, so teams are not guessing which printer matches production needs.
Always confirm specifications directly with the manufacturer before treating any figure as current—printer lineups and pricing change.
Material Jetting Applications, Advantages, and Workflow Value
Material jetting shows up across several industries because each one leans on a different strength of the process.
Where it shows up most:
- Realistic product prototypes and design validation models
- Anatomical and surgical-planning models for hospitals and universities
- Dental models, surgical guides, and denture production
- Jewelry patterns and investment-casting workflows
- Visual models, color studies, and tooling aids
A Stratasys case study on Italdesign's DaVinci concept car describes using PolyJet to produce marble-effect interior parts. The draw was realistic appearance and texture, not mechanical strength.
That's a clear snapshot of the fit: jobs where how something looks and feels matters as much as how it performs.
Why Teams Choose It
- Fine detail and smooth surfaces reduce the need for manual finishing
- Multi-material and multi-color output cuts down on assembling separate prototype components
- Complex geometry support catches fit and ergonomic problems earlier in development
Investment casting shows the same workflow payoff in production terms.
Materials like M2 ICast produce repeatable wax patterns with lot numbers and technical data sheets, which foundries need when tracking quality across runs. The process also skips the rubber-mold and wax-injection steps traditional casting requires.

Not every material jetting system covers every application above. Match the printer and material to the job—prototype visuals, dental models, or castable patterns—before you commit.
Limitations, Costs, and Comparisons with Other 3D Printing Technologies
Material jetting isn't the right fit for everything. Photopolymers are thermosets, and Stratasys notes they aren't UV-stable long-term. Parts can discolor or become brittle with age, which rules the technology out for most severe mechanical loading or long-service applications.
Common cost drivers include:
- Equipment purchase price
- Build and support material consumption
- Failed prints and labor for cleaning/curing
- Printhead replacement and service contracts
Exact cost-per-part figures vary too much by material, printer, and application to generalize. Request a documented cost example from your supplier rather than relying on rough estimates.
Material Jetting vs. SLA vs. FDM
| Factor | Material Jetting | SLA | FDM |
|---|---|---|---|
| Deposition | Droplets jetted and UV-cured | Resin cured by laser/light in a vat | Thermoplastic filament extruded |
| Surface finish | Smooth, high detail | Smooth, resin-dependent | Visible layer lines |
| Multi-material/color | Strong capability | Limited | Limited |
| Functional durability | Generally lower for photopolymers | Formulation-dependent | Often stronger, more stable |
Stratasys' own comparison of FDM and PolyJet notes that FDM production thermoplastics tend to be stronger and more dimensionally stable over time, while PolyJet wins on surface smoothness and multi-material detail.
Material Jetting vs. Binder Jetting, MJF, and SLS
These powder-based processes differ from material jetting in how they form parts:
- Binder jetting deposits a liquid binding agent onto a powder bed rather than jetting the build material itself
- SLS fuses powder particles with lasers
- MJF uses fusing and detailing agents plus heat
Material jetting jets and cures the actual build material directly. That difference drives the distinct support strategies and part properties across these methods.
Sustainability Considerations
Support waste and unused photopolymer are real byproducts of this process:
- Dispose of uncured resin and wash solvents as chemical waste under applicable regulations—never down a drain
- Account for machine energy use and lot-dated resin shelf life in total environmental impact
- Follow standard hazardous-material handling requirements for your facility
Frequently Asked Questions
What is material jetting in PolyJet 3D printing?
PolyJet is Stratasys' branded material jetting process. Photopolymer droplets are deposited and UV-cured layer by layer, producing detailed multi-material, multi-color, or transparent prototypes.
What is binder jetting in additive manufacturing?
Binder jetting deposits a liquid binding agent onto a powder bed to join particles layer by layer. Material jetting differs by depositing the actual build material as droplets, typically cured with UV light or heat.
Is material jetting suitable for functional, end-use parts?
Generally not for high-stress applications. Most photopolymers used in material jetting are better suited to prototypes, casting patterns, and models than parts under heavy mechanical or thermal load.
How much does a material jetting 3D printer cost?
Commercial systems typically start around $55,700 for compact plastic printers and can reach about $360,000 for higher-capability platforms, before materials and accessories.