The technology you choose shapes dimensional accuracy, repeatability, surface finish, and how well your printed material mimics the final production part. It also determines how fast you can iterate and how much post-processing eats into that speed advantage.
The stakes are real. The global additive manufacturing industry grew 9.1% to $21.9 billion in 2025, according to the Wohlers Report 2025, with materials-sector growth signaling wider adoption across manufacturing. More companies are betting on additive manufacturing to validate designs before committing to tooling. Getting the technology match wrong, though, means reprints, missed tolerances, and wasted iteration cycles.
Key Takeaways
- Rapid prototyping turns CAD files into physical parts for testing form, fit, function, or appearance
- FFF, SLA, DLP, SLS, MJF, PolyJet, and metal systems each serve different precision and material needs
- Precision comes from the full workflow, not just a printer's advertised resolution number
- The right printer matches your prototype's purpose, tolerance requirements, and total cost per iteration
What Is a 3D Printer for Rapid Prototyping?
A 3D printer for rapid prototyping is an additive manufacturing system that builds a physical model or precision part directly from a digital CAD file. The goal is fast design validation and iteration, not one-off model making.
Two ideas often get used interchangeably, but they are not the same. Rapid prototyping is a methodology: a development approach focused on speed and iteration. 3D printing is one manufacturing method used inside that methodology. Additive manufacturing also supports tooling, jigs, fixtures, and even end-use production parts, well beyond early-stage prototypes.
Prototypes typically serve one of several objectives:
- Concept validation: does the design idea hold up physically?
- Form and fit checks: does it mate correctly with other components?
- Appearance and ergonomics: how does it look and feel in hand?
- Functional testing: will it survive real-world loads or use?
- Tolerance verification: do critical dimensions land within spec?
- Pre-production evaluation: is it ready for the next manufacturing stage?
How the 3D Printing Prototyping Workflow Works
The workflow starts long before anyone hits print. It typically runs through these stages:
- Model in CAD to create or refine the digital design
- Prepare the file with slicing or build setup
- Run the printer through material deposition or curing
- Post-process, inspect, and test the printed part
- Revise the design and repeat as needed

Several variables inside that workflow directly affect outcomes:
- Part orientation on the build plate influences strength, surface finish, and support requirements
- Layer settings trade print time against resolution
- Support structures protect overhangs but leave marks that need cleanup
- Infill or build strategy affects strength-to-weight ratio and print duration
A precision-focused workflow defines feature tolerances and inspection requirements before printing. Treating accuracy as an afterthought is how teams end up with parts that look fine but fail a caliper check.
Main 3D Printing Technologies for Precision Prototypes
No single technology wins across every metric. Each one trades speed, cost, precision, and material performance differently.
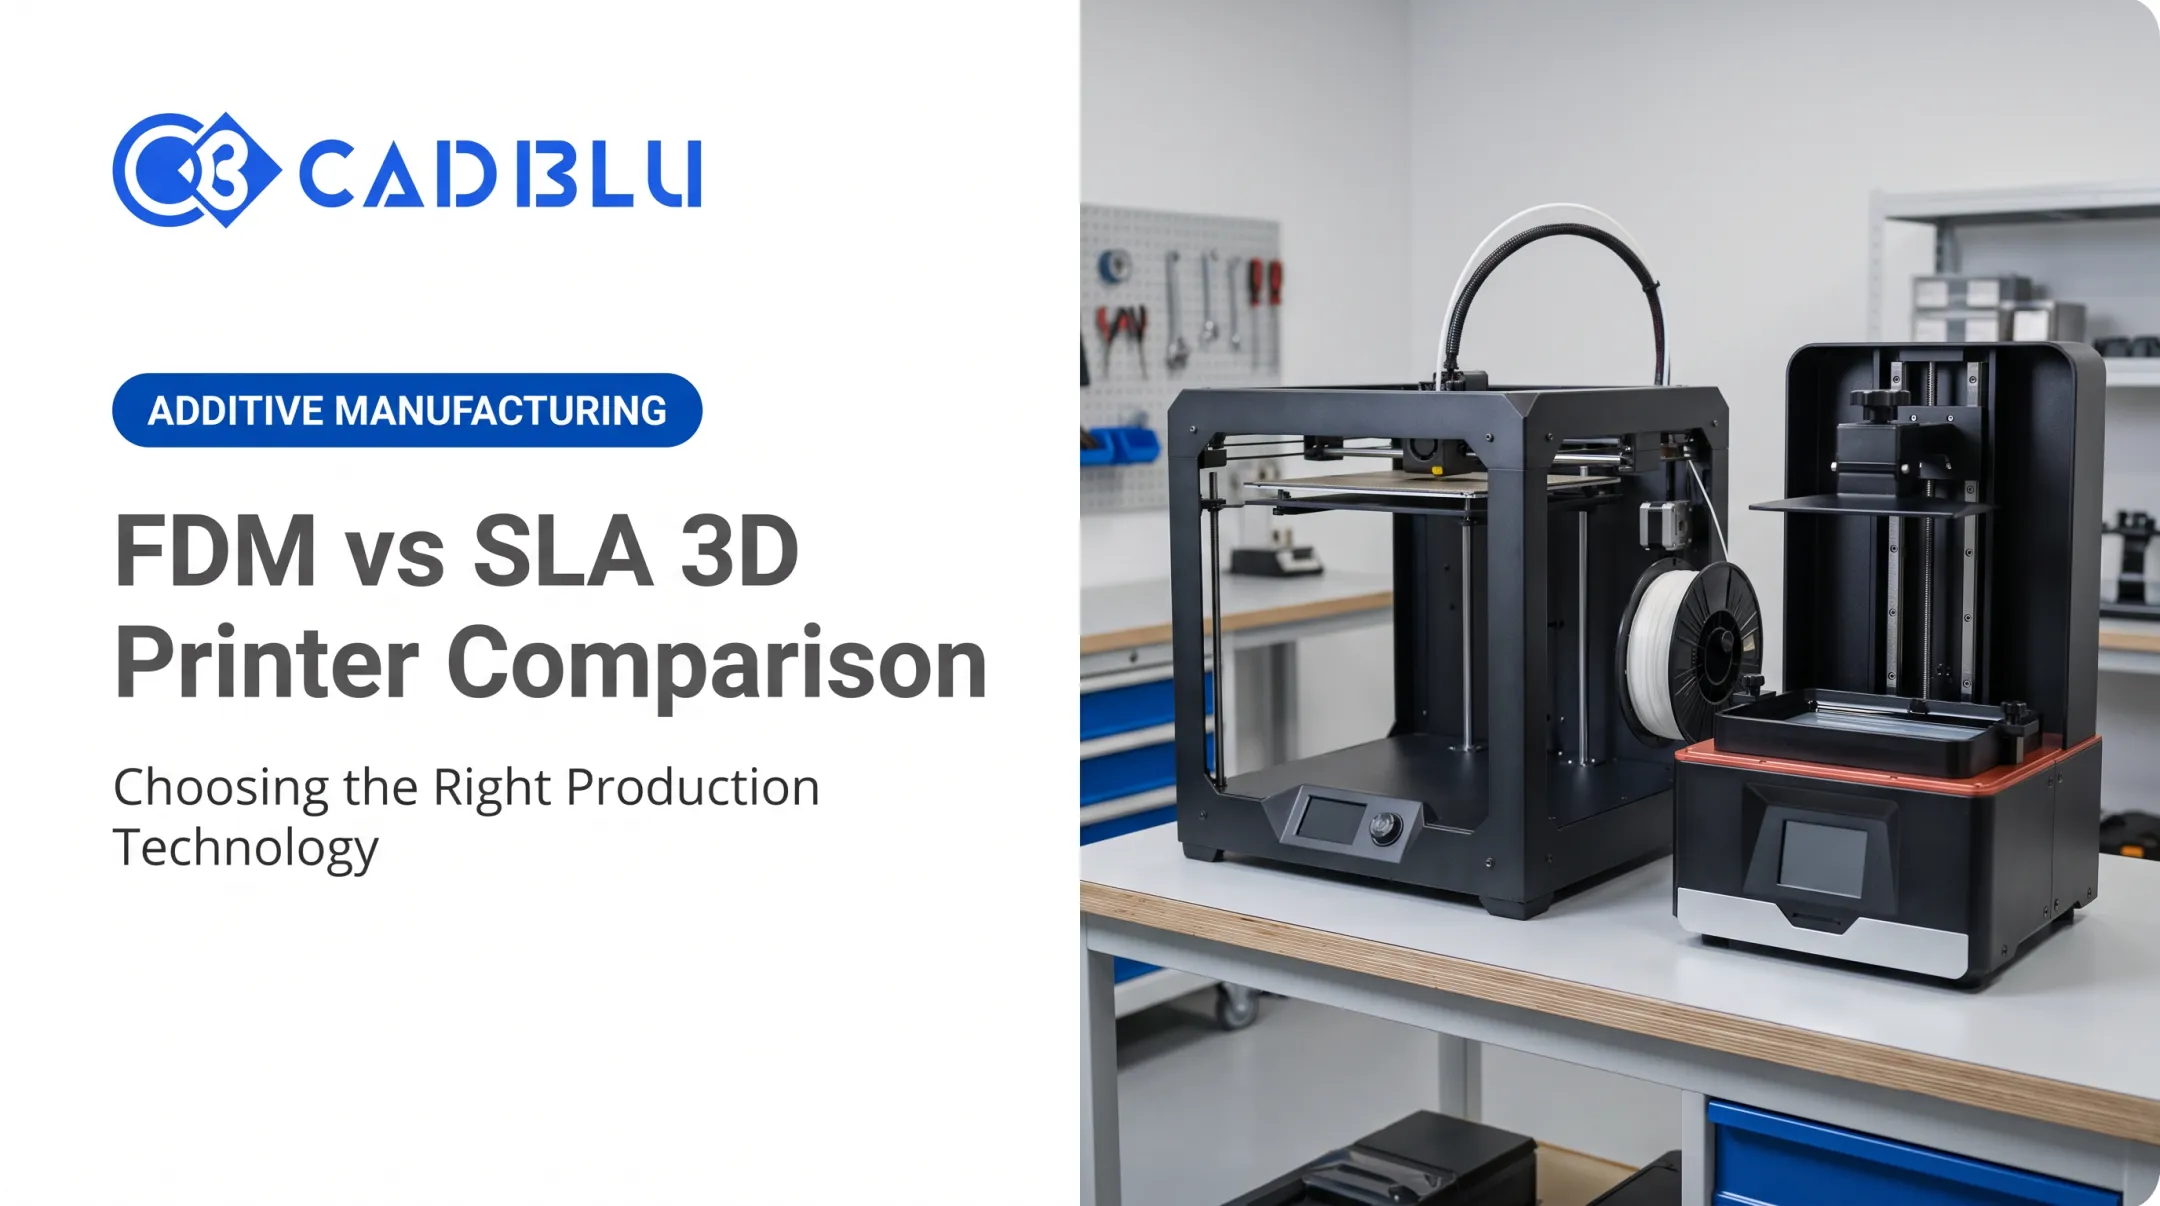
FFF/FDM builds parts by extruding melted thermoplastic layer by layer. It's the go-to for cost-effective concept models, larger parts, and functional fit checks.
Expect visible layer lines, anisotropic strength (parts are stronger along the print axis than across it), and some warping on larger geometries. Manufacturer accuracy specs for professional-grade FDM systems commonly land around ±0.2 mm or a percentage of feature size, though real-world results depend heavily on geometry.
SLA and DLP cure liquid resin with a laser or projected light source. Both are common choices when fine features and smooth surfaces matter: think jewelry masters, dental models, and detailed visual prototypes.
Post-processing includes washing off uncured resin and UV curing. Some resins can be brittle, so functional parts need careful material selection.
SLS and MJF use lasers or heat-and-fuse processes on polymer powder. Because unfused powder acts as its own support, these methods handle complex geometries with fewer supports than resin or filament systems. Parts come out with a slightly textured surface and durable mechanical properties, making them strong candidates for functional testing.
PolyJet and similar multi-material systems jet photopolymer droplets, cured layer by layer, enabling multiple materials, colors, and textures in a single build. That makes them valuable for high-fidelity visual prototypes: soft-touch overmolds, transparent lenses, or color-accurate consumer product mockups.
Metal and high-performance polymer systems come into play when a prototype needs to represent real mechanical, thermal, or chemical operating conditions. These are typically slower and costlier per part. A prototype build is not automatically interchangeable with a qualified, certified production part.

Here's a quick comparison. Always verify current specs against manufacturer documentation before committing.
| Technology | Precision & Surface Finish | Typical Strength | Geometry Freedom | Common Prototype Use |
|---|---|---|---|---|
| FFF/FDM | Moderate; visible layers | Directional (anisotropic) | Moderate; needs supports | Concept models, fit checks |
| SLA/DLP | High; smooth finish | Can be brittle | High for fine detail | Visual, dental, jewelry |
| SLS/MJF | Good; slight texture | Durable, isotropic | High; few supports | Functional testing |
| PolyJet | Very high; multi-material | Varies by material | High | Visual, fit-and-feel |
| Metal AM | High but slower | Production-representative | Moderate to high | Mechanical/thermal validation |
Why Manufacturers Use 3D Printing for Rapid Prototyping
Building directly from CAD cuts dependence on molds, specialized tooling, and outside fabrication shops for early design iterations. That alone changes the pace of product development.
Faster physical feedback means design problems surface sooner. Fit issues, assembly conflicts, ergonomic misses, and aesthetic flaws get caught before they're baked into tooling investments.
Additive manufacturing also opens up geometries that are impractical or impossible with conventional machining:
- Internal channels and conformal cooling paths
- Lattice structures that cut weight without sacrificing strength
- Multi-part assemblies consolidated into a single printed piece
The time savings can be substantial. In a Jabil facility case study, a design verification cycle that previously took months was completed in weeks — an 80% reduction in manufacturing-aid creation time.
A part that once took up to two months from an outside machine shop was produced in four days using 3D printing, according to Jabil's own case study documentation. Tooling costs in that same case dropped by up to 30%.

One company's result is not a universal guarantee. Still, it matches the pattern manufacturers report repeatedly: shorter iteration loops, fewer outside dependencies, and more design freedom.
What to Consider When Choosing a 3D Printer for Precision Parts
Start with the part, not the printer. Define the test objective, required tolerance, material behavior, expected production volume, and inspection method first. Then select a technology and machine that fit those requirements.
Each factor below connects a technical spec to something measurable: first-pass yield, usable prototype turnaround, reprint rate, or cost per iteration.
Required Precision and Repeatability
Resolution, accuracy, and repeatability are not the same thing.
- Resolution — the smallest increment a printer can command
- Accuracy — how close a printed dimension lands to the target
- Repeatability — consistency across multiple prints, even when a consistent offset exists
Layer height alone tells you almost nothing about overall part precision.
Before comparing printers, define:
- Critical dimensions and mating features
- Fine detail requirements
- Wall thickness and hole size tolerances
- Flatness and acceptable deviation
As Stratasys explains in its guide to reading accuracy specs, single-number accuracy claims are often best-case snapshots under undisclosed test conditions. Ask for sample parts and independent test evidence in your actual material, not just the datasheet number.
Prototype Purpose and Material Requirements
Match the prototype type to the material property it needs to prove:
- Concept models — appearance and rough form only; low-cost material is fine
- Fit checks — dimensional accuracy matters more than strength
- Functional prototypes — need representative strength, stiffness, or heat resistance
- Pre-production parts — should use a material closely matching the final production process
A lower-cost prototype material works well early on. But once you're testing load-bearing performance or chemical exposure, printed material performance can't always substitute for validation on the actual production process.
Geometry, Build Volume, and Production Throughput
Look beyond the single-part build volume number. Consider nesting opportunities, internal channels, overhangs, and whether the printer can produce a full assembly or requires splitting parts.
Stated print speed rarely equals usable throughput. Factor in:
- Machine setup and warm-up time
- Curing or powder handling
- Support removal and finishing
- Inspection time
- Expected reprint rate
A printer that's "fast" on paper can lose that edge once post-processing labor gets added up.
Surface Finish and Post-Processing
Layer lines, stair-stepping, support marks, and resin residue all affect how close a part looks and measures to the design intent. Post-processing steps — sanding, curing, coating, polishing — take time, consumables, and sometimes ventilation or waste handling infrastructure.
The smarter approach: choose the minimum finish needed to answer the design question, not the highest fidelity available. Over-processing every iteration slows down the loop you're trying to speed up.
Software, Workflow Control, and Inspection
CAD compatibility, automated support generation, material profiles, and remote monitoring all affect how repeatable your process is over time. Repeatable print profiles, calibration records, and controlled material storage matter as much as the hardware itself.
Pair your printer with an inspection plan suited to the part's critical dimensions — calibrated gauges, 3D scanning, or coordinate measurement, depending on what's at stake.
Total Cost of Ownership and Support
Purchase price is one line in a much longer equation. Compare it against materials, consumables, software, installation, training, maintenance, downtime, and post-processing labor.
An in-house printer tends to make sense when you need frequent iteration, confidentiality, or immediate feedback. Outsourcing can be more practical for occasional or highly specialized builds.
Also weigh support response time, technician certification, and spare-parts access—downtime erodes the speed advantage that justified the purchase. Professional-grade printers span a wide price range. Commercial and industrial systems commonly run from roughly $10,000 into the hundreds of thousands, depending on technology and build volume. Matching capability to actual usage frequency avoids paying for capacity you won't use.
How CAD BLU Can Help
CAD BLU has worked as a full-service digital manufacturing partner since 2000, helping businesses evaluate and scale 3D printing for both prototyping and production. That means aligning printers, materials, software, and CAD or scanning workflows to the application in front of you, not a generic recommendation.
CAD BLU's catalog spans commercial plastic and metal printer platforms, including SLA, MultiJet, and Figure 4-class systems, with materials covering plastics, elastomers, composites, wax, and metal.
Support comes from OEM-trained and certified technicians, and CAD BLU has served more than 3,000 customers across the United States and overseas, from jewelry and dental labs to aerospace and industrial manufacturers.

CAD BLU can help you weigh:
- An in-house printer for frequent, confidential, or immediate-feedback iteration
- Outsourced printing for occasional or highly specialized builds
- A partial solution that adds capability without a full platform investment
- A turnkey additive manufacturing setup covering hardware, software, and materials
If you're evaluating a precision-part application, bring a CAD file or a description of your requirements. CAD BLU's team can walk through technology and material options matched to your tolerance, volume, and budget.
Conclusion
The best 3D printer for rapid prototyping is the one that consistently delivers parts capable of answering your design question. That's a moving target, not a fixed model number.
Prioritize these factors over popularity or sticker price alone:
- Precision and repeatability
- Material properties and part geometry
- Post-processing needs and throughput
- Total cost of ownership
A printer that looks like a bargain upfront can cost far more once reprints and manual finishing enter the picture.
Treat printer selection as a decision you revisit as applications evolve. Each prototype cycle generates performance data — dimensional deviations, material behavior, finish quality — that should inform your next technology, material, or workflow choice.
Frequently Asked Questions
How much does it cost to 3D print a prototype?
Cost depends on part size, material, technology, print time, supports, post-processing, and quantity, plus whether the work is done in-house or outsourced. Request a project-specific estimate rather than relying on a generic per-part figure.
What is rapid prototyping in 3D printing?
Rapid prototyping is the quick production and testing of physical models or parts directly from CAD data. Teams evaluate the result, then iterate on the design before moving toward production.
What is the fastest 3D printing method?
No single method is fastest for every part. Build speed has to be weighed against preparation time, post-processing, part quantity, geometry, and the precision required for that specific application.
Which 3D printer is best for rapid prototyping?
It depends on the prototype's purpose, tolerance, material, size, surface finish needs, and budget. Evaluate based on your specific application rather than choosing one universally "best" model.
Is 3D printing good for prototyping?
Yes — it enables faster iteration, less tooling dependency, complex geometries, and material flexibility. That said, factor in anisotropic strength, shrinkage, and post-processing needs, since these vary by technology.
Is rapid prototyping the same as additive manufacturing?
No. Rapid prototyping is a product-development use case, while additive manufacturing is the broader family of layer-based production technologies. Additive manufacturing supports prototypes, tooling, and end-use parts alike.