Introduction
Denture fabrication is the clinical and laboratory process of designing, producing, finishing, and fitting a removable dental prosthesis. It sounds straightforward: take an impression, make a mold, deliver the denture. In practice, patients and practices often struggle with poor fit, repeat remakes, and long turnaround when clinical records, lab design, materials, and follow-up are not tightly coordinated.
About 12.9% of U.S. adults aged 65 and older have lost all their natural teeth, according to a CDC data brief on oral health. Many rely on dentures for chewing, speech, and facial support, so fabrication quality directly affects daily function.
This guide is for patients, dental practices, laboratories, and technicians who want to understand how complete, partial, immediate, and digitally fabricated dentures come together. We'll compare conventional and digital workflows, walk through the major fabrication steps, cover what drives quality, and flag common problems to watch for.
Key Takeaways
- Expect a clear path: assessment and records, tooth setup, base production, finish, delivery, then adjustments.
- Conventional work uses physical impressions and acrylic; digital work uses scans, CAD, and milling or 3D printing.
- Fit and comfort hinge on accurate records and calibrated equipment—not the conventional vs. digital label.
- Digital tools improve repeatability but don't replace clinical judgment or in-person try-ins.
What Is Denture Fabrication and Why Is It Used?
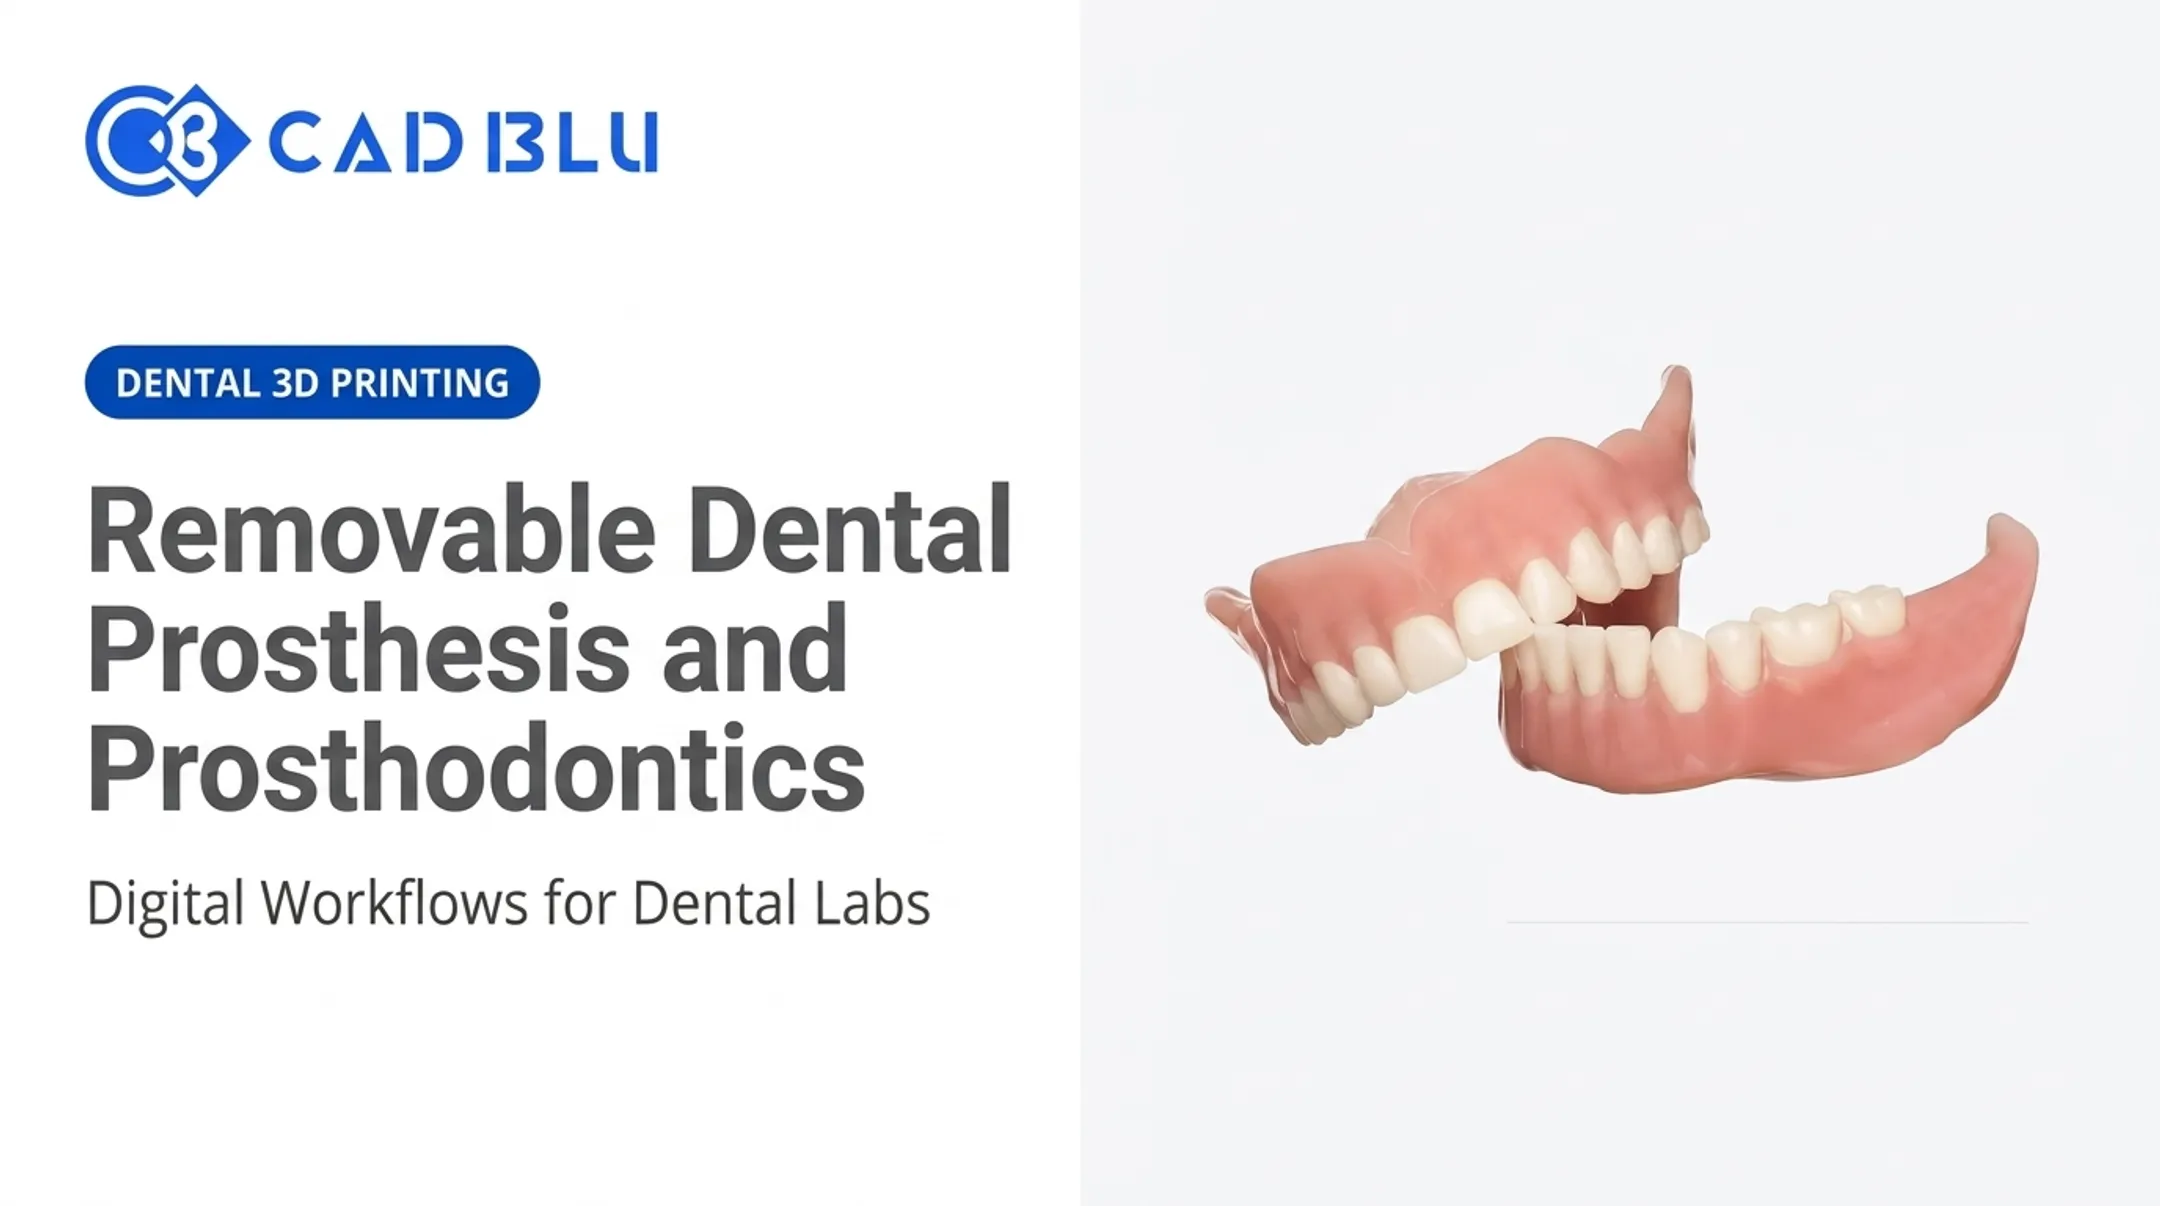
Dentures are custom removable prostheses that replace missing teeth and, in many cases, support the surrounding gum tissue, cheeks, and lips. There are four main categories:
- Complete dentures — replace every tooth in one or both arches
- Partial dentures — replace some teeth while natural teeth remain
- Immediate dentures — fabricated before extraction and inserted the same day teeth are removed
- Implant-supported or implant-retained removable dentures — use implants for retention, support, or both
A well-made denture restores chewing function and speech, supports facial appearance, and stays stable enough for daily use without irritating the tissue underneath—not only filling gaps.
Fabrication is not the same as fitting. Fabrication creates the physical prosthesis. Fitting, delivery, and follow-up verify how that prosthesis actually performs once it's in the patient's mouth — checking pressure spots, occlusion, and speech before calling the case complete.
Dentures are used for complete tooth loss, partial tooth loss, extraction planning, transitional treatment during healing, and cases where implants aren't selected or suitable. Whatever the scenario, the process has to account for:
- Ridge shape and tissue anatomy
- Retention and stability
- Jaw relationships and vertical dimension
- Occlusion (how the teeth meet when biting)
- Aesthetics and hygiene access
- Patient expectations and adaptation
Appointment count varies by case type. A straightforward partial may need only two or three visits, while an immediate denture hinges on extraction timing. Digital workflows can compress lab stages, but the same clinical checkpoints still apply.
How the Denture Fabrication Process Works
Examination and planning lead to impressions or scans. Those records set jaw relationships and tooth position, the lab designs and builds the prosthesis, and the clinician verifies, delivers, and adjusts it.
Step 1: Initial Examination and Treatment Planning
The dentist assesses the gums, ridges, remaining teeth, soft tissues, and any existing dentures. Medical history and aesthetic goals factor in here too. This is where the team decides whether a complete, partial, immediate, or implant-supported approach fits the patient's anatomy and needs.
Step 2: Capturing Anatomical Records
Conventional impressions use custom trays and border molding, physically shaping the impression material against the moving tissues at the edge of the denture-bearing area. Digital workflows substitute intraoral scanning, sometimes digitizing a conventional impression instead of scanning the mouth directly.
Edentulous arches are harder to scan than arches with teeth. A 2023 systematic review of intraoral scanner accuracy found that scanners can produce clinically acceptable results for edentulous impressions overall, but the biggest discrepancies showed up at:
- Peripheral borders
- The posterior palatal seal
- The soft palate
- Sublingual tissue and vestibules
These are mobile, poorly traceable areas, so scan accuracy depends heavily on operator technique, not just the scanner itself.
Step 3: Recording Jaw Relationships and Tooth Position
Wax rims establish centric relation, vertical dimension, midline, lip support, and the occlusal plane. Tooth shade and mould are selected here too. In digital workflows, these records get transferred into CAD software, but a stable record base or occlusion rim is still needed to verify the bite — the scan alone doesn't replace that step.
Step 4: Designing and Manufacturing the Denture
This is where conventional and digital paths diverge most visibly.
Conventional sequence: stone casts → articulator mounting → wax tooth setup → flasking → acrylic packing → curing → deflasking → finishing → polishing. Each step is manual and depends on technician skill.
Digital manufacturing splits into two approaches:
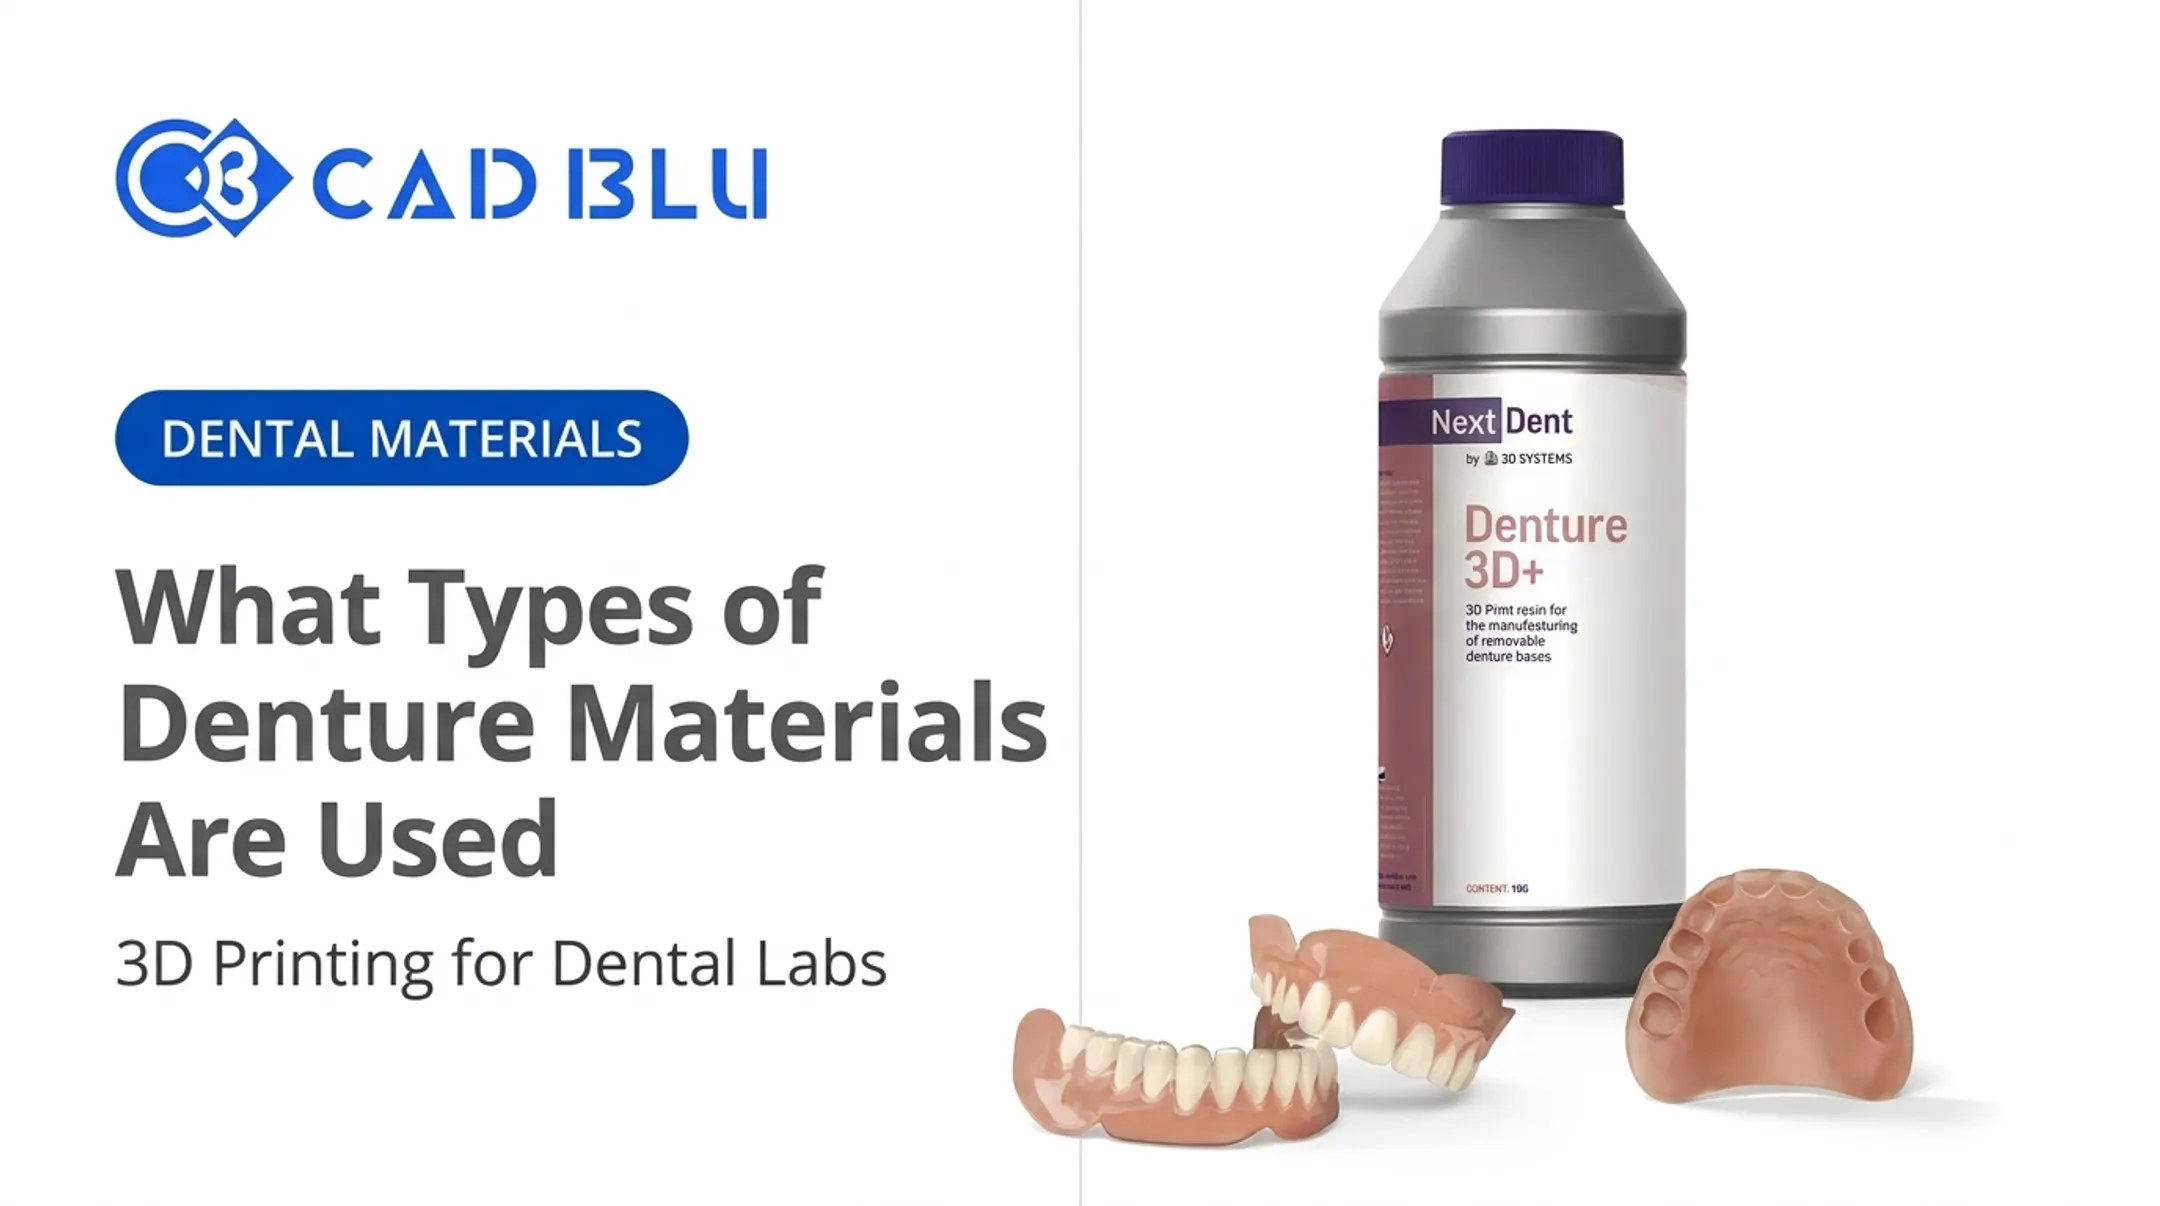
- Additive manufacturing builds the prosthesis layer by layer from a liquid resin or similar printable material
- Subtractive manufacturing mills the design out of a solid, preformed block
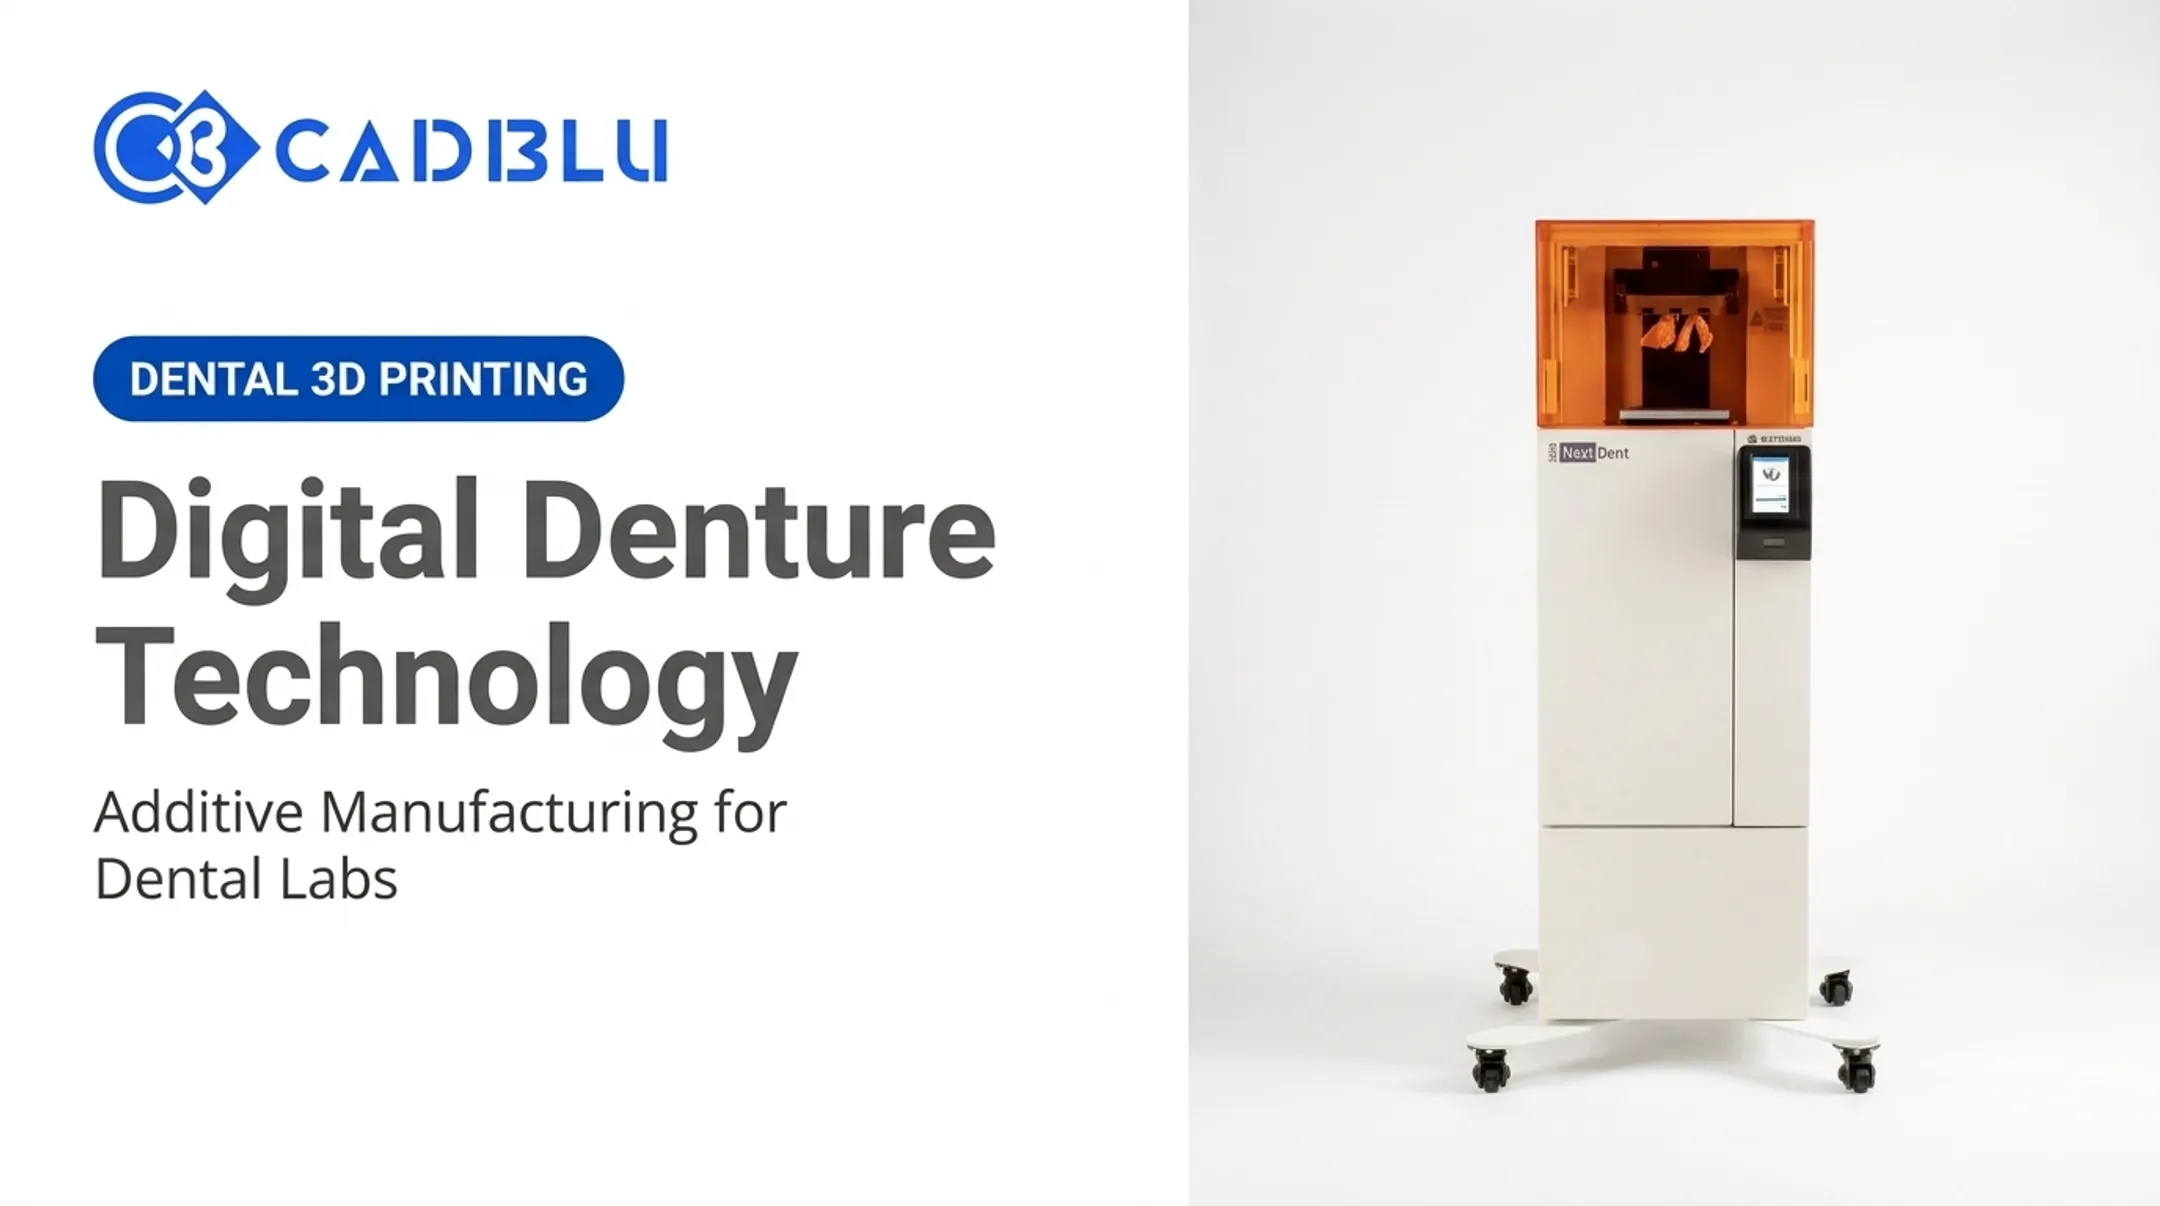
Some 3D-printing systems, like the NextDent 300, print the denture base and teeth as one monolithic piece rather than assembling them separately. In documented workflows, file preparation takes roughly 5–10 minutes and printing runs 3–9 hours depending on the build. A full batch of 15 arches can finish in about 9 hours.

CAD BLU supplies the commercial 3D printers, biocompatible materials, CAD/CAM software, installation, and OEM-trained technical support that labs and clinics use for these digital workflows—not clinical treatment or finished dentures.
Biocompatibility or FDA clearance applies to the specific material-and-printer combination documented by the manufacturer, and only when the exact post-curing protocol is followed.
Step 5: Try-In, Delivery, and Follow-Up
A wax or printed try-in lets the clinical team check tooth position, appearance, speech, occlusion, and vertical dimension before final processing. Patient approval is required before the case moves forward.
At delivery, the dentist checks:
- Pressure spots against the tissue
- Occlusal contacts
- Border extension and retention
- Speech and comfort
Adjustments and relines often follow in the weeks after insertion as the patient adapts. A digital file can support a future remake, but the clinician should review it for changes in the patient's anatomy or oral health before reproducing an old design.
Where Denture Fabrication Is Applied and What Affects Results
Denture fabrication spans three environments: the dental practice (records, delivery, follow-up), the laboratory (design and manufacturing), and increasingly a digital manufacturing environment for scanning, CAD, and 3D printing or milling.
Common applications:
| Denture Type | Who It's For | Key Consideration |
|---|---|---|
| Complete denture | Patients missing all teeth in an arch | Retention depends heavily on ridge anatomy |
| Partial denture | Patients with some remaining natural teeth | Must integrate with existing teeth and bite |
| Immediate denture | Placed at time of extraction | Tissue changes during healing require adjustment |
| Implant-supported/retained | Patients using implants for stability | Needs accurate implant-position records |
Materials and equipment that affect outcomes:
- Acrylic or resin systems and denture teeth
- Milled or 3D-printable materials with documented biocompatibility
- Bonding and polishing systems
- Scanner calibration, printer or mill accuracy, build orientation, and post-processing
Those choices only pay off when the workflow behind them is controlled. Neither conventional nor digital methods automatically win on accuracy. A controlled crossover study comparing conventional impressions to digital scans found that conventional border-molded impressions produced significantly higher retention than digital scans in the tested cases. Scan-to-cast mean deviation was 0.45 ± 0.11 mm. Technique and tissue mobility still drive the outcome either way.

Quality checkpoints that matter regardless of workflow:
- Impression or scan accuracy
- Cast or digital file integrity
- Bite-record reliability
- Occlusal contacts and base adaptation
- Surface smoothness and border thickness
- Final clinical inspection before delivery
For digital cases specifically, labs also need disciplined file handling:
- Consistent file naming conventions
- Secure case transfer
- Version control and backup
These practices let a design be reproduced or modified later without starting from scratch.
Common Issues, Misconceptions, and When Alternatives May Be Better
Misconception: digital automatically means more accurate. A digital scan eliminates certain manual steps, but poor scans, inaccurate bite records, incomplete lab prescriptions, or skipped verification can still produce a denture that doesn't fit. Technology reduces some variables. It doesn't remove the need for careful clinical technique.
Common sources of complications:
Impression and records issues:
- Distorted impressions from movement during setting
- Inaccurate jaw-relation records
- Unstable trial bases during try-in
Processing and delivery issues:
- Tooth-position errors introduced during processing
- Acrylic shrinkage during curing
- Incomplete polymerization leaving residual monomer
- Rough or overextended borders
- Insufficient clinical adjustment after delivery
Immediate dentures require special expectations. Because they're made before extraction, they aren't identical to a definitive denture. Tissue and bone continue changing during healing, so relining, adjustment, or eventual replacement is often part of the plan, not a sign something went wrong.
When a conventional or hybrid approach may be preferable:
- Severe ridge resorption or difficult anatomy that benefits from physical border molding
- Patients who can't tolerate intraoral scanning
- Cases where the clinical team needs a physical try-in to verify fit
- Complex occlusion requiring specialist assessment

The choice between conventional, digital, and hybrid workflows belongs to the dentist and dental team, based on the patient's specific anatomy and needs. This guide is educational and is not a substitute for a professional evaluation.
Conclusion
Denture fabrication starts with diagnosis and records, moves through laboratory design and manufacturing, and ends with clinical verification, delivery, and follow-up. Skipping or rushing any stage shows up later as poor fit or patient discomfort.
Conventional, digital, and hybrid workflows can all produce excellent results when matched to the patient's anatomy, the clinical team's experience, and the equipment on hand. Results depend less on the workflow label and more on:
- Accurate clinical records
- Calibrated equipment
- Skilled technicians
- Consistent follow-up after delivery
Frequently Asked Questions
How long does it take a dentist to make your dentures?
Timing varies by denture type, healing status, laboratory workflow, and how many try-ins are needed. Conventional and digital cases can both take anywhere from a few visits to several weeks. Ask your dentist for a timeline specific to your case.
How do they make dentures when you have no teeth?
The dentist examines the ridges with no remaining teeth, then takes impressions or scans and records the bite. Teeth are arranged, the base is fabricated, and a try-in comes before final delivery, with follow-up adjustments as tissue adapts.
What type of dentures are the most comfortable to wear?
Comfort depends on accurate fit, ridge anatomy, retention, materials, occlusion, and how well the patient adapts, not just whether the denture is complete, partial, immediate, or implant-supported. A well-fitted denture of any type can be comfortable; a poorly fitted one won't be.
What are the main steps in making dentures?
Consultation, impressions or scans, bite registration, tooth-arrangement design, fabrication, try-in, finishing, delivery, and post-delivery adjustments. The sequence stays similar whether the lab uses conventional acrylic processing or digital milling and printing.
Are digital dentures better than traditional dentures?
Digital workflows add repeatability and stored records that simplify remakes, but research shows no universal edge in comfort, retention, or fit. Case selection, technique, and clinical verification still matter more than the manufacturing method.