But here's the catch: there is no single "best" resin for every jewelry project. The right choice depends on piece size, pour depth, cure method, working time, and how much wear the finished piece needs to survive.
This guide compares epoxy, UV, acrylic, polyester, and specialized casting resins for jewelry making. You'll also get selection advice, a beginner workflow, safety guidance, and fixes for common problems like bubbles and stickiness.
Key Takeaways
- Two-part epoxy handles deeper pours, molds, and embedded objects best
- UV resin suits thin layers and fast small projects
- Base your choice on clarity, viscosity, cure depth, UV stability, hardness, and mold compatibility
- Follow the manufacturer's mixing ratio and safety data sheet every time
- Test a small sample before using sentimental inclusions or starting a production run
What Is Resin Jewelry?
Jewelry resin is a liquid polymer or resin system that cures into a solid material. Makers use it to cast, coat, dome, or encapsulate jewelry components, from simple pendants to intricate bezel settings.
Two broad application types drive most projects:
- Casting resin fills molds or deeper forms, producing the entire shape of a piece
- Doming or coating resin creates a raised, glossy surface over bezels, artwork, or decorative materials already set in place
ArtResin, for example, markets its formula as a surface coating rather than a casting resin, recommending roughly 1/8 inch layers that dome naturally at the edge rather than filling a deep mold. That distinction matters more than the label on the bottle.
Those same resins appear across nearly every jewelry format: pendants, earrings, rings, bracelets, beads, cabochons, and bezel-set pieces. Makers combine resin with metal findings, wood, polymer clay, paper, dried flowers, glitter, and gemstones to build layered, personal designs.
Here's the part beginners often miss: "jewelry resin" is a project-oriented label, not one universal chemical formula. Two products sold for the same purpose can behave completely differently. Always check the technical data sheet before assuming a resin will do what you need.
Types of Resin for Jewelry
Different resin chemistries behave very differently once you start pouring. These differences decide which formula fits your piece.
Two-Part Epoxy Resin
Epoxy requires measuring resin and hardener before mixing. Once combined, it gives you a workable window (often around 45 minutes with common craft brands) before it starts to set.
Epoxy strengths:
- Good clarity for showcasing inclusions
- Long enough working time to position objects carefully
- Suitable for deeper pours, molds, and suspended inclusions
Epoxy limitations:
- Mixing errors (wrong ratio, incomplete stirring) cause soft or sticky spots
- Bubbles form easily if you mix too aggressively
- Cure times stretch to 24 hours for touch-dry and 72 hours for full cure with many products
- Cured pieces can yellow under prolonged UV exposure
- The piece needs a dust-free, undisturbed space while curing
UV Resin
UV resin is a single-component formula. There's no mixing involved. You pour it, then cure it under a compatible UV lamp or, in some cases, direct sunlight.
That convenience comes with real limits. According to a Craft Resin comparison of UV and epoxy formulas, UV resin typically cures in 1-3mm layers, compared to roughly 6mm per layer for craft epoxy. That's a meaningful gap if you're filling anything deeper than a shallow bezel.
UV resin strengths:
- Thin bezels and small embellishments
- Quick touch-ups on existing pieces
- Rapid prototyping when you need to see results fast
UV resin limitations:
- Deep pours (light can't reach through thick resin)
- Opaque inclusions that block UV penetration, leaving resin sticky underneath
- Any project where your lamp isn't matched to the resin's wavelength requirements

Acrylic, Polyester, and Polyurethane Casting Resins
These formulas are less common in beginner kits but show up often in production jewelry casting.
| Resin Type | Typical Jewelry Use | Main Advantage | Primary Limitation |
|---|---|---|---|
| Two-part epoxy | Pendants, deep bezels, embedded inclusions | Long working time, strong clarity | Requires precise mixing, slower cure |
| UV resin | Thin bezels, small charms, quick repairs | Cures in minutes under UV light | Shallow layers only, light-dependent |
| Polyester | Clear castings, polished cabochons | Optically clear, polishable | Strong odor, noticeable shrinkage |
| Acrylic | Opaque cast components | Durable surface once cured | Not suited to clear inclusions |
| Polyurethane | Clear encapsulation, industrial castings | UV stable, low shrinkage | Largely industrial-grade formulations |
Practical notes beyond the table:
- Polyester: Strong styrene odor; handle catalyst carefully
- Acrylic: Cures opaque white—poor fit for visible inclusions
- Polyurethane: Clear and UV-stable, but mostly industrial-grade
Never mix systems, change the resin-to-hardener ratio, or add unapproved colorants and inclusions without checking the manufacturer's guidance. These changes can prevent a complete cure, leaving your piece permanently tacky or soft.
How to Choose the Right Resin for Your Jewelry Project
Start with geometry, not preference. A thin earring and a thick cast ring have completely different resin needs.
Match the Resin to Your Piece
- Thin projects (earrings, shallow bezels): UV resin or thin-layer epoxy works fine
- Thick projects (pendants, rings, beads, multi-layer molds): you'll need epoxy or a dedicated casting resin rated for deeper pours
- Always check the resin's maximum recommended pour depth before you start
Evaluate Appearance and Performance
Look at clarity, gloss, and yellowing resistance if you want the piece to stay bright long-term. Check viscosity too. Thicker resins trap more bubbles but hold inclusions in place better during a pour.
Then think about how the piece will actually be worn:
- Hardness and scratch resistance matter for rings and bracelets that bump into things daily
- Flexibility matters for thin pieces that might flex without cracking
- Water and heat exposure matter if the wearer showers, swims, or leaves jewelry in a hot car
Prepare Your Inclusions Properly
Dried flowers, paper, fabric, photographs, wood, and shells all share one requirement: they need to be completely dry and, in most cases, sealed before you embed them. Porous materials trap moisture, and trapped moisture inside cured resin causes cloudiness, discoloration, or mold growth over time.
Compare Workflow Trade-Offs
UV resin cuts down on waiting between thin layers, but you need a compatible light source and careful positioning to make sure every layer cures evenly. Epoxy gives you more working time to arrange inclusions, but demands accurate measurement and a longer, undisturbed cure period.
Scaling Beyond Handmade Batches
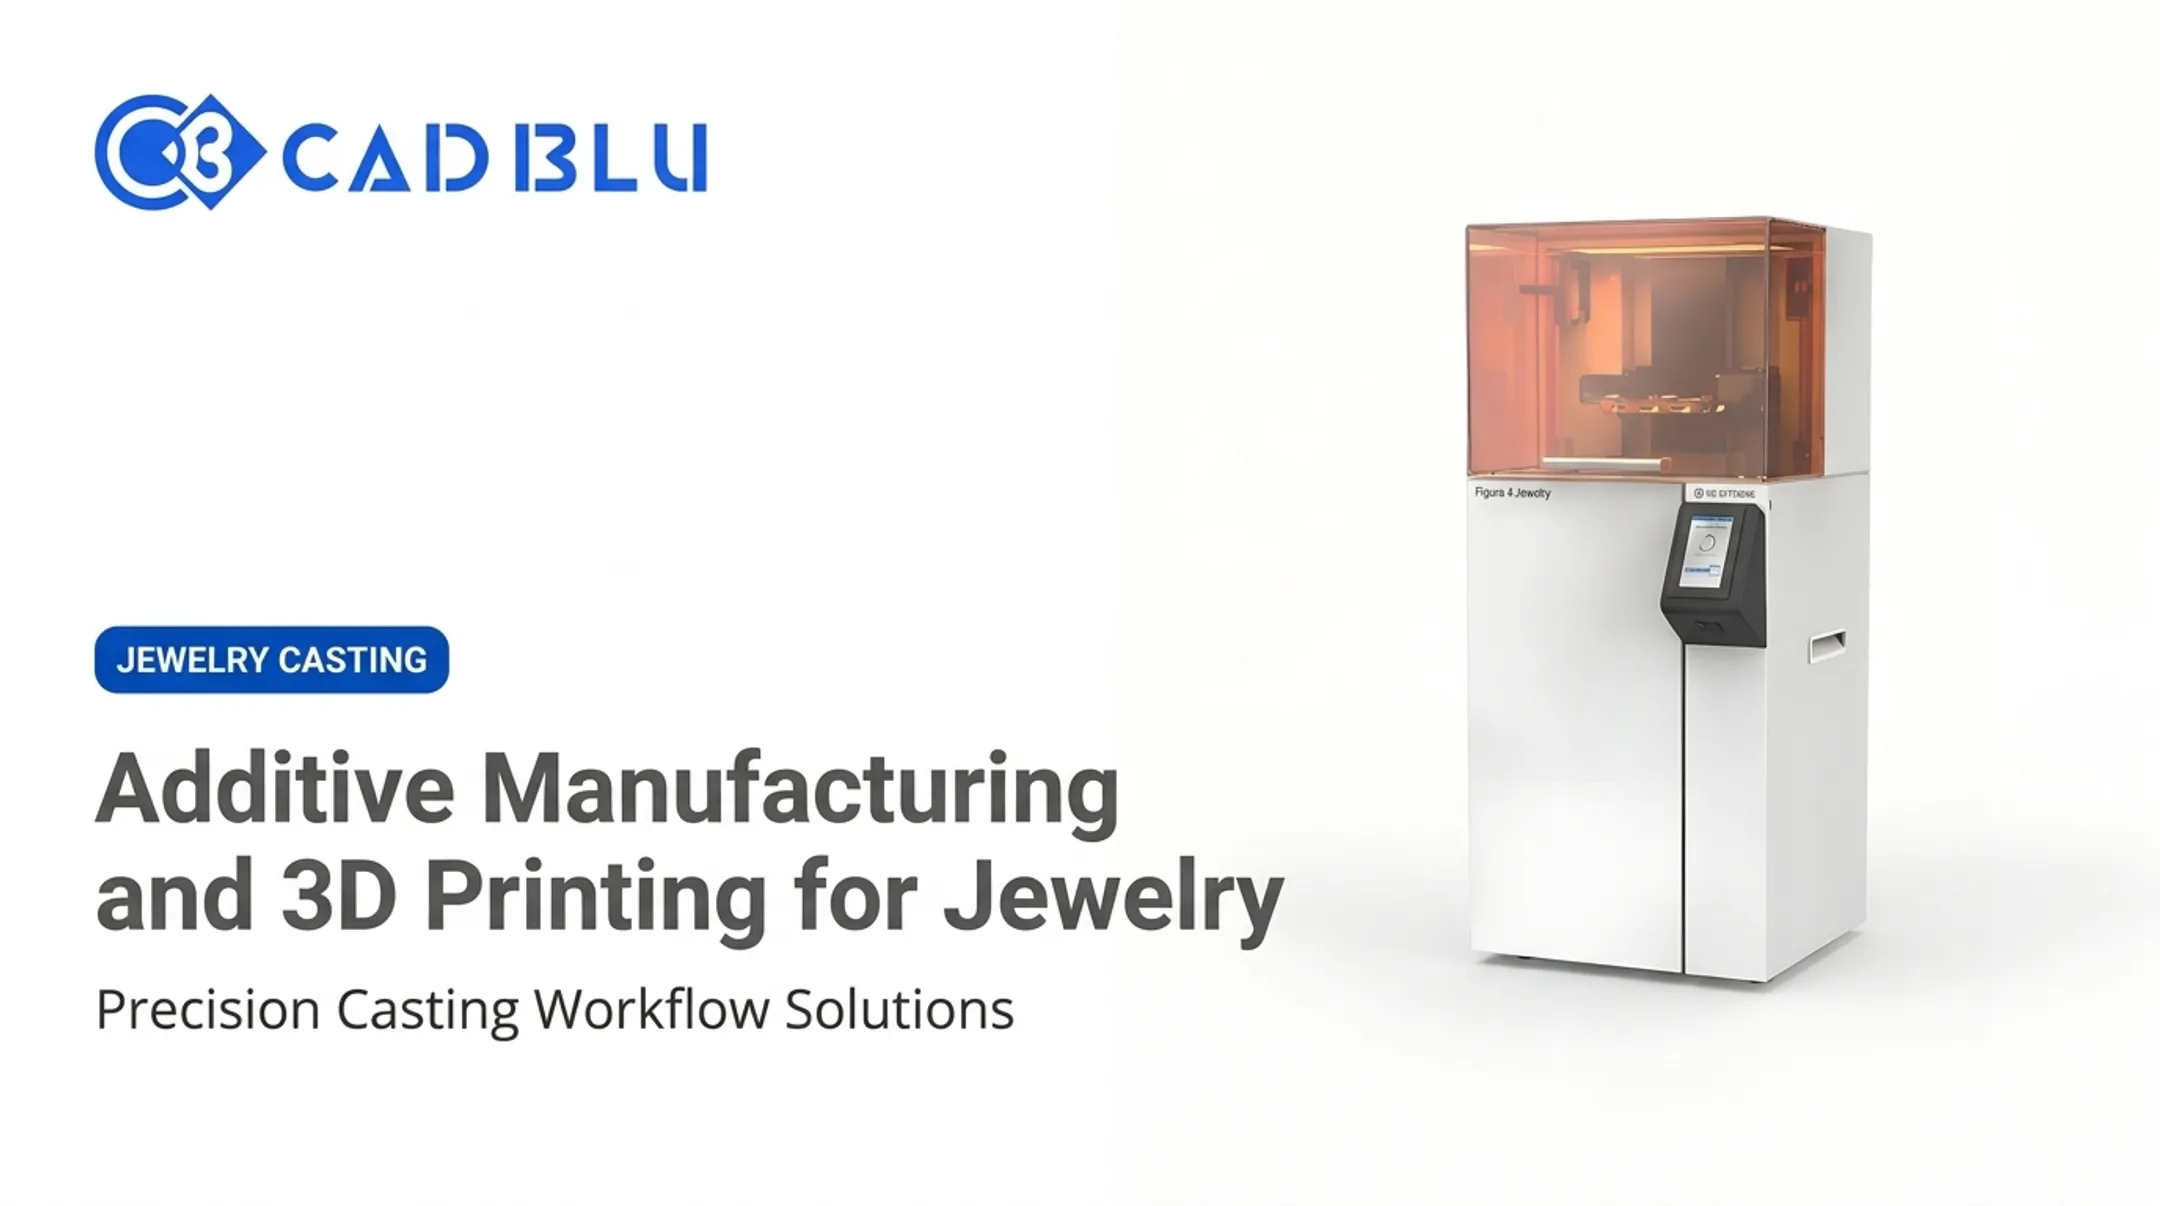
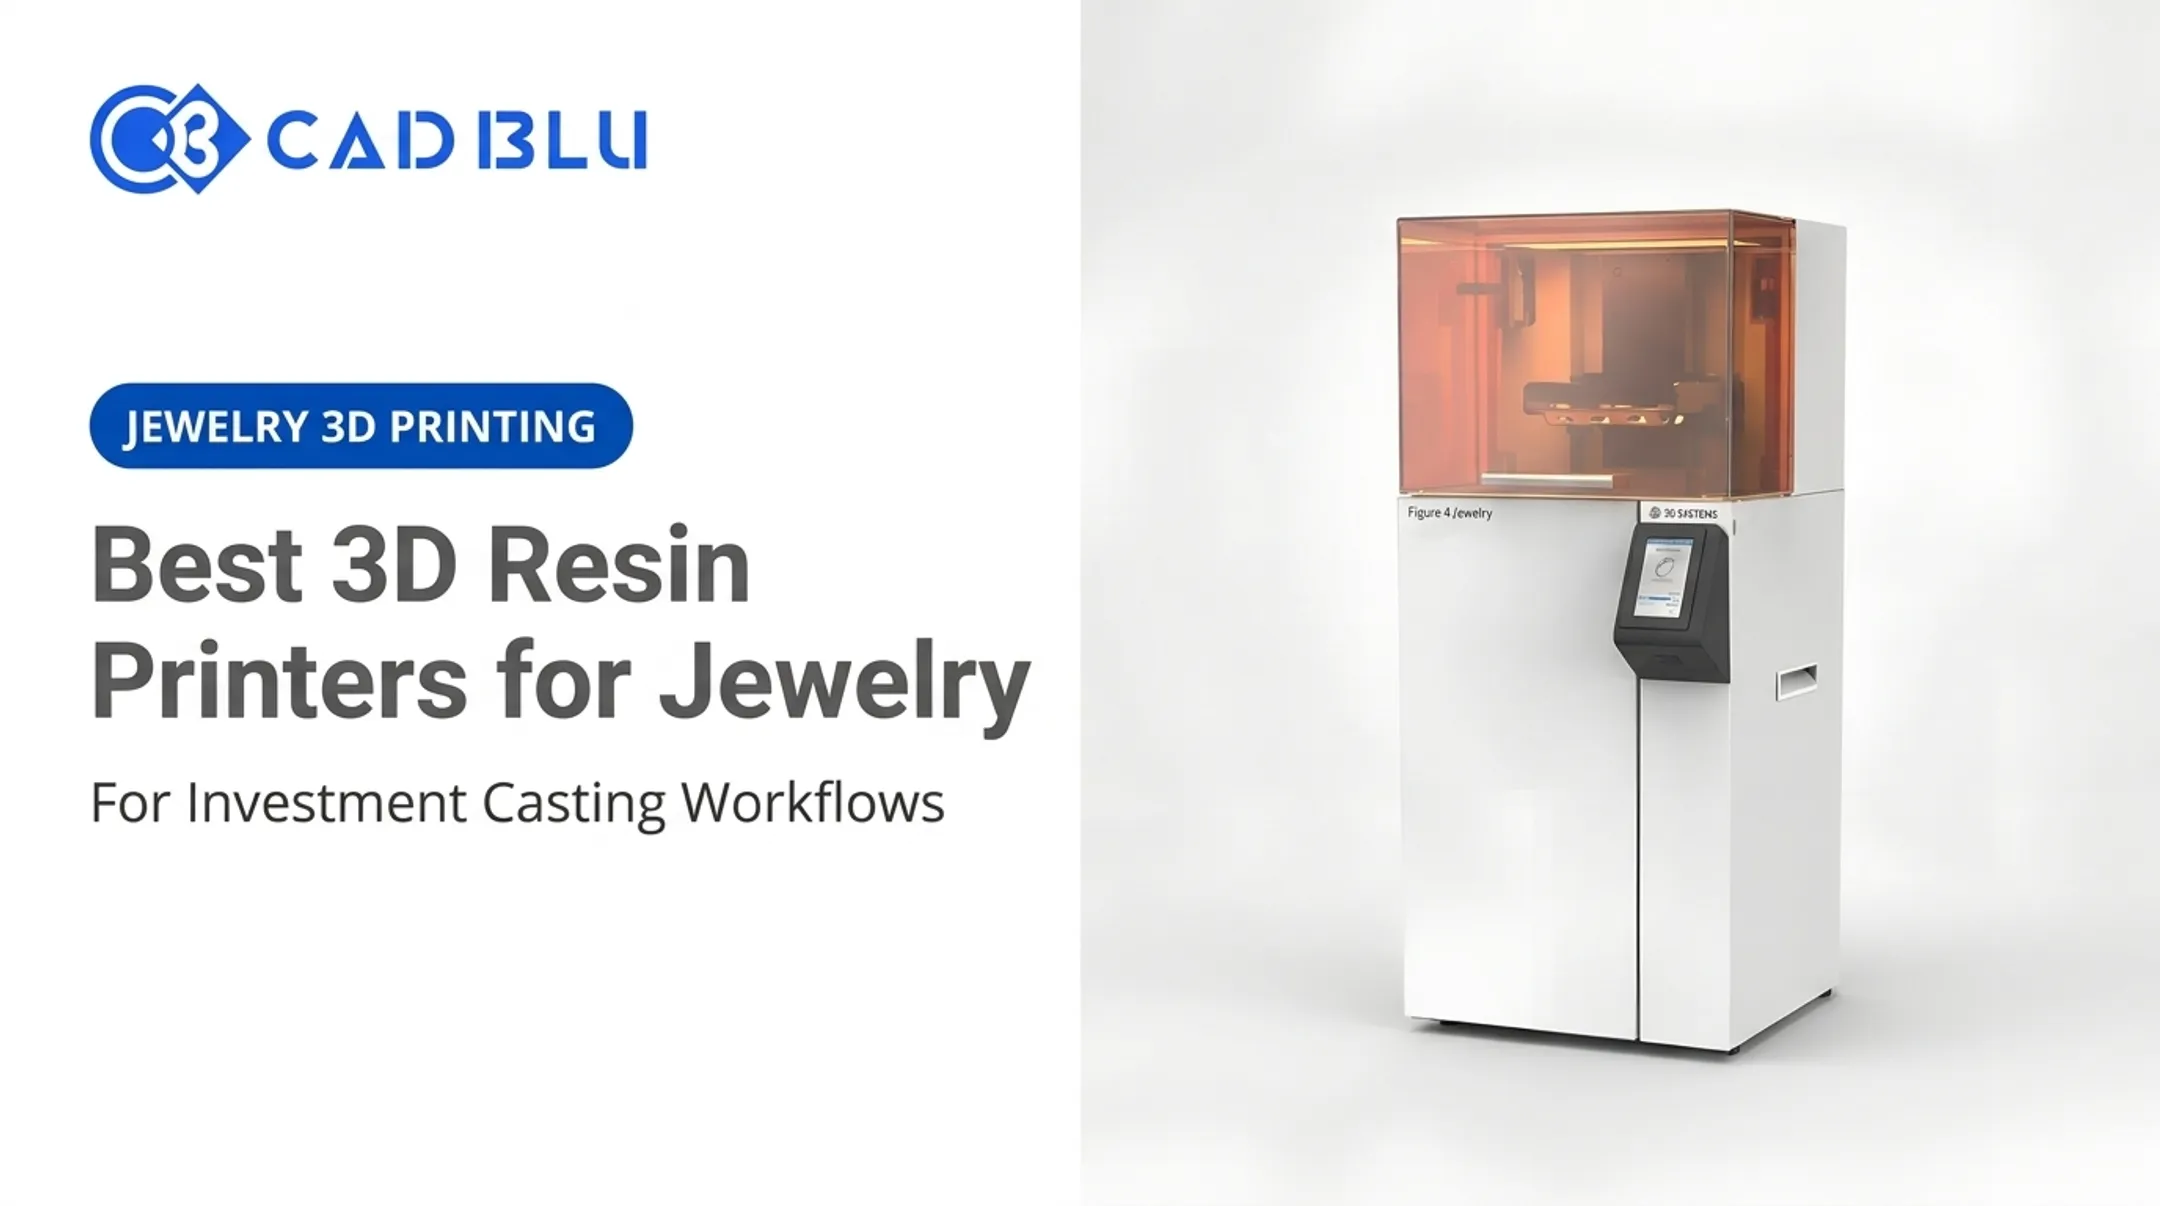
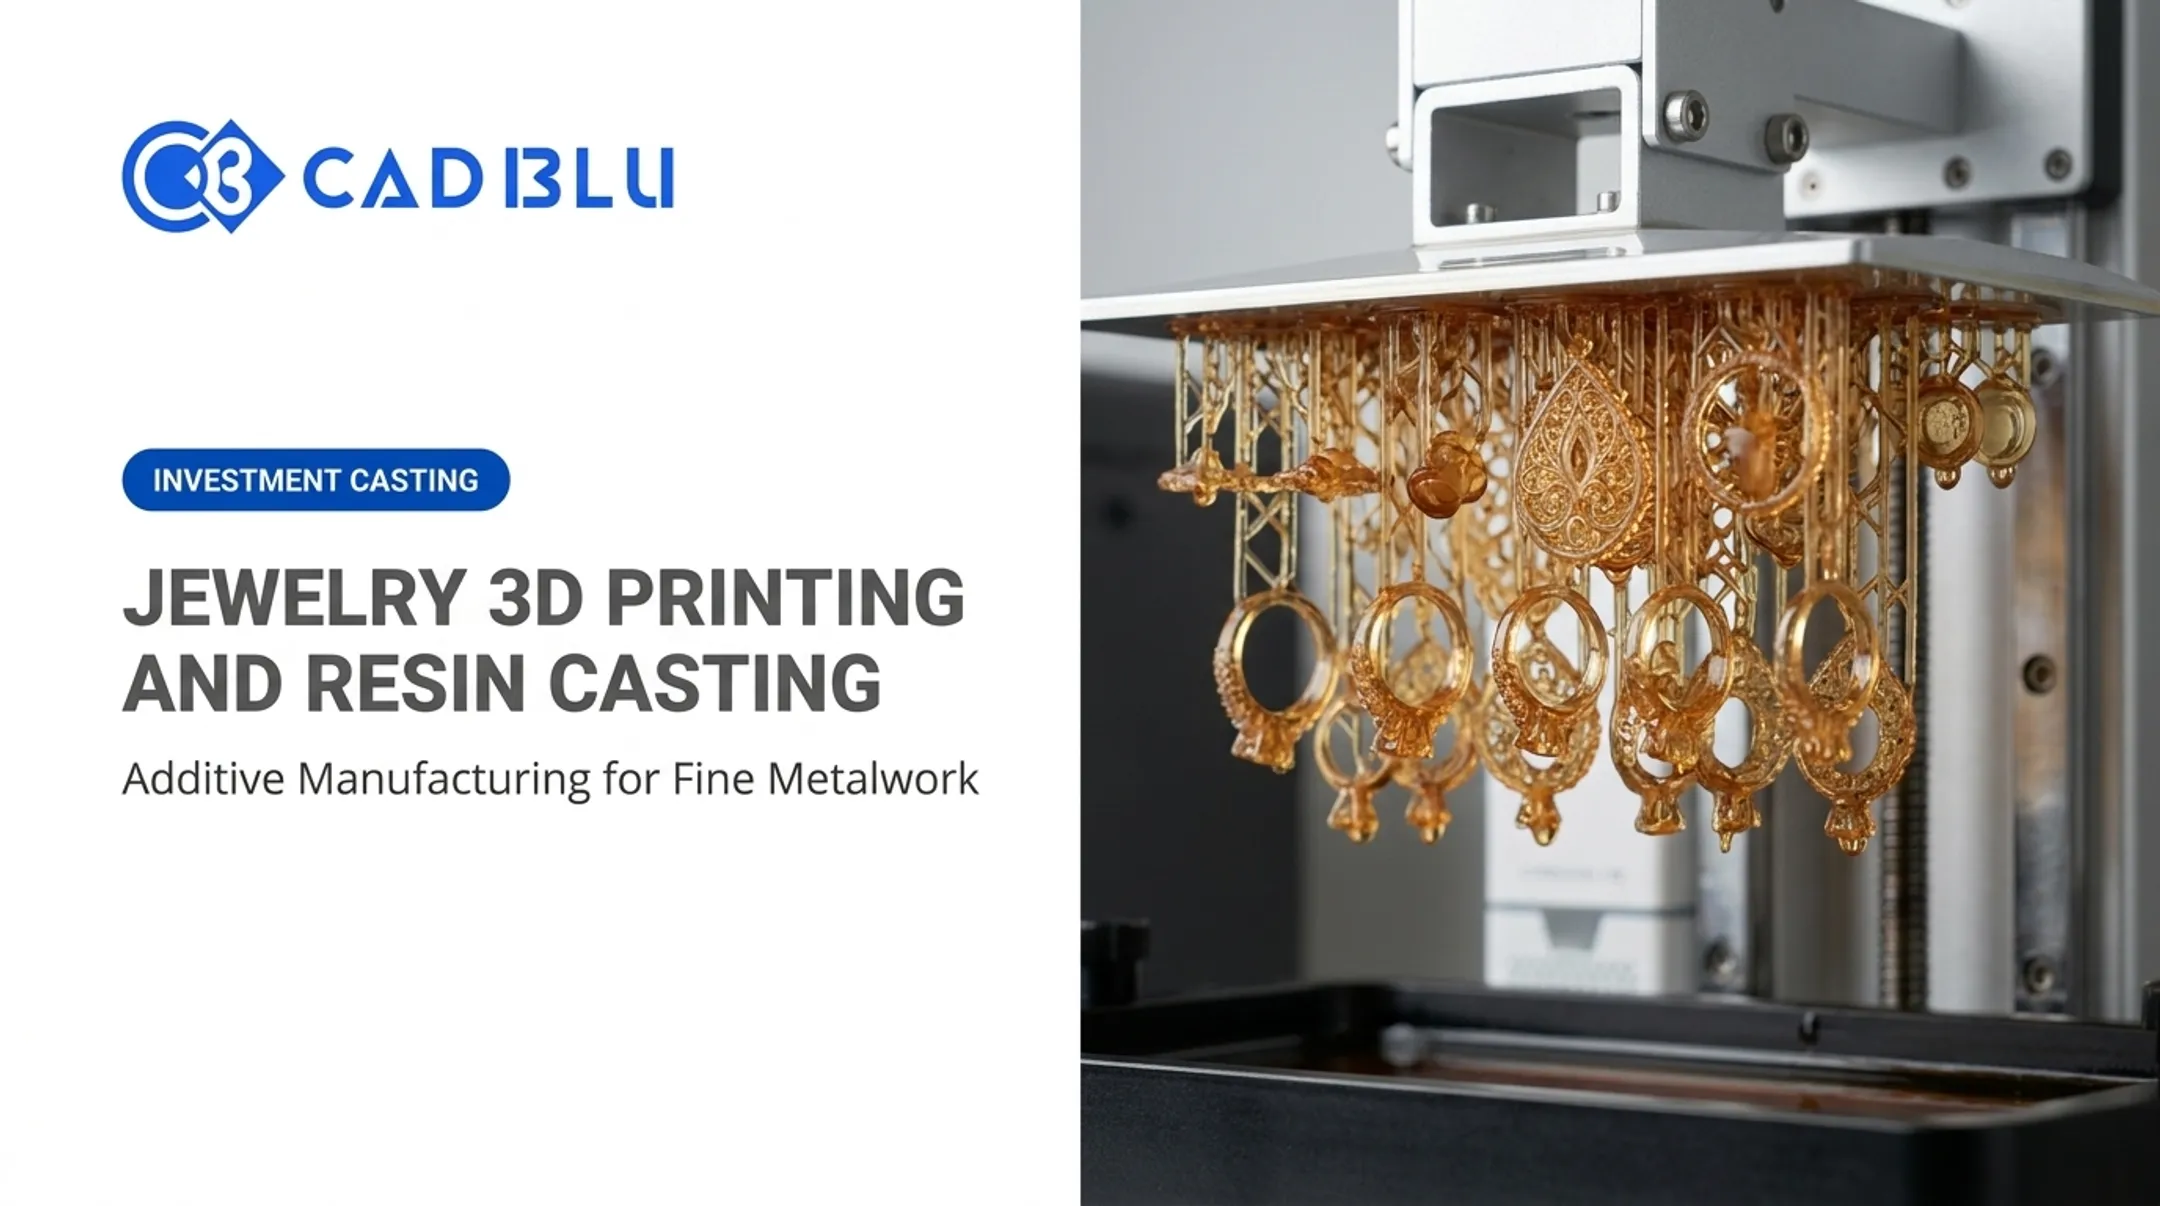
If you're running a jewelry business and outgrowing hand-poured, one-at-a-time production, the resin question changes entirely. At scale, many shops move to digital manufacturing: 3D-printed master patterns for investment casting, not craft resin poured into bezels.
Industrial jewelry 3D printing resins are not interchangeable with craft embedding resin. Typical next steps include:
- 3D-printed master patterns for investment casting
- Castable resins rated for clean burnout
- Printers built for jewelry workflows, such as the Figure 4 Jewelry or ProJet MJP 300W Plus
CAD BLU helps jewelry businesses evaluate that shift and match printers, castable resins, and casting workflows to production volume. It is a separate decision from epoxy vs. UV for a handmade piece—but worth knowing once output grows.
Whatever resin you land on, test it first. Use the same mold, inclusion, pigment, and thickness you plan for the final piece before you commit anything sentimental or expensive.
How to Use Resin for Jewelry: A Beginner Workflow
Getting consistent results comes down to preparation as much as technique. Use this seven-step workflow from workspace setup through final finishing.
- Set up your workspace. Work on a clean, level surface with good ventilation. Keep gloves, protective eyewear, disposable mixing tools, accurate measuring cups, and a covered curing area ready.
- Prepare your mold or bezel. Clean and dry it fully. Apply a manufacturer-approved release product only if the instructions call for one. Arrange findings or decorative elements before you start mixing.
- Measure and mix precisely. Follow the exact ratio on the label. Scrape the sides and bottom of your container while stirring gently to limit bubbles. Never eyeball a two-part ratio.
- Pour in controlled layers. Use a thin first layer to anchor inclusions in place, then position objects with a toothpick or similar tool. Avoid trapping anything that still holds moisture.
- Manage bubbles. Let bubbles rise naturally during the working period. Use only manufacturer-approved methods (a quick torch pass, for instance) without overheating the resin.
- Cure under the right conditions. UV resin needs the correct lamp and exposure time. Epoxy needs to sit undisturbed, dust-free, for the full stated cure period.
- Finish once fully cured. Demold carefully, then sand or polish sharp edges, drill holes if needed, and attach findings. Before wearing, check for tackiness, cracks, or uncured spots.

Safety, Curing, and Common Resin Jewelry Problems
Resin work involves real chemical exposure, not just craft mess. The OSHA Technical Manual on polymer matrix materials identifies skin, eye, and respiratory contact as documented hazards during resin mixing. Use ventilation, gloves, and eye protection as standard controls.
Keep uncured resin away from:
- Children and pets
- Food-preparation areas
- Open flames
Why Resin Turns Out Sticky or Soft
Sticky or soft results usually trace back to one of these:
- Inaccurate measuring or incomplete mixing
- Working in a room that's too cold
- Excess colorant or filler blocking full cure
- Expired or contaminated components
- Insufficient UV exposure
- Curing beyond the product's recommended thickness
Common Appearance Problems
- Bubbles: aggressive mixing or trapped air during pouring
- Cloudiness: cold resin, moisture in tools or inclusions, high humidity
- Floating inclusions: poured in one layer instead of anchored first
- Yellowing: UV exposure or heat over time
- Dull surfaces: caused by the mold or curing surface texture

Keep a simple log of each pour: product name, mix ratio, room temperature, pour depth, and cure method. It's the fastest way to see why one batch cured clean and another didn't.
Frequently Asked Questions
Which resin is best for jewelry?
Match the resin to thickness, cure method, and wear conditions. Two-part epoxy suits deeper pours and embeddings; UV resin suits thin, small pieces that need a fast cure. Always follow the manufacturer's depth and cure specs.
What is jewelry resin?
Jewelry resin is a formulation used to cast, coat, dome, or encapsulate jewelry components. The term covers different chemical systems, including epoxy and UV resin, not one specific product.
Is epoxy resin or UV resin better for jewelry?
It depends on project size and pour depth. Epoxy offers longer working time for deeper pieces and inclusions; UV resin cures faster but only in thin layers and requires a compatible light source.
Is resin jewelry durable?
Durability depends on the formulation, cure quality, thickness, and how the piece is worn. Pieces exposed to daily impact, heat, or sunlight need testing before you assume they'll hold up long-term.
Is resin jewelry waterproof?
Fully cured resin can resist ordinary moisture, but the entire piece, including findings, adhesives, and any openings, may not be waterproof. Check the specific product's documentation rather than assuming.
How do you prevent bubbles and sticky resin in jewelry?
- Measure accurately and mix thoroughly but gently
- Dry inclusions completely before embedding
- Stay within the label’s pour depth and cure time or UV exposure