Introduction
Traditional retainer workflows still cost practices time. Goopy impression trays, plaster models, and multi-day lab turnarounds turn a simple handoff into waiting and remake risk.
Digital dentistry shortens that path. Intraoral scanners replace impression trays. Software designs the retainer boundaries. A printer produces either the final piece or the model it's shaped over.
That last part matters, because "3D printed retainer" doesn't mean one thing. Some appliances are printed directly in a dental resin. Others are thermoformed plastic sheets pressed over a printed model, the same way retainers have been made for decades, just with a digital model instead of a plaster one.
Adoption is already widespread. The AAO's 2024 member survey found that 43% of orthodontists now use 3D printers in-house, and 96% of those printer users rely on them for retainer production.
This article breaks down both production paths, the workflow behind each, and what practices should verify before adopting either one.
Key Takeaways
- Validated systems can print some retainers directly—only when printer, material, and workflow are approved for that use
- Many "3D printed retainers" are thermoformed over a printed model, not printed as the final device
- Digital scanning improves repeatability, but a clinician must still verify fit
- Evaluate the full workflow, not just the printer, before choosing a production method
What Are 3D Printed Dental Retainers?
A dental retainer holds teeth in position after orthodontic treatment or other clinically directed movement. It doesn't replace ongoing professional care or follow-up visits. What's changed is how that retainer gets designed and produced.
Two Production Methods
Direct printing converts a digital dental model into a finished retainer design, then produces the appliance itself using a dental resin validated for intraoral use. No secondary forming step.
Printed model plus thermoforming works differently:
- A printer produces a physical model from the digital scan
- A technician heats and presses a thermoplastic sheet over that model
- The technician trims and finishes the resulting retainer
The second method is far more common in practice today. It uses the printer to replace the plaster model, not the retainer itself.

What the Digital Record Needs
A usable digital impression typically includes:
- A complete intraoral scan or digitized impression
- Upper and lower arches when the design calls for both
- Bite registration information
- A distortion-free scan with no missing anatomy
Missing any of these can force a rescan or compromise the resulting design, regardless of how good the printer is.
Digital Versus Conventional Workflows
| Factor | Digital (scan-to-print) | Conventional impression |
|---|---|---|
| Record storage | Digital file, easy to archive | Physical model, storage-dependent |
| Remakes | Reprint from saved file | Often requires a new impression |
| Manual steps | Fewer physical handling steps | More manual pouring and trimming |
| Materials | Resin, thermoplastic sheets | Impression material, plaster |
Going digital does not automatically mean faster or more accurate results. Outcomes still depend on scan quality, design settings, printer calibration, material choice, and careful post-processing.
Benefits and Limitations of 3D Printed Retainers
Where the Workflow Helps
Digital retainer production improves day-to-day operations when the workflow is set up correctly:
- Stores patient files digitally and cuts physical model clutter
- Repeats the same approved design across cases
- Reduces reliance on physical impression trays
- Speeds remakes from an approved digital record instead of a new impression visit
For patients, a well-fabricated retainer often means a more comfortable scan than conventional impression material, plus smooth surfaces and a customized fit.
Those operational and patient gains only matter if fit holds up in practice. Clinical comparisons help set expectations.
What the Evidence Actually Shows
A 2019 comparison in the American Journal of Orthodontics and Dentofacial Orthopedics tested 27 retainers made three ways: traditional vacuum forming, commercial vacuum forming over digital models, and direct 3D printing (Cole et al., AJODO).
Reported fit deviations were:
- 0.10–0.20 mm for traditional vacuum-formed retainers
- 0.10–0.30 mm for commercially vacuum-formed retainers
- Up to 0.40 mm for direct-printed retainers
All 27 retainers still seated successfully. That result is a useful benchmark, not a pass/fail rule. No universally accepted maximum deviation threshold exists for retainer fit, and direct 3D-printed clear retainers have fewer long-term clinical studies than thermoformed appliances.
Limitations to Weigh
Direct-printing systems come with real requirements:
- Validated materials specific to intraoral use
- Specialized printers and post-processing equipment
- Staff trained in resin handling and software
- A documented quality-assurance process
Fit, occlusion, and edge finishing still need a qualified dental professional's assessment. Printer specifications alone can't confirm any of that.
How the 3D Printed Dental Retainer Workflow Works
A reliable retainer workflow runs through four gates: scan, design, produce, and finish. Miss a check at any stage and you usually pay for it in remakes, not just lost time.
Case Evaluation and Scanning
The clinician or a trained staff member captures a complete intraoral scan, checking for missing anatomy or distortion before moving forward. A scan that's incomplete at this stage causes problems downstream, not just delays.
Design and Approval
CAD software defines the appliance boundaries, material thickness, relief areas, and occlusal considerations. The responsible dental professional reviews and approves the design before production starts, not after.
The Production Decision
After design approval, choose direct printing or model-based thermoforming based on material requirements and clinical preference.
For direct printing:
- Finalize the retainer file
- Select a validated dental resin and matching print profile
- Orient the appliance per documented specifications
- Send the file to the printer
For thermoforming:
- Design and print the dental model
- Clean and post-cure the model
- Thermoform the approved sheet over it
- Remove the retainer without distorting it
Formlabs' dental thermoforming guide notes that sheets thicker than 1.5 mm can cause cooling and deformation issues on the model. Equipment instructions matter here more than intuition.

Post-Processing and Finishing
Regardless of the route, post-processing controls matter:
- Proper resin storage and mixing
- Clean platform or vat conditions
- Washing, drying, and support removal
- Post-curing per manufacturer specs
- Safe handling of uncured resin
Finishing includes trimming, polishing, and inspecting for sharp edges, incomplete curing, warping, or surface defects. Compare the finished piece against the original digital design before release.
Workflow checklist: Document scan approval, design approval, material lot number, print settings, post-processing steps, inspection results, and final delivery for every case. This record matters for consistency and for troubleshooting if a remake is needed.
Materials and Quality Considerations
What Matters in a Retainer Material
Check these properties before you choose a material:
- Biocompatibility rated for the intended intraoral use
- Clarity and surface appearance
- Flexibility and strength balance
- Dimensional stability under moisture
- Compatibility with required curing and cleaning steps
Model Resin Isn't Retainer Resin
This distinction trips people up. A resin formulated for printing dental models isn't automatically cleared for direct intraoral use. Always verify the intended indication and regulatory status before treating a material as retainer-ready.
One concrete example: NextDent Ortho Flex received FDA 510(k) clearance (K221022, October 2022) for dental splints and retainers. The review referenced ISO 10993-1:2018 biocompatibility standards in FDA's clearance record.
That clearance covers a specific material, printer, and post-cure process working together—not a blanket claim that any 3D printed resin is safe.
Quality Checkpoints
A sound quality process checks:
- Scan completeness before design starts
- CAD design accuracy against the prescription
- Printer calibration and resin condition
- Surface defects and curing completeness
- Fit, occlusion, and final clinical sign-off
Handling Uncured Resin Safely
Uncured resin needs real precautions: appropriate PPE, adequate ventilation, and disposal per manufacturer instructions. CDC/NIOSH guidance on 3D printing safety is clear that PPE is not enough on its own. Build ventilation and process controls in alongside gloves.
Choosing an In-House or Outsourced 3D Printing Workflow
Before buying equipment, weigh:
- Case volume and desired turnaround time
- Available space and ventilation
- Staff scanning and CAD experience
- Post-processing capacity
- Budget for equipment, materials, and training
In-House Versus Outsourcing
- In-house: More control and faster remake iteration, with ownership of equipment, materials, and turnaround
- Outsourced: External lab takes on equipment, training, and compliance; you trade some day-to-day control for less operational load
Neither model is universally better. Case volume and staff bandwidth usually decide which fits.
Evaluate the Whole Solution, Not Just the Printer
A printer alone doesn't make a workflow. Compatible materials, design software, washing and curing equipment, installation support, and staff training all need to fit together.
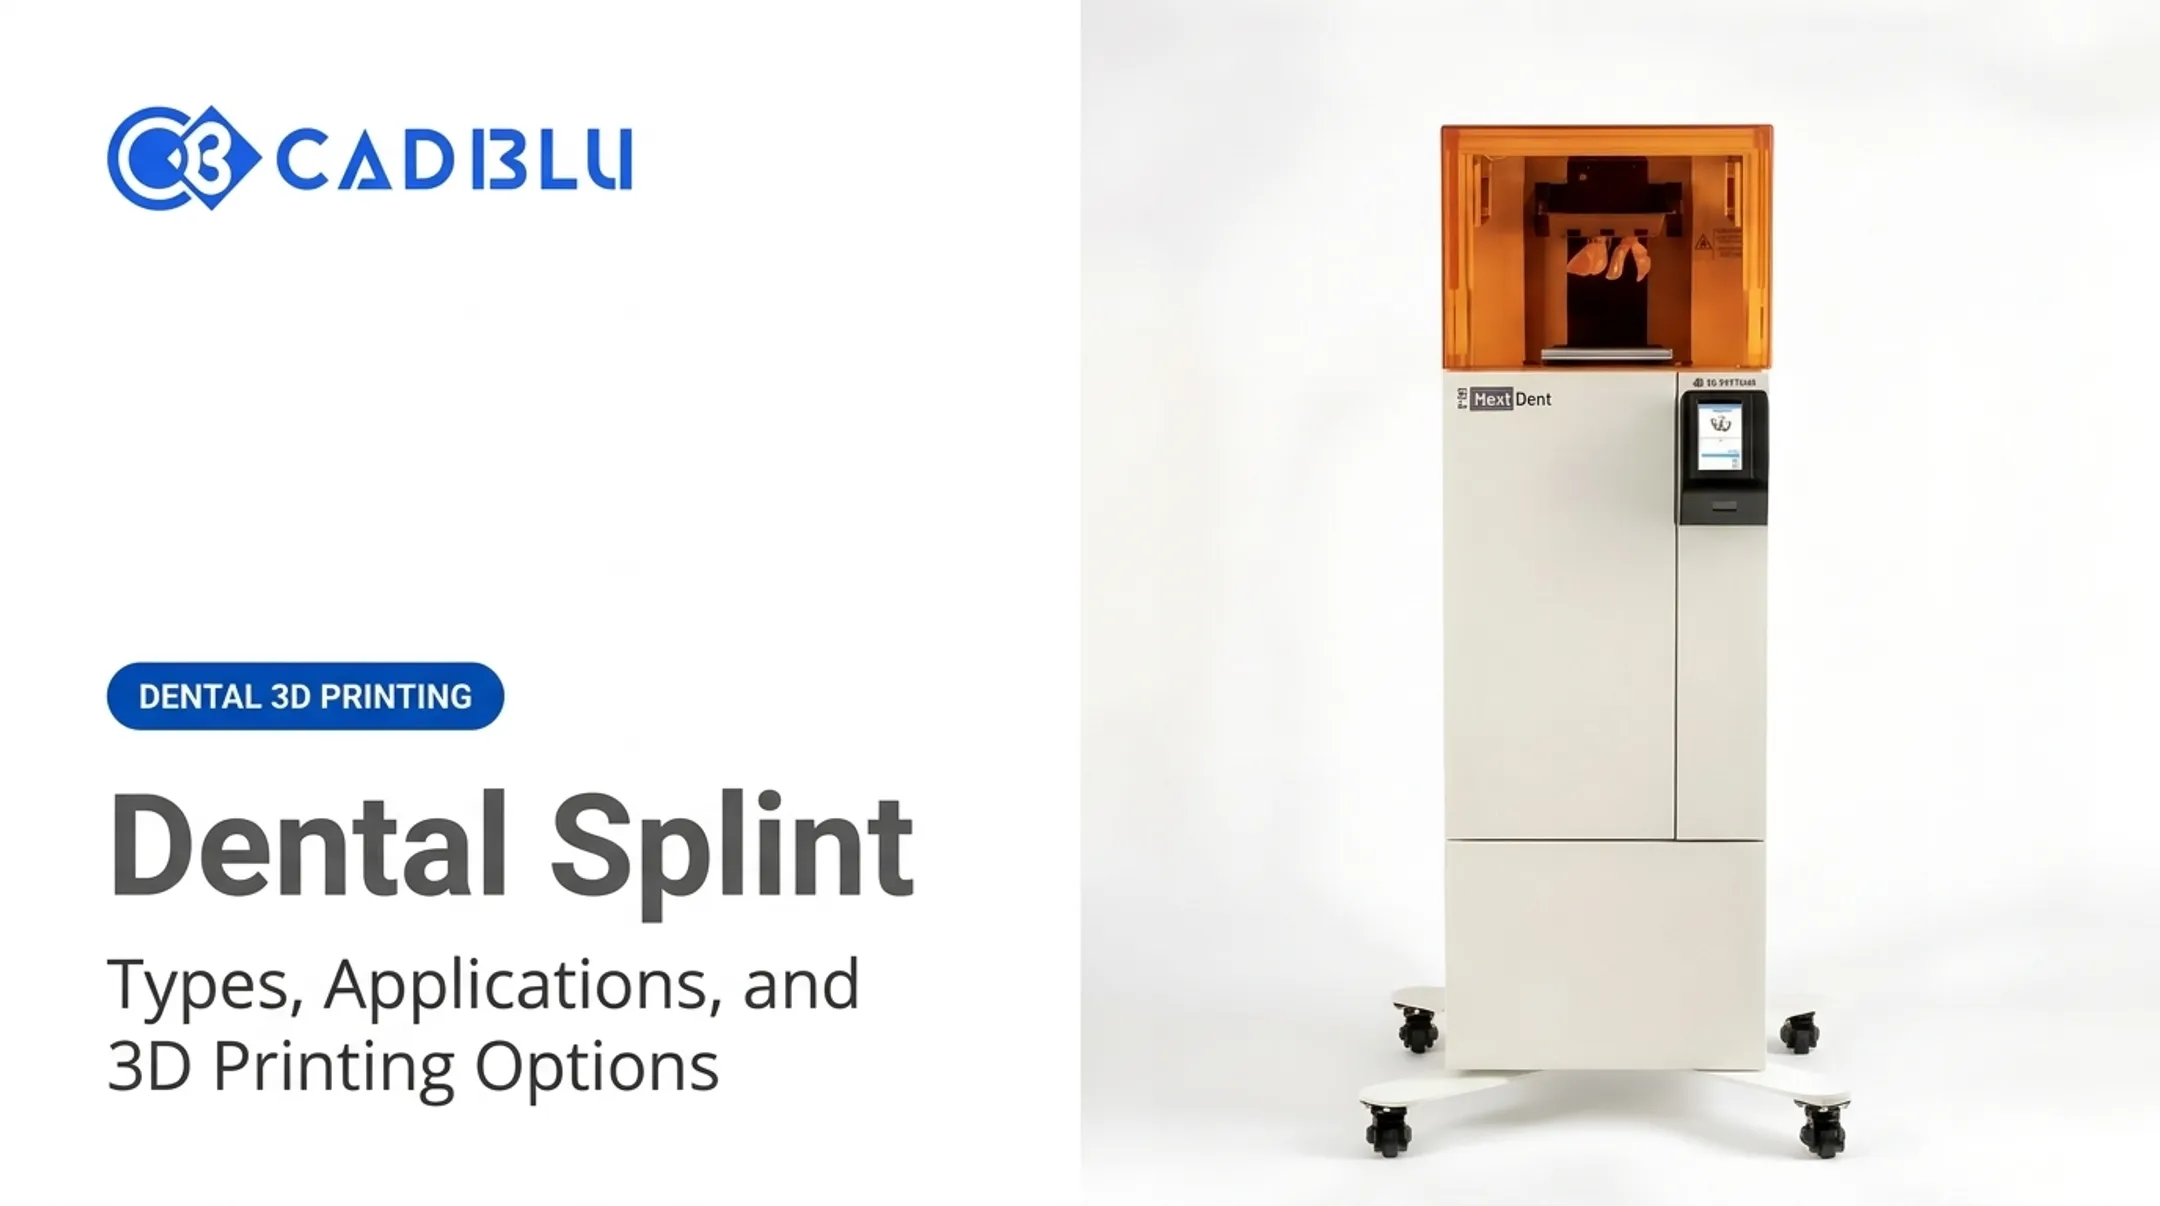
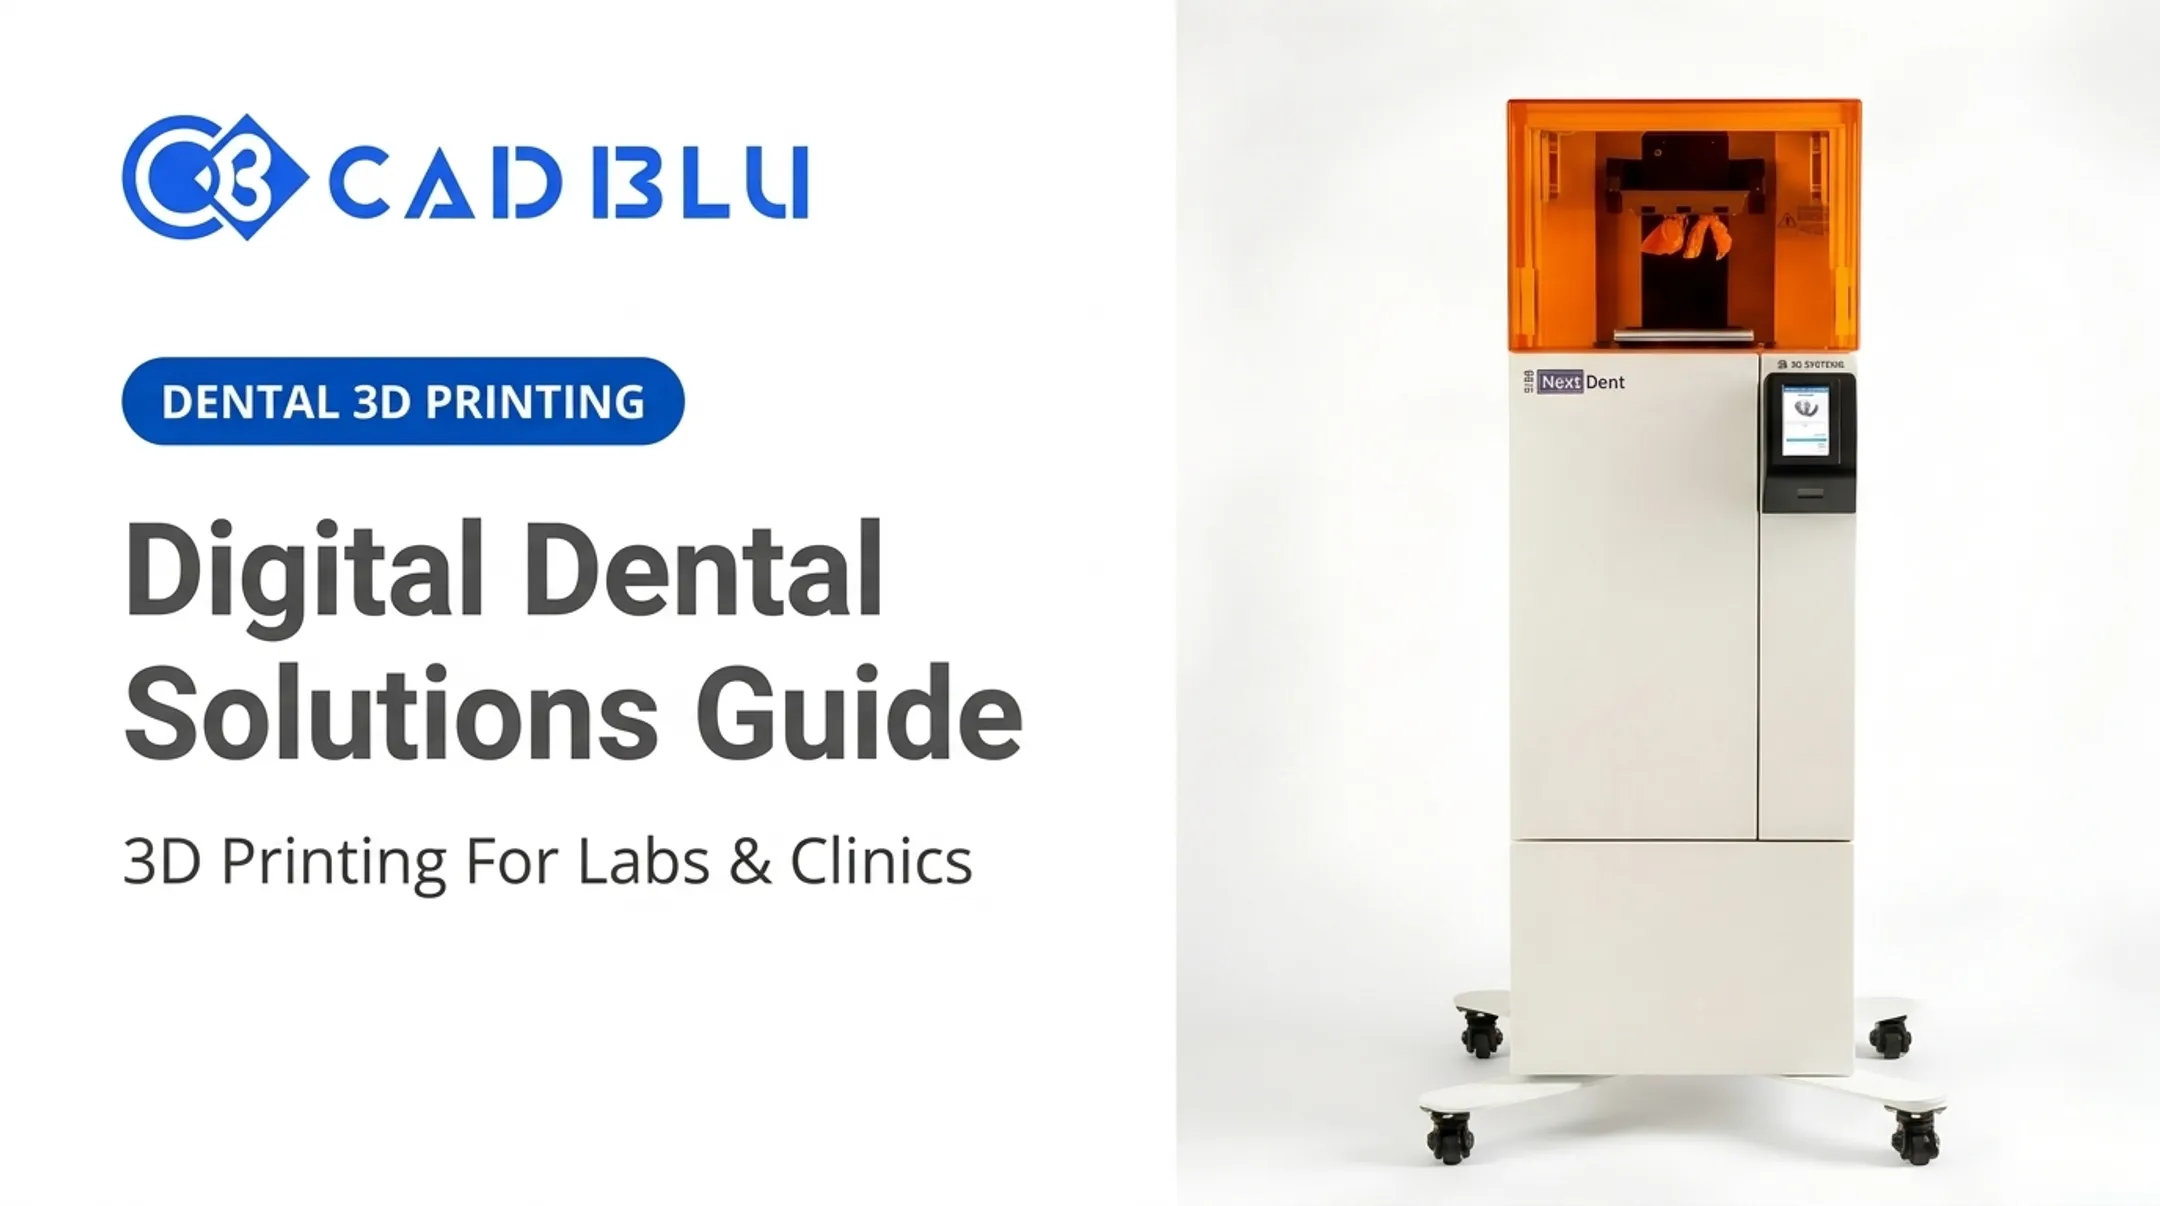
This is where a full-service partner earns its keep. CAD BLU works with dental labs and practices to evaluate commercial printers like the NextDent 5100, compatible materials, and CAD/CAM software, plus installation, training, and OEM-trained technician support.

That support doesn't replace clinical judgment. It helps practices set up a workflow, not approve a retainer.
Questions to Ask Any Vendor
- Which dental indications does this material or printer support?
- What validation data backs those claims?
- What training comes with the purchase?
- How are service calls and repairs handled?
- Which scanners and file formats are compatible?
- What documentation supports the full workflow, start to finish?
Conclusion
3D printing has made digital dentistry faster and more consistent, but "3D printed retainer" still describes two different things: a directly printed final appliance, or a thermoformed retainer shaped over a printed model. Neither is automatically better; each fits different clinical needs and production setups.
The real decision isn't the printer brand. It's matching production method, material, equipment, and support to your practice's clinical indications, quality requirements, and staff capabilities.
Before you put a workflow into patient care:
- Involve qualified dental professionals at every step
- Validate the full process before treating patients with it
- Follow material and equipment instructions exactly as written
- Put fit and patient safety ahead of speed
Frequently Asked Questions
Can a 3D printer make a retainer?
Yes, when the printer, material, and workflow are specifically validated for that use. Other workflows use the printer only to create a model, then form a thermoplastic retainer over it. A qualified dental professional selects and approves whichever workflow applies.
What is the difference between a directly 3D printed retainer and a thermoformed retainer?
A direct-printed retainer is produced as the final appliance in a validated dental resin. A thermoformed retainer is a plastic sheet pressed over a separately printed model, then trimmed. The materials, post-processing steps, and validation requirements differ between the two.
How are 3D printed dental retainers made?
The process starts with a digital scan and CAD design. From there it either prints the final device directly or prints a model for thermoforming. Both paths include washing, curing, finishing, and clinical inspection before delivery.
Are 3D printed retainers safe?
Safety depends on a material and workflow validated for intraoral use, plus full manufacturer processing steps. A professional fit and quality check still matter—a "biocompatible" label alone doesn't confirm the finished retainer is safe.
How long does it take to make a 3D printed dental retainer?
Timing varies by scan quality, design approval speed, production method, and post-processing requirements. Many setups finish in several hours from scan to retainer; your timeline depends on those factors.
Can a dental practice make retainers in-house?
Many practices can, with the right scanning equipment, design software, printer, post-processing setup, and trained staff under professional oversight. Outsourcing may make more sense when volume, space, or validation resources are limited.