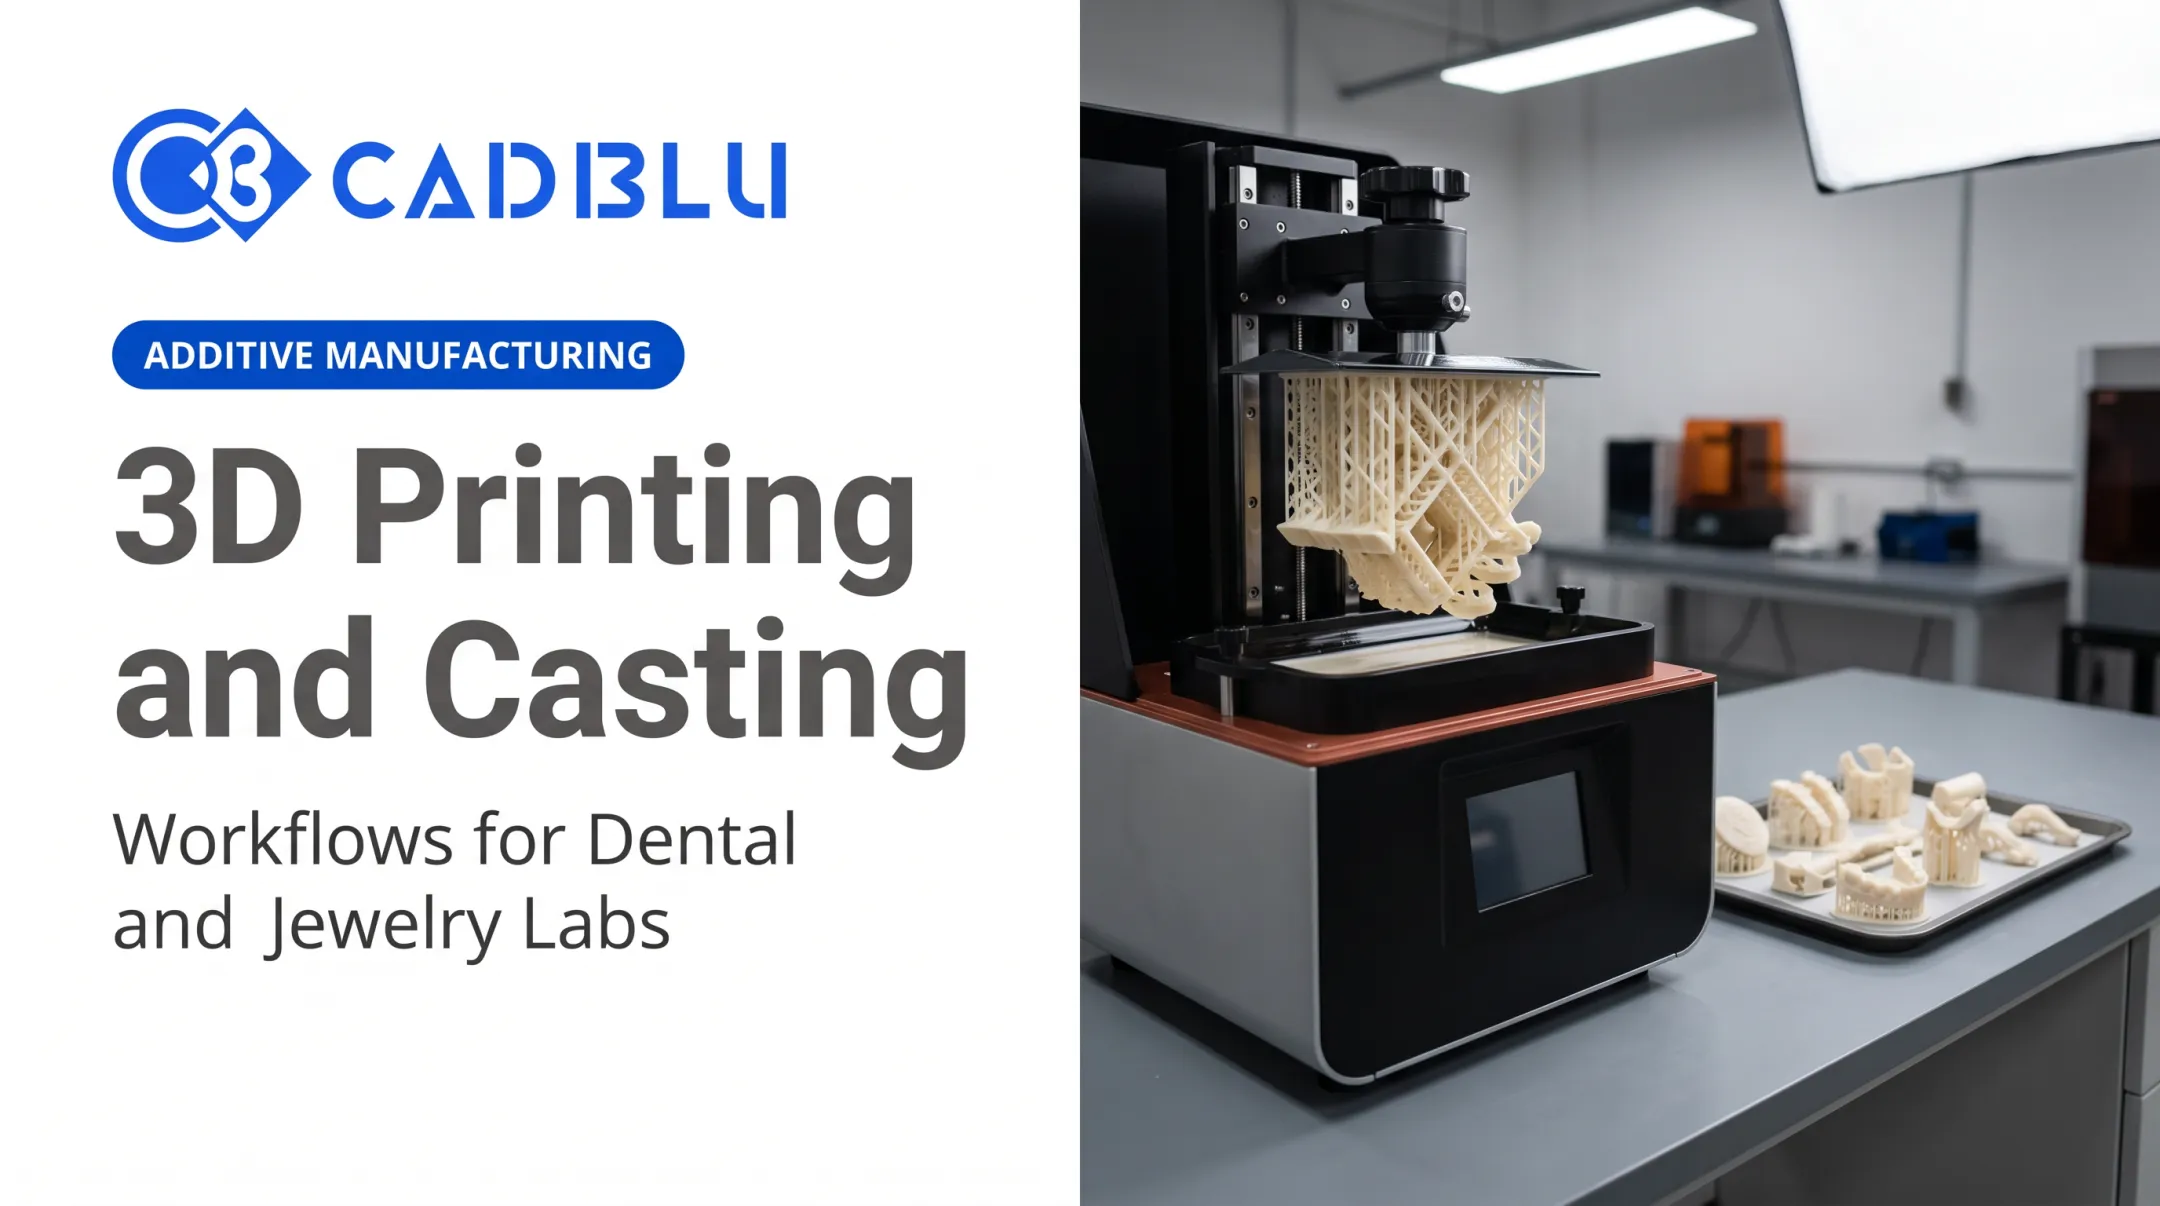
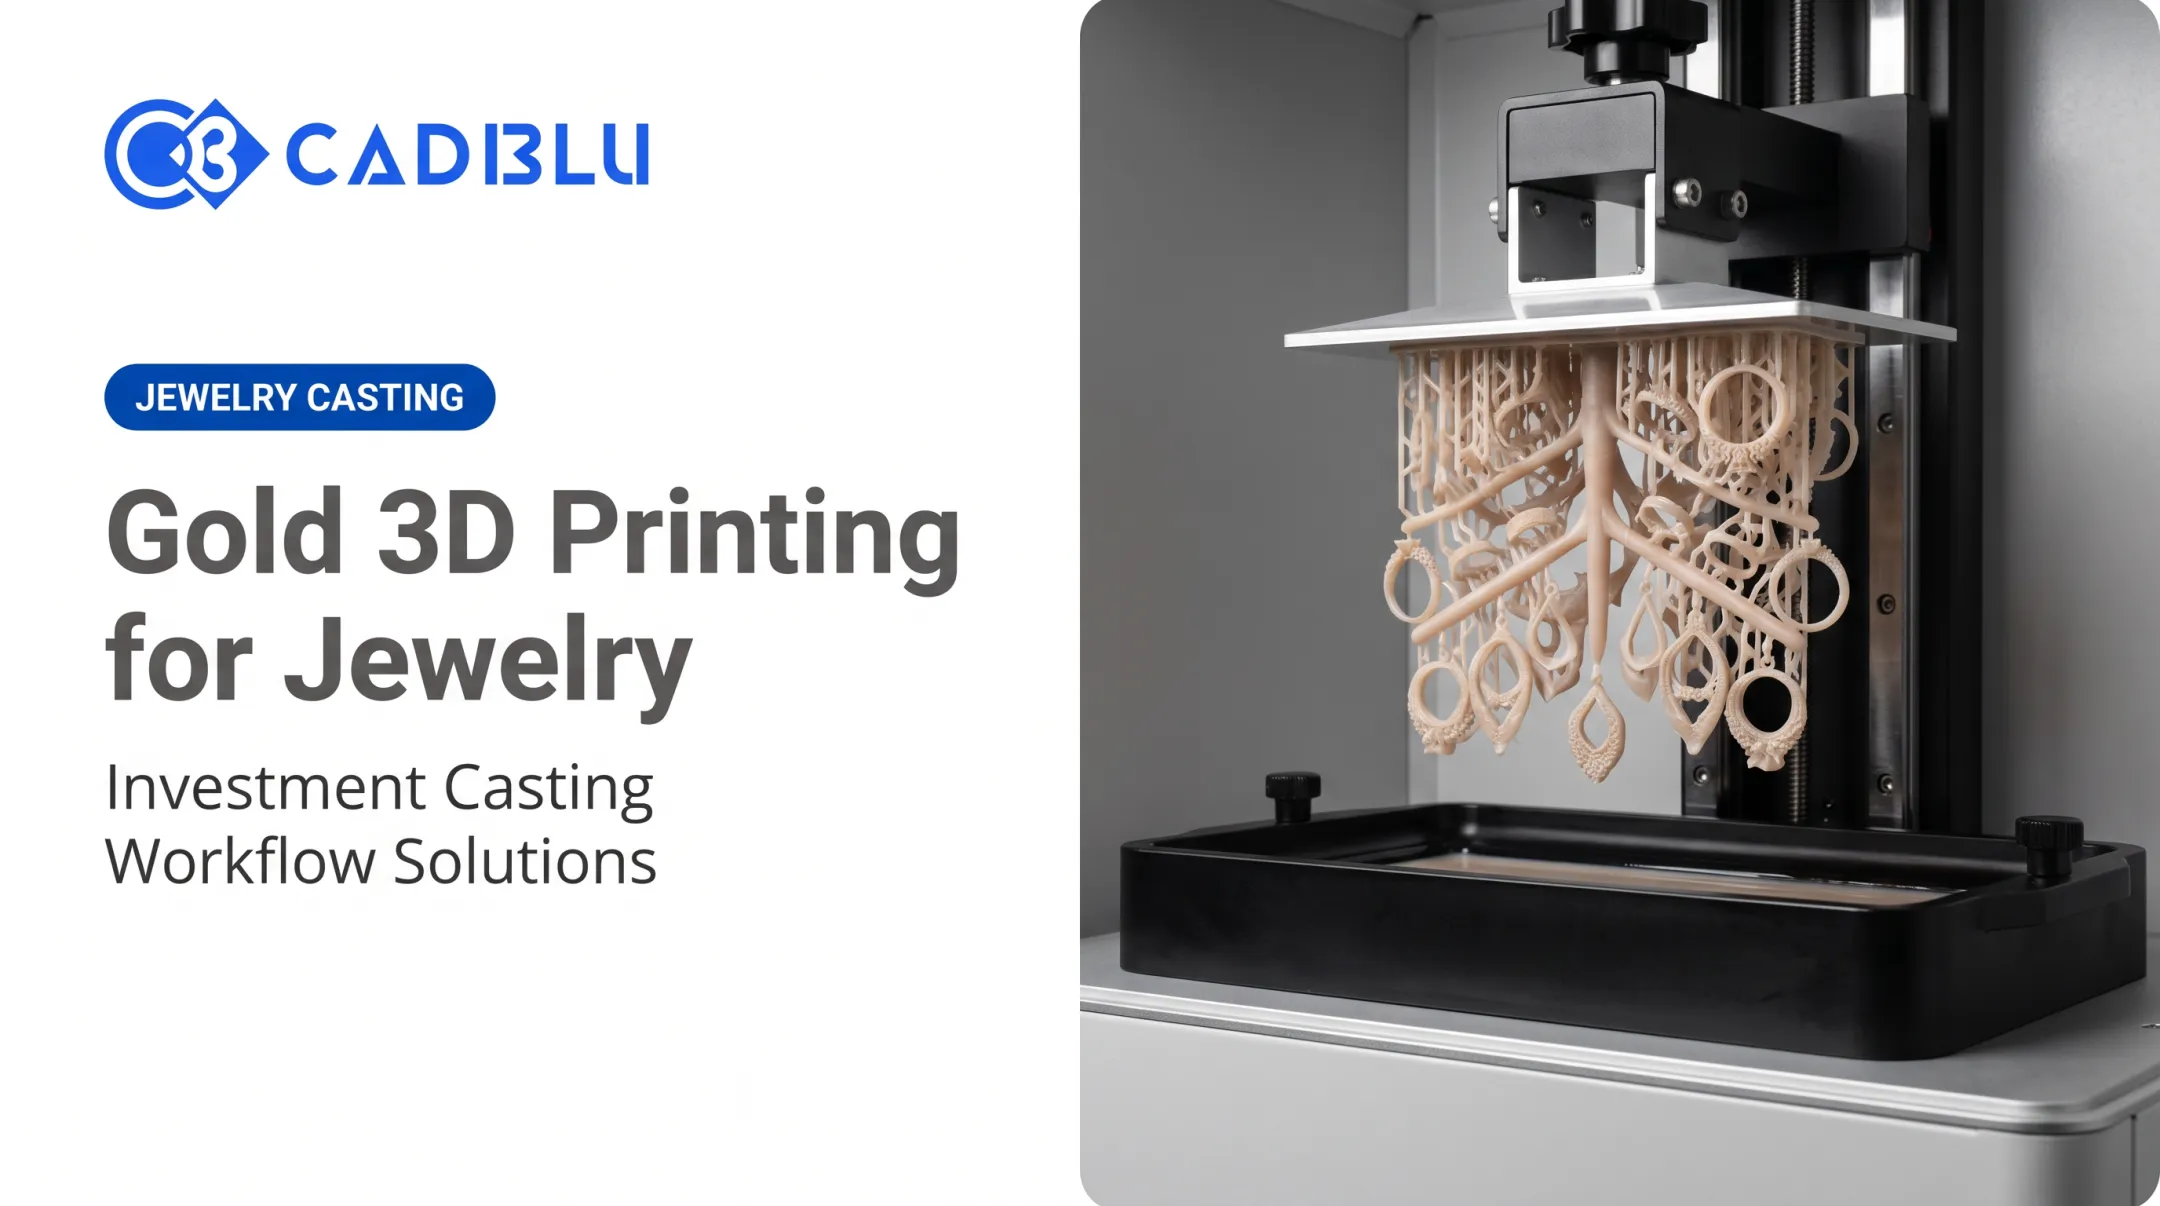
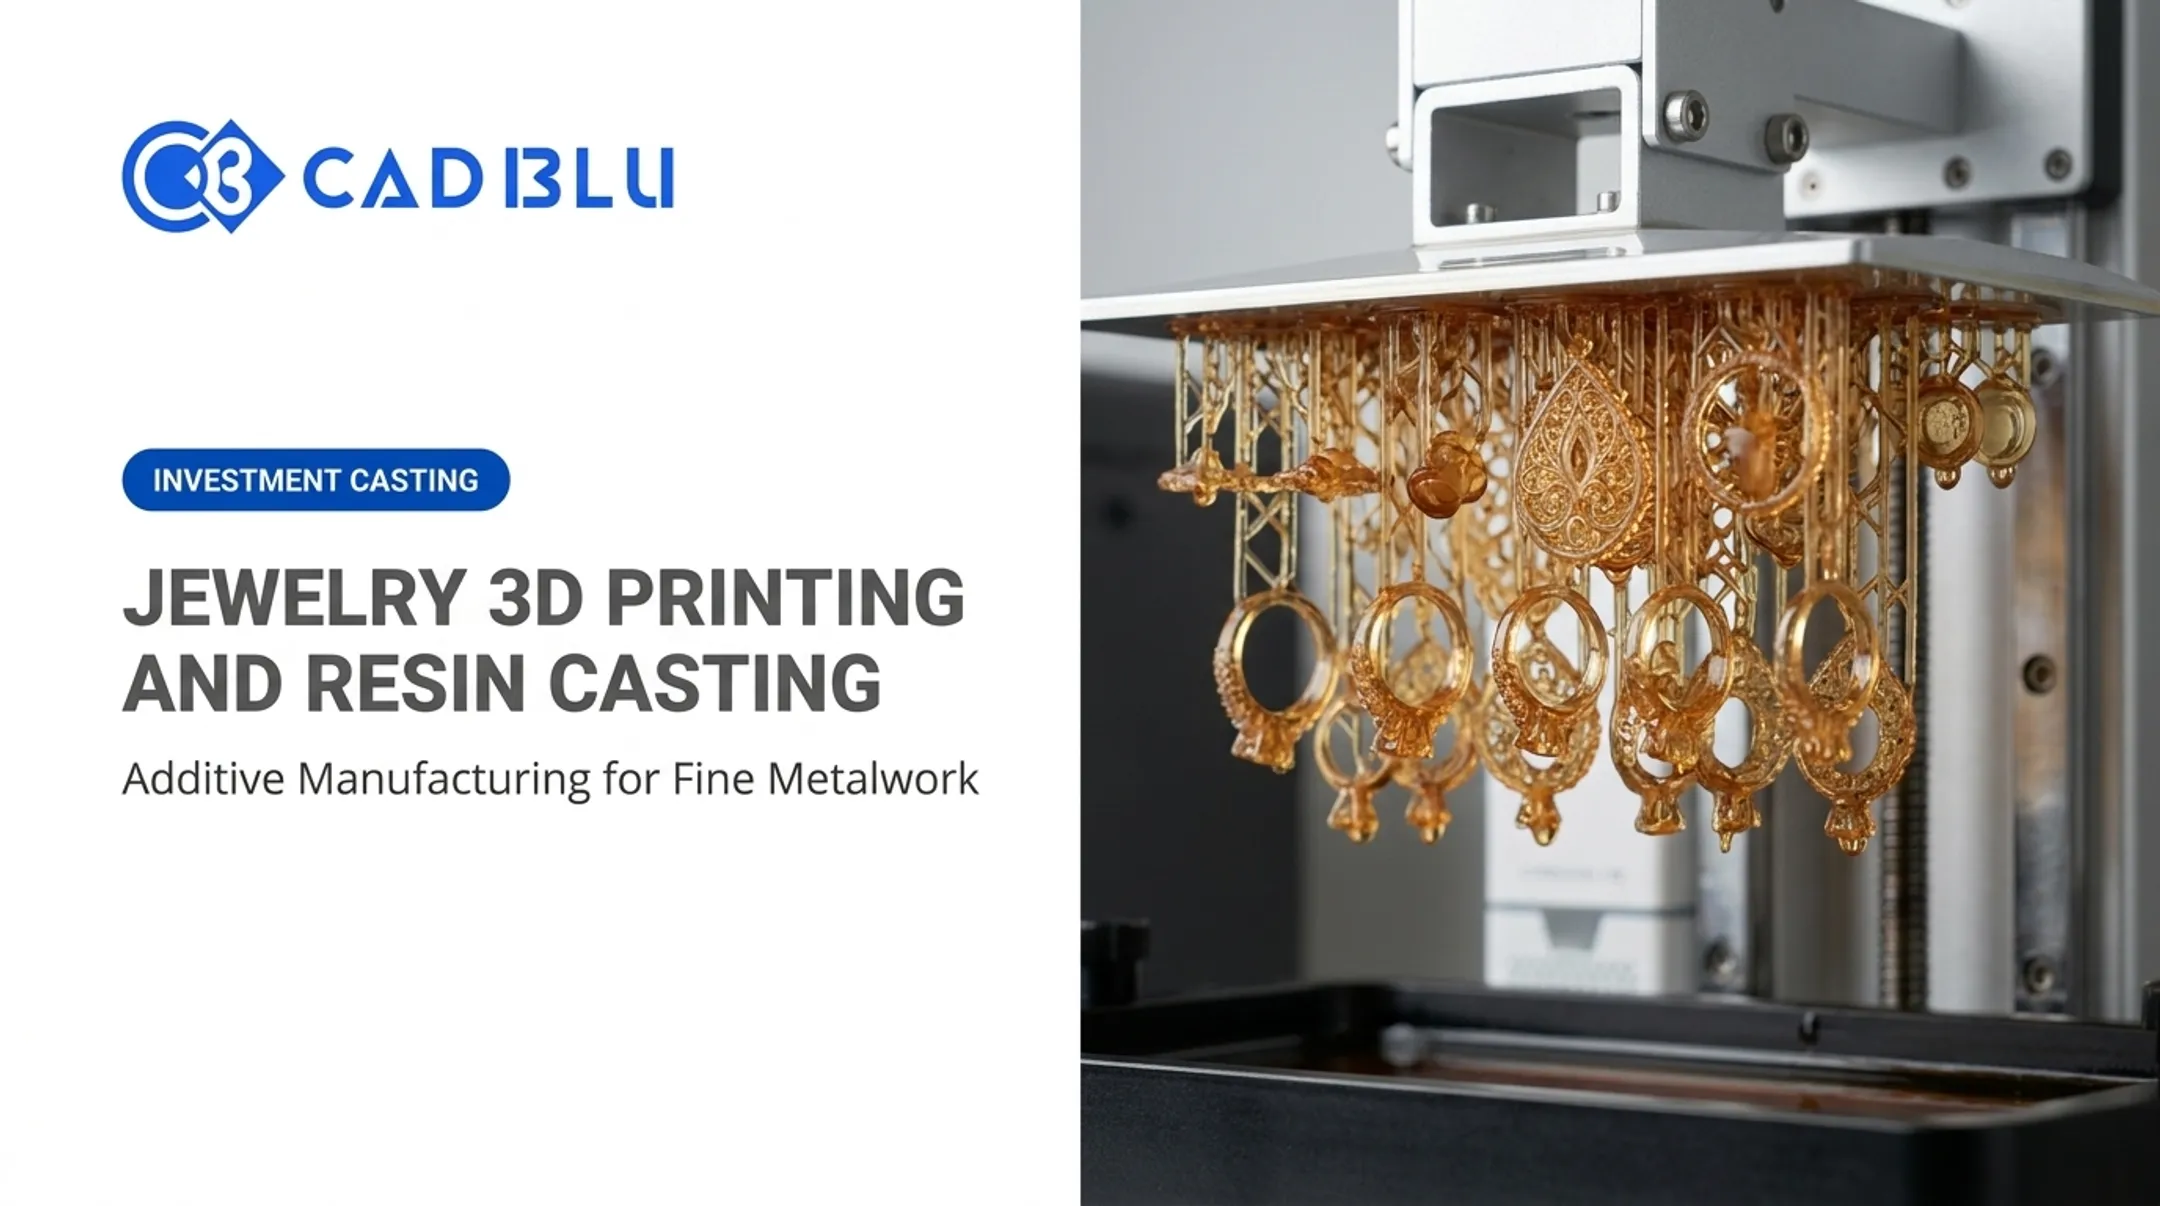
This guide is for jewelry designers, bench jewelers, casting houses, manufacturers, and anyone evaluating a move to digital production. Getting this right affects fit, repeatability, and how many revisions you can push through before a client signs off.
Most jewelers know "lost-wax casting" by name. Fewer understand what happens before the wax ever reaches the flask — file prep, print orientation, support placement, and the validation work that separates a clean casting from a scrapped tree.
Back in 1996, only 5% of jewelers reported using a computer during the design process, according to a JCK Retail Jewelers Panel survey. The industry has moved a long way since then, even though reliable current adoption figures are harder to pin down.
This article walks through the full workflow, the variables that determine casting quality, common misconceptions, and situations where another production method makes more sense.
Key Takeaways
- 3D printing creates the sacrificial pattern that casting converts into the finished metal part
- CAD geometry, print orientation, supports, pattern material, spruing, investment, and burnout all shape the final result
- Digital workflows speed revisions and small-batch runs, but still require casting expertise and QC
- A "castable" label means little until it's validated against your printer, investment, burnout schedule, and metal
What Is Jewelry Casting With 3D-Printed Wax Patterns?
Lost-wax casting is the oldest trick in the metalworking book: build a pattern, surround it with mold material, melt the pattern out, then pour metal into the cavity that's left behind. Jewelry casting typically falls under investment casting, where that pattern is encased in a ceramic-like refractory mold. After the pattern burns out, molten metal fills the cavity.
Swap the hand-carved or injection-molded wax for a 3D-printed wax or castable resin pattern, and you reach the same endpoint through a digital front end. The printer builds the pattern layer by layer from a CAD file. That pattern goes into the flask, burns out during the investment cycle, and molten metal takes its place.
The goal doesn't change: a metal part that preserves fine features, holds correct dimensional relationships, and repeats reliably from one order to the next.
Four routes to the same finished part:
- Hand-carved wax — cut by hand, one pattern at a time, entirely dependent on the carver's skill
- Injection wax — molten wax injected into a rubber or silicone mold made from a master pattern
- 3D-printed wax/resin pattern — built directly from a CAD file, no mold required
- Direct metal 3D printing — skips the casting step entirely, building the metal part layer by layer
Each route reaches a finished piece, but they solve different problems.
The digital route earns its keep on revisions and repeat orders. A CAD file can be resized, tweaked, stored, and reprinted without recarving anything by hand.
Figure 4 Jewelry's workflow illustrates this well: one CAD file generates a full ring-size run, with resizing handled as a software operation instead of a repeat trip to the workbench.
That's a real shift for shops that used to keep a drawer full of rubber molds for every SKU.
How the Digital Casting Workflow Works
From concept to finished ring, the digital workflow runs through nine stages:
- CAD modeling
- File preparation
- 3D printing
- Pattern inspection
- Spruing
- Investing
- Burnout
- Metal casting
- Finishing
Before any of that starts, lock down a short pre-flight checklist:
- Watertight CAD geometry
- Intended metal (alloys shrink at different rates)
- Target dimensions and stone-setting requirements
- Minimum feature sizes the pattern must hold
- Shrinkage compensation already built into the file
File prep is where a lot of headaches start, or get avoided. Before a pattern reaches the printer, check for:
- Non-manifold geometry or disconnected bodies
- Inverted normals
- Wall thicknesses too thin to survive handling
- Trapped cavities that hold uncured resin or air
- Mesh resolution too coarse for fine detail
Print setup drives surface quality, support-scar cleanup, and dimensional accuracy. Key variables include:
- Build orientation
- Layer resolution
- Support placement
- Hollowed vs. solid pattern
Figure 4 Jewelry, for example, uses MicroPoint ultra-fine-tip supports that leave minimal witness marks and cut down on post-print polishing.
One distinction matters in the flask: true wax and castable photopolymer resin are not interchangeable, even though both get labeled "castable." True wax materials burn out on existing foundry schedules with no ash or residue. Castable photopolymer resins transition to gas rather than melting, so they need their own burnout ramp — always confirm against the manufacturer's technical data sheet rather than assuming one process fits both materials.
Those nine stages group into five shop-floor phases below, from design through the feedback loop that keeps the next tree cleaner than the last.
Step 1: CAD Design and Print Preparation
Confirm the design is manufacturable before it hits the print queue:
- Add or account for sprues and vents where needed
- Apply material-specific shrinkage compensation
- Orient the model for the best surface quality
- Generate supports that will not scar visible areas (top of a shank, face of a setting)
Step 2: Printing and Pattern Preparation
Once the build finishes, inspect it on the platform before removing anything:
- Take the pattern off carefully
- Clean it per the material's instructions
- Remove supports without stressing thin prongs or filigree
- Check critical dimensions and surface defects before the pattern goes near an investment flask
Step 3: Casting Preparation
Prep the flask with the same discipline as the print:
- Attach the pattern to a sprue tree
- Choose an investment compatible with the pattern material
- Follow the manufacturer-recommended set and burnout schedule
Furnace and metal conditions matter here. Rushing this stage risks incomplete burnout or a cracked mold.
Step 4: Metal Casting and Finishing
- Fill the cavity with the selected alloy
- Remove the investment and cut away the sprues
- Clean and polish the piece
- Run dimensional checks, surface inspection, and stone-setting verification before the piece leaves the bench
Step 5: The Feedback Loop
Document what went wrong, if anything:
- Porosity
- Distortion
- Misruns
- Surface defects
- Dimensional drift
Trace the cause back to its stage — design, printing, investment, burnout, casting, or finishing — and fix the workflow instead of patching the same problem by hand on the next tree.
This is also where a provider like CAD BLU typically fits: matching printer and material choices to a shop's existing burnout process, then supporting install, resin or wax supply, and technical help when a new material joins the line.
No printer or castable material is a drop-in fit for every foundry. Validate each pairing against your investment and burnout schedule before you scale production.

Where Digital Jewelry Casting Is Used and What Affects Results
Digital jewelry casting shows up anywhere a shop needs precision, repeatability, or a design too intricate to carve by hand.
Common Applications
- One-off custom commissions and bespoke pieces
- Prototypes and design-validation samples
- Intricate or organic forms that would take hours to hand-carve
- Repeatable collections and full ring-size runs from a single file
- Replacement components for existing pieces
- Small-batch production below the volume where a rubber mold pays for itself
Where it sits in the production lifecycle varies. Shops use it for early design validation before a client commits, pre-production sampling to confirm fit and finish, repeat manufacturing for a standing collection, or quality assurance ahead of a larger casting run.
The same workflow can be a one-time custom engagement ring, an iterative loop while a new collection develops, or a recurring run for a bestseller. Controls scale with volume: a single commission tolerates more manual judgment than a batch of 200 identical pendants.
A production printer can turn out roughly 30 rings per hour in high-resolution mode, a very different scale than a one-off piece.
Factors That Shape the Final Casting
- Pattern material — wax/resin formulation, cleanliness, storage, and compatibility with your investment and burnout schedule
- Geometry — minimum wall thickness, deep recesses, enclosed spaces, delicate prongs, sharp internal corners, unsupported overhangs
- Print settings — layer height, exposure settings, orientation, support density, printer calibration, build-platform condition
- Spruing — sprue size and placement, feed paths, vents, tree configuration, casting temperature, alloy choice
- Investment and burnout — investment type, flask configuration, burnout ramp, peak temperature, hold time, furnace condition
- Scale — whether the setup is tuned for one custom piece, a small batch, or repeated production across designs
Before investing a pattern, run it through a quick checklist:
- Digital file cleared of manifold errors
- Printed pattern inspected for defects
- Sprue placement confirmed
- Investment matched to material
- Burnout record logged
- Critical dimensions checked against the CAD file
For numerical tolerances or process settings, defer to your investment and furnace manufacturer's documentation rather than a rule of thumb borrowed from another shop.
Common Issues, Misconceptions, and When It May Not Be Appropriate
A high-resolution print is no guarantee of a clean casting. Investment quality, burnout schedule, metal flow, porosity, finishing, and plain operator technique all still shape the outcome after the printer's job is done.
Common failure modes to watch for:
- Incomplete burnout or leftover ash and residue
- Investment cracking from rapid heating or a weak mix
- Porosity, often traced to hot spots near the sprue gate
- Misruns, especially in thin filigree channels that freeze before metal fills them
- Distortion or support scars from improper handling
- Shrinkage-related dimensional drift and lost detail
Here's the misconception worth killing: a "castable" label on a resin bottle doesn't mean it works with your investment, furnace, and alloy. Printer settings, pattern thickness, cleaning method, investment choice, and furnace profile all need validation together as one system, not selected off a spec sheet in isolation.
Frequent workflow mistakes:
- Printing a mesh with unrepairable errors instead of catching them before the print starts
- Ignoring minimum wall thickness and getting a pattern that collapses in the flask
- Placing supports on visible surfaces that need heavy polishing afterward
- Skipping shrinkage compensation for the intended alloy
- Using sprues that don't match the pattern's feed requirements
- Skipping inspection before investing, so a flawed pattern gets invested anyway
Not every job needs this workflow. A simple band might be faster to hand-carve than to model, print, and post-process. A high-volume design with no planned changes is often cheaper per unit from a durable production mold. Some geometries are better served by direct metal additive manufacturing or CNC machining than by casting at all.
Signals it's time to evaluate an alternative process:
- Repeated casting defects on the same design
- Excessive manual cleanup eating into your margin
- Poor economics at the volume you're actually running
- Material or geometry limits that your current casting route can't meet
When the full system is validated, results can still be strong. Uptown Diamond's prior process took 2 to 3 weeks per design, with CNC-machined masters requiring 4 to 5 hours each.
After adopting wax 3D printing, the company reported printing up to 50 unique wax patterns ready for casting in 10 hours (or a single pattern in about 2 hours), enabling same-day cutting and casting, according to a 3D Systems case study.

Conclusion
3D-printed wax or castable resin patterns connect digital jewelry design to traditional investment casting, but the printer only handles one link in the chain. The final casting depends on geometry, pattern material, print settings, spruing, investment, burnout, metal choice, and finishing all working together.
Before committing to this route, weigh it against injection-molded wax, hand-carved patterns, or direct metal production. Base the choice on:
- Design complexity
- Order volume
- Repeatability needs
- Cost drivers and lead time
CAD BLU works with jewelry businesses, casting houses, and manufacturers evaluating this shift. The company supplies equipment, materials, software, and workflow support for shops adopting or scaling digital production. The right setup depends on what you're casting and how often.
Frequently Asked Questions
How much does it cost to cast a piece of jewelry?
Cost depends on design prep, pattern production, metal and alloy choice, piece weight, spruing, investment, casting labor, finishing, and current metal prices. Get a project-specific quote rather than relying on a general price range.
What is jewelry casting?
Jewelry casting creates a cavity from a sacrificial pattern, then fills that cavity with molten metal. Traditional lost-wax casting and 3D-printed wax or castable resin patterns both follow this process — only the pattern-making step differs.
What are the four types of metal casting?
The American Foundry Society groups processes into sand casting, metal mold casting, ceramic mold casting (including investment casting), and tool-less or 3D-printed mold casting. Jewelry casting falls under ceramic mold casting, per its process classification.
What metals should I avoid in jewelry?
It depends on the wearer's sensitivities, intended use, applicable regulations, and your caster's equipment. Rather than a blanket ban, distinguish alloys that need specialized handling from those unsuitable for a specific application or wearer.