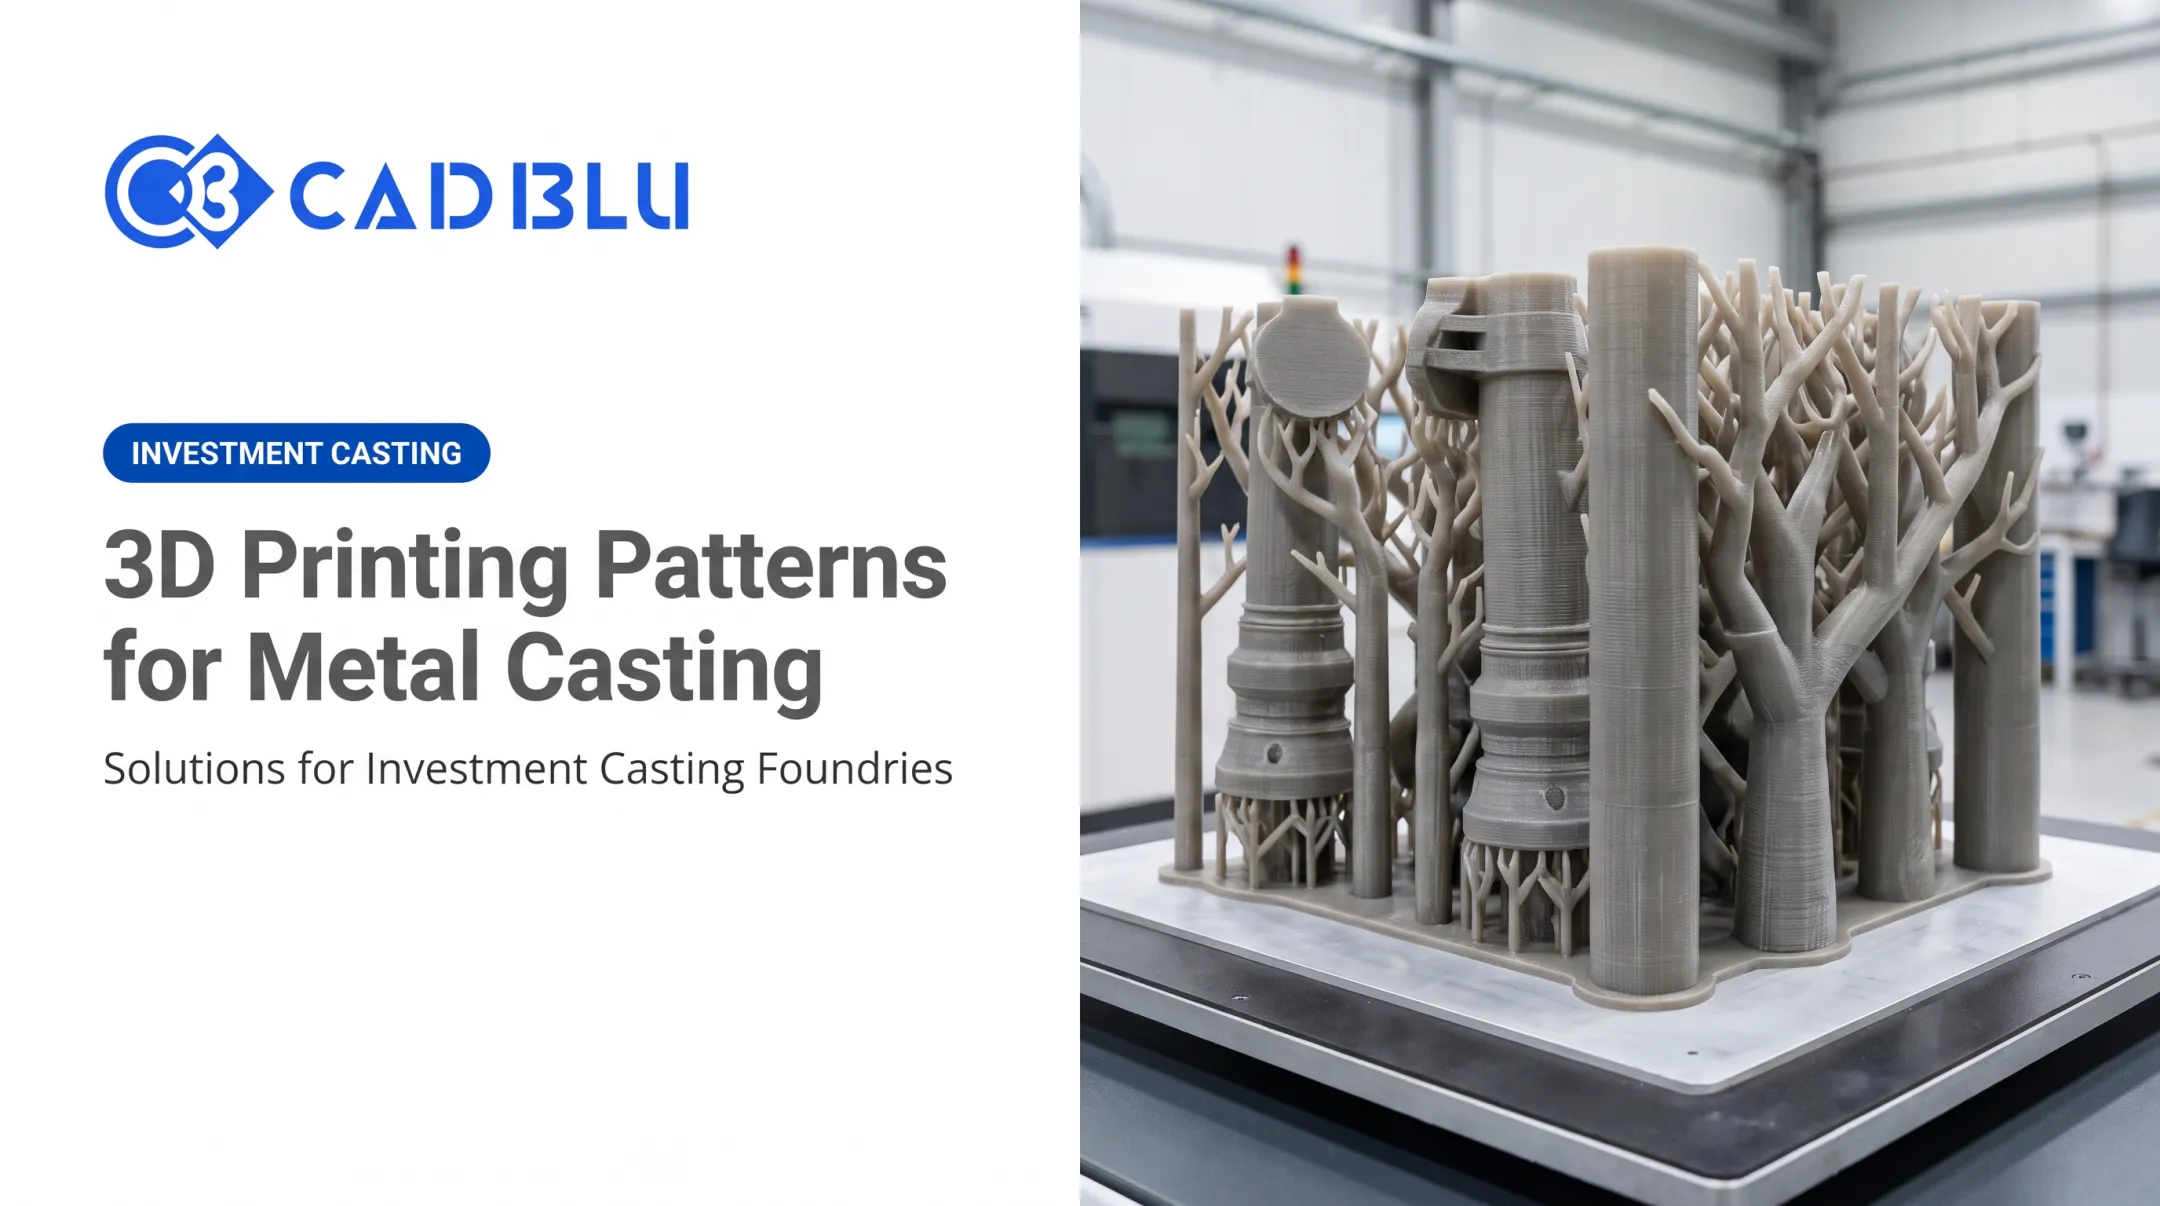
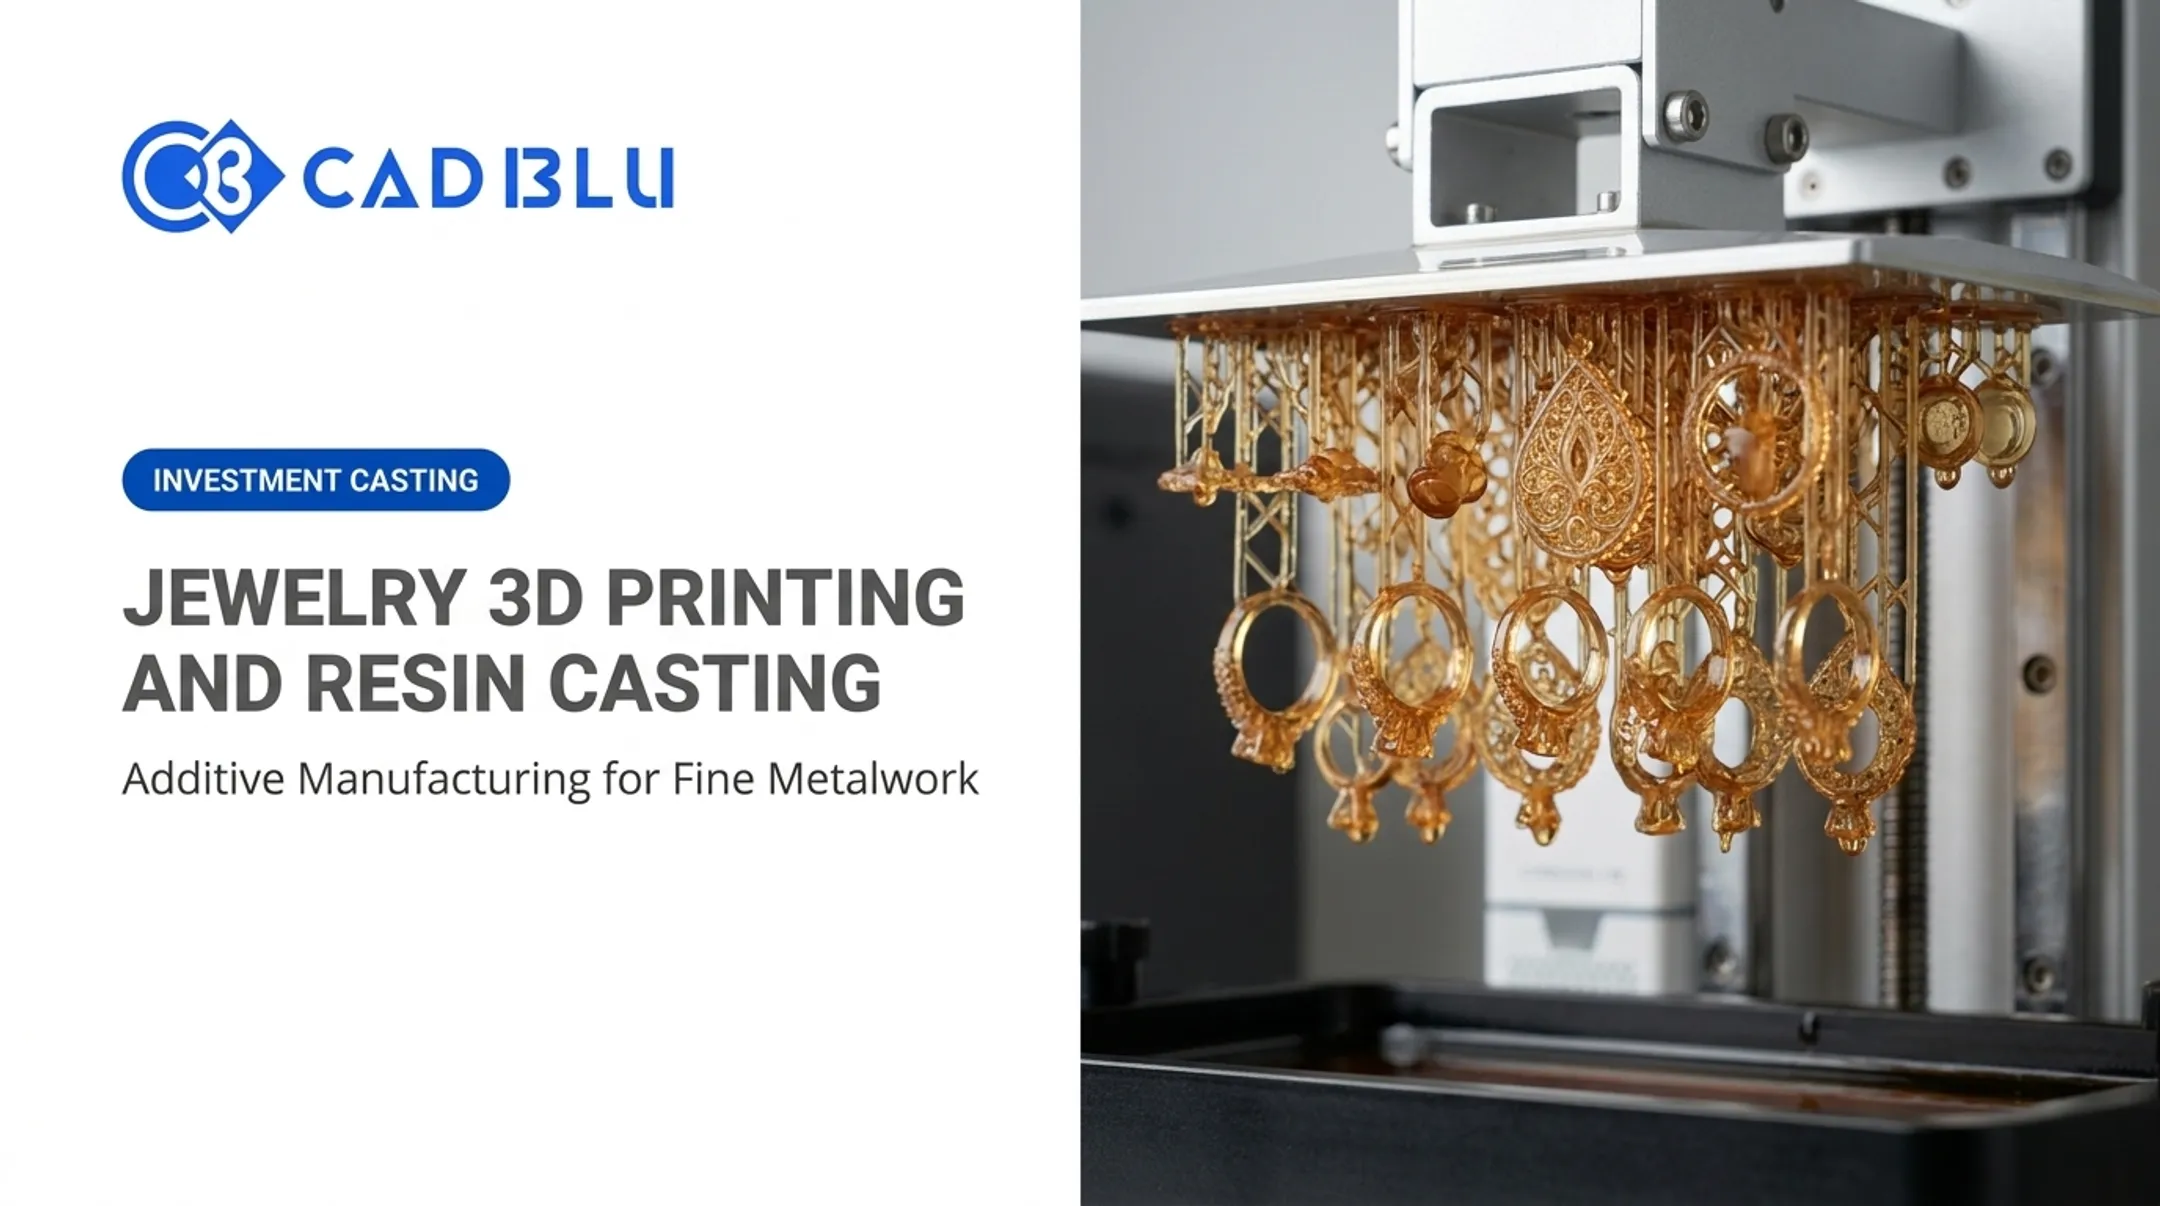
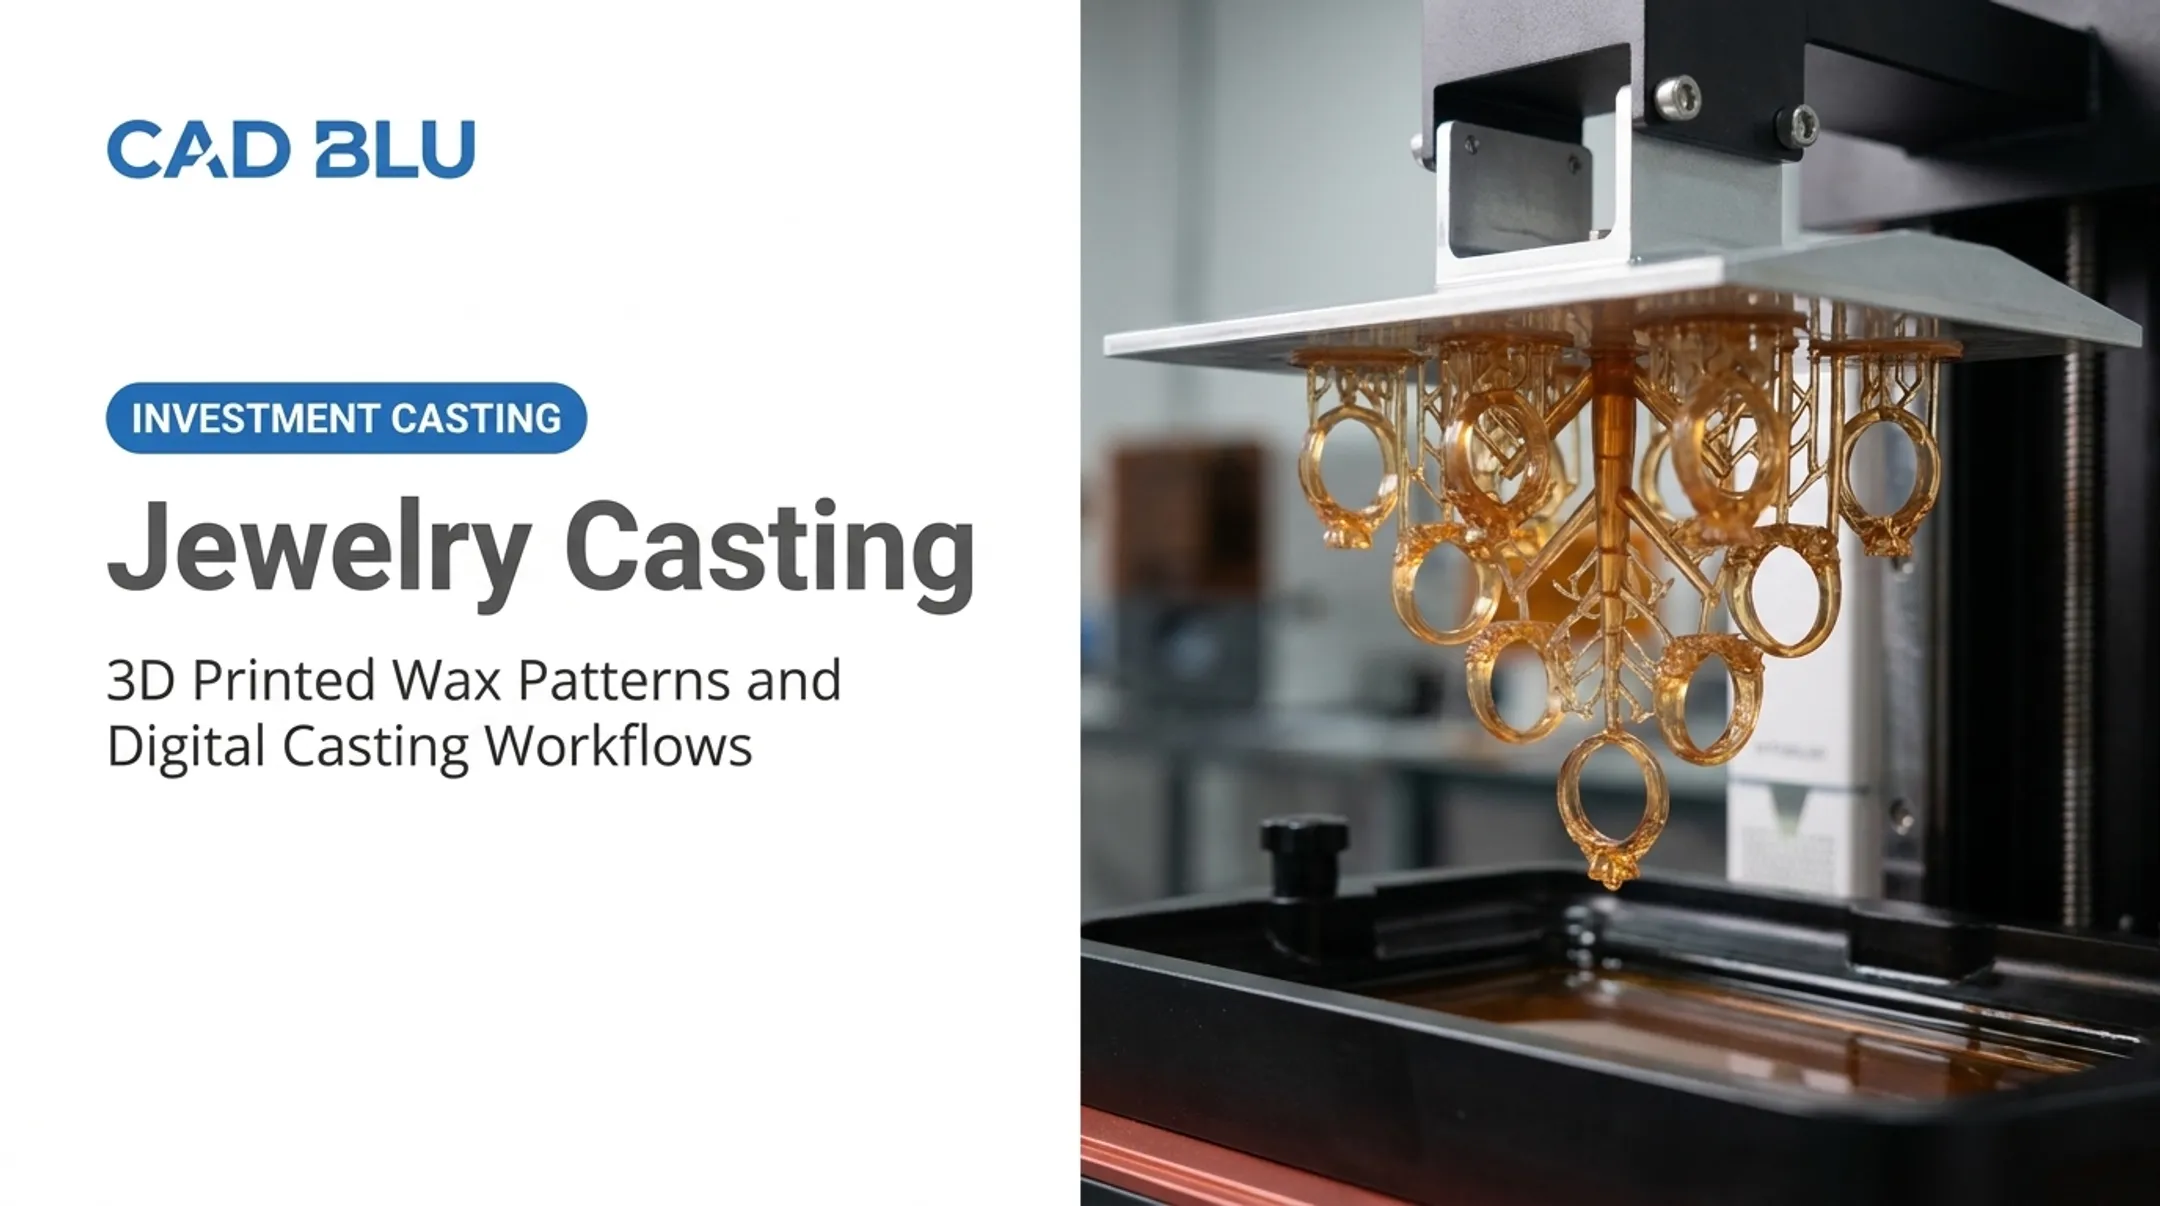
This matters because casting still produces the majority of complex metal parts used in jewelry, dental, aerospace, and industrial applications. The question most businesses actually have isn't "can I print metal?" It's "can I cast from a print, and what will that actually cost me?"
This guide walks through what 3D printing and casting mean together, how the workflow fits together step by step, which casting method suits which job, and how to budget for the process before you request a quote.
Key Takeaways
- Use printed patterns, molds, and tooling for investment, sand, and low-temp casting; only metal printers build metal parts directly.
- Match the process to the job: investment for detailed low-to-medium runs, sand for large parts, die casting for high volume.
- Design for shrinkage, gates, vents, and burnout—they affect quality as much as print accuracy.
- Quote from your actual CAD file; geometry, material, and finishing drive cost more than any generic estimate.
What 3D Printing and Casting Mean
3D printing builds an object layer by layer from a digital model. Casting takes a different approach entirely: molten or liquid material is poured into a mold cavity and solidifies into the final shape. Combining the two means using a printer to produce something that feeds the casting process, not necessarily the final metal part itself.
Three distinct workflows get lumped together under "3D printing and casting," and they aren't interchangeable:
- Direct metal 3D printing – A specialized additive manufacturing machine builds the part in actual metal powder or wire. This is a different category of equipment entirely.
- Printed sacrificial patterns – Plastic, resin, or wax patterns are printed, then invested and burned out during casting. The print itself disappears.
- Printed molds or tooling – A printed mold shapes wax, pewter, silicone, or other lower-temperature materials, and the mold can often be reused.
Metal-filled filament is not a metal part. These filaments contain fine metal powders such as bronze, copper, or stainless steel blended into a polymer base. Printing produces a plastic-metal composite, not a fully dense metal component.
If mechanical properties matter, verify the material composition and post-processing path before assuming a metal-filled print will perform like cast or machined metal.
CAD BLU's investment-casting customers typically use Stereolithography (SLA) or MultiJet Printing (MJP) materials to print patterns directly, skipping the injection-molded wax tooling step that traditional casting workflows depend on. Materials like PolyCast™ and the VisiJet® M2 ICast wax series exist specifically for this purpose.

Where this combination shows up most often:
| Industry | Typical use |
|---|---|
| Jewelry | Wax or resin ring/pendant patterns for lost-wax casting |
| Dental | Cast partial denture frameworks, orthodontic appliances |
| Medical | Patient-specific casting patterns for implants and devices |
| Aerospace/Automotive | Complex investment-cast components, prototype validation |
| Industrial | Tooling inserts, sand mold cores, short-run production parts |
How 3D Printing Fits Into the Casting Workflow
The path from digital file to finished cast part follows a consistent sequence, whether you're casting a ring or an aerospace bracket.
- Create or scan the CAD model and clean up the geometry.
- Add casting features – draft angles, wall thickness adjustments, shrinkage allowances.
- Print the pattern or mold on the selected printer and material.
- Inspect and finish the print – remove supports, post-cure if required.
- Build the mold around the pattern (investment) or use the printed mold directly.
- Remove or burn out the pattern to leave the cavity.
- Pour the casting metal into the prepared mold.
- Remove and finish the part – cutoff, grinding, polishing, machining as needed.
Designing for Shrinkage and Draft
Those design and print steps only pay off if the geometry accounts for what happens after the pour. Print accuracy alone doesn't guarantee a good casting—molten metal shrinks as it cools, and patterns need draft so they release cleanly from a mold.
The Steel Founders' Society of America recommends an average draft allowance of about 1/16 inch per foot, roughly 0.5 degrees, for general jobbing work, though the exact figure depends on pattern depth and the specific foundry process. There's no single shrinkage percentage that applies across gold, bronze, aluminum, and steel. Confirm allowances with your foundry or material supplier before finalizing geometry.
Gates, sprues, runners, risers, and vents aren't optional add-ons. They control how metal flows into the cavity, feed shrinkage as the metal cools, and let trapped air and gases escape. Skipping them is one of the fastest ways to end up with porosity or incomplete fills.
Direct vs. Indirect Investment Casting
- Direct investment casting prints a castable pattern that's embedded in the investment and removed during burnout, no wax molding step required.
- Indirect casting prints a master or mold first, which then produces a separate wax pattern before the final casting step.

Pattern and mold materials vary widely, from castable wax and photopolymer resin to silicone, plaster, and ceramic investment. Always check the manufacturer's burnout schedule and temperature limits.
Formlabs' Castable Wax 40, for example, follows a staged burnout ramp up to a 732°C (1,350°F) hold, with ash content under 0.1%. Treat that schedule as a starting point and adjust for your geometry and flask size.
Before pouring, run a quick quality check:
- Dimensional accuracy
- Surface defects and leftover support marks
- Incomplete burnout residue
- Mold cracks
- Proper alignment of mold halves
Catching a problem here costs far less than catching it after the pour.
Casting Methods Used With 3D-Printed Patterns and Molds
Three casting methods commonly pair with 3D-printed inputs: investment casting, sand casting, and die casting. In nearly every case, the printer makes a pattern or a piece of tooling. It doesn't replace the casting process itself.
Investment Casting
This is where printed patterns fit most naturally. The sequence: print a castable pattern, attach the sprue system, invest it in ceramic slurry, cure, burn out the pattern, pour metal, break away the investment, and finish the part.
Investment casting suits:
- Intricate, small-to-medium parts
- Low-volume production runs
- Jewelry, dental, medical, and aerospace components
- Designs where wax tooling would be too slow or costly
Fine features, pattern wall thickness, and vent placement all affect the final result. Results also shift with investment type, furnace behavior, and flask size.
CAD BLU's Figure 4™ JCAST-GRN 10 material, for instance, is built for small, detailed jewelry master patterns and leaves minimal ash after burnout. Post-curing matters here too—skipping it is a common cause of incomplete burnout.
Sand Casting
A printed pattern can be pressed into sand to form a cope-and-drag mold, or the sand mold itself can be printed directly with gates and vents built in.
Sand casting works well for:
- Larger parts that don't need mirror-smooth surfaces
- Short production runs and prototypes
- Situations where changing the mold shouldn't require new hard tooling
The tradeoff is rougher surface finish and more dimensional variation than investment casting, plus additional machining afterward.
Die Casting
Die casting uses a durable metal die and pressurized molten metal. That makes it a poor fit for one-off printed patterns, but a strong fit for repeatable, high-volume production.
Printing still helps upstream: prototypes, trial tooling inserts, jigs, and design validation. The production die itself is usually still machined.
Tooling cost is the real barrier. Die casting tools typically start around $10,000 for a small part and climb quickly with size, so the process rarely makes sense for low-volume work.
Side by side, the three methods break down like this:
| Method | Best for | Tooling cost | Typical finish |
|---|---|---|---|
| Investment | Detailed, low-to-medium volume parts | Low (no hard tooling for pattern) | Fine, minimal machining |
| Sand | Larger parts, short runs | Low-to-moderate (pattern only) | Rougher, more finishing |
| Die | High-volume, repeatable parts | High (metal die required) | Smooth, consistent |
Match the method to part size, volume, and finish needs—and run production work through a qualified commercial foundry, especially for anything safety-critical.
Benefits, Limitations, and Safety Considerations
What this combination does well:
- Speeds up design iteration without waiting on custom wax tooling
- Reduces tooling investment for low-to-medium volume parts
- Opens up geometric freedom that molded wax patterns can't match
- Makes custom, one-off parts practical (patient-specific medical devices, custom jewelry)
- Provides a route to metal parts when direct metal printing doesn't fit the budget or geometry
Where it runs into limits:
- Material compatibility between print, mold, and metal must be verified
- Layer lines and print resolution can transfer into the cast surface
- Incomplete burnout leaves residue that causes porosity or inclusions
- Mold failure, shrinkage, and incomplete filling all remain real risks
- Post-processing and inspection are still required. Printing doesn't eliminate finishing work
Safety note: Molten metal, furnaces, combustible patterns, refractory dust, and fumes are not a casual weekend project. OSHA's respirable crystalline silica standard caps exposure at 50 micrograms per cubic meter over an 8-hour period—a limit that applies directly to silica-based investment shells.
Proper ventilation, heat-resistant PPE, fire controls, and trained supervision aren't optional. Don't attempt metal pouring without the right facility and procedures.
For aerospace, automotive, medical, and dental parts, add another layer: validated materials, documented processes, dimensional inspection, and traceability. A printed pattern that looks perfect on a screen still needs to meet the compliance requirements of the industry it's headed into.
Choosing the Right 3D Printing and Casting Approach
Start with the part itself, not the technology. Material, dimensions, tolerance, surface finish requirements, quantity, lead time, and budget all point to different process choices.
A practical decision path:
- Direct metal 3D printing: best when complex internal geometry or rapid digital iteration justifies specialized equipment costs
- Printed-pattern investment casting: strong fit for detailed custom parts, jewelry, dental work, and low-to-medium runs
- Sand casting: practical for larger parts where surface finish is less critical
- Die casting: built for repeatable, high-volume production once tooling investment pays off
- Printed molds/tooling: use for compatible low-temperature materials, short-run manufacturing, or rapid tooling—not for pouring high-temperature metal into an unqualified print

Cost drivers worth budgeting for:
- Printer and post-processing equipment
- Pattern or mold material (wax, resin, filament)
- Investment or sand, plus furnace time and labor
- Metal volume and alloy cost
- Finishing, machining, and inspection
- Scrap risk and tooling amortization
- Shipping, particularly for larger cast parts
CAD BLU helps businesses work through this decision by comparing commercial printers such as the ProJet® MJP 2500W and MJP 2500 IC with materials like VisiJet® M2 ICast wax, plus software, installation, and workflow support.
OEM-trained, certified technicians keep high-throughput pattern printers running—critical when a machine producing hundreds of patterns a week cannot afford downtime. CAD BLU supplies the equipment, materials, and workflow tools, not foundry casting services.
Before requesting a quote, have ready:
- Your CAD file
- Material and finish requirements
- Dimensions and tolerances
- Quantity needed
- Intended use of the part
- Delivery target
- Inspection requirements
- Equipment, materials, training, or outsourced support needs
Frequently Asked Questions
How much does a 3D printed cast cost?
Cost depends on part size, material, pattern or mold method, casting metal, labor, finishing, and quantity. Request a quote from your CAD file rather than relying on a generic estimate.
How much does it cost to have something 3D printed in metal?
Direct metal 3D printing and printed-pattern casting price out differently. Machine time, metal powder or wire, support removal, heat treatment, finishing, and inspection drive cost, so request a quote for your part and method.
Can I cast from a 3D print?
Yes, if the print is built as a master pattern or mold input and the print material, mold material, burnout behavior, and casting temperature are compatible. Check manufacturer specs before locking the geometry.
Do 3D printed casts work?
Yes, when the pattern, mold, casting parameters, and finishing are properly controlled. Hobbyist setups often fall short of commercial or safety-critical requirements, so match your process to your end use.
Can you print metal on a 3D printer?
Specialized metal additive manufacturing machines print in true metal; standard plastic or resin printers and metal-filled filaments do not. Equipment, materials, post-processing, and safety needs differ substantially between the two.
What mold is used for metal casting?
Sand, investment (ceramic shell), plaster-based, and reusable metal molds are the main options. The right choice depends on the metal, temperature, part geometry, surface finish, and production volume.