Introduction: What Is RPD Denture Design?
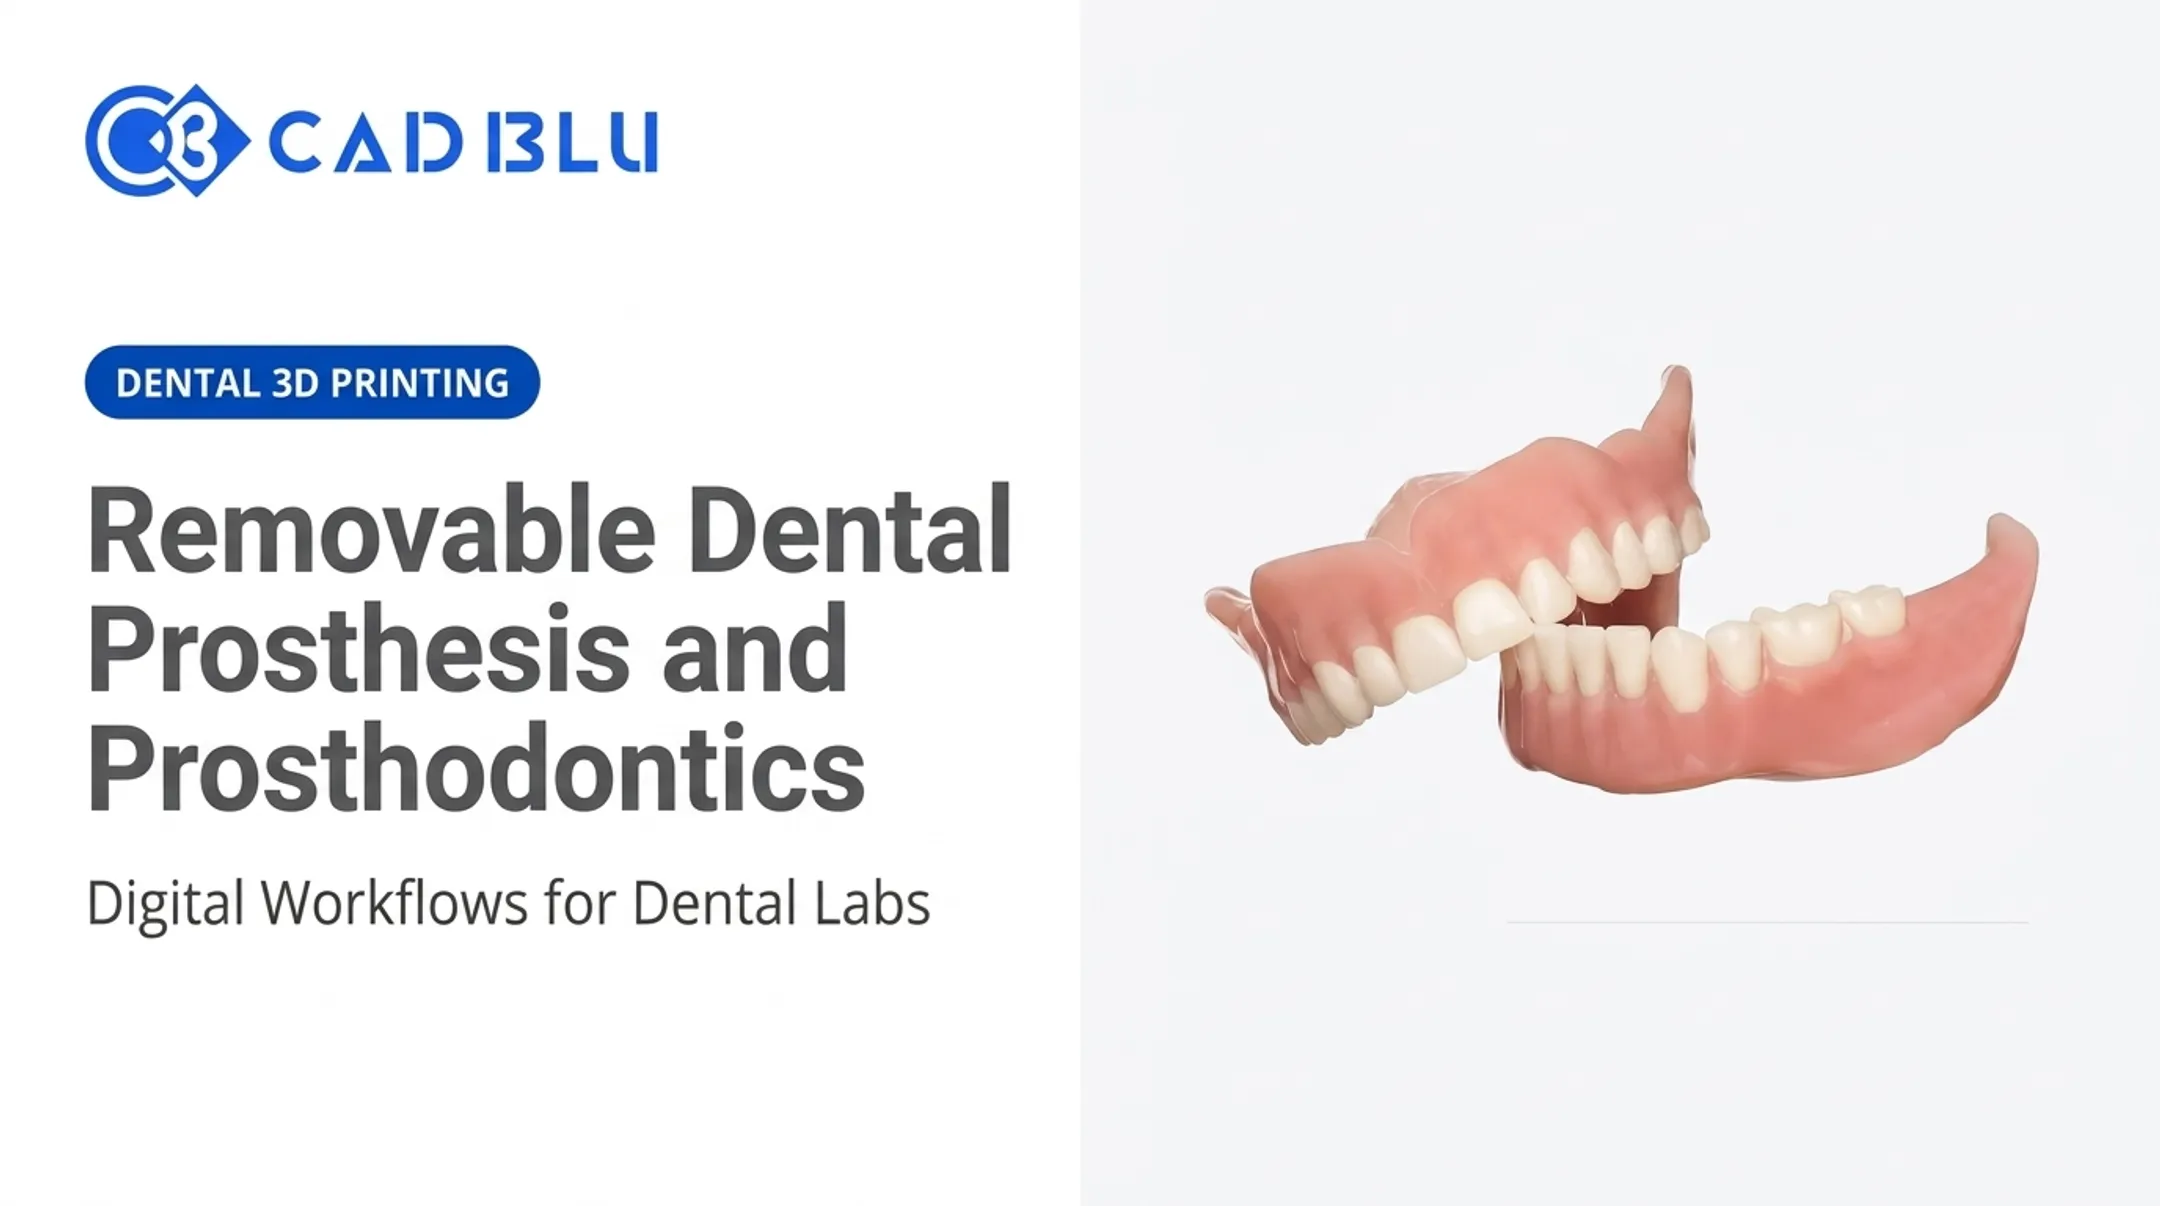
A removable partial denture (RPD) replaces one or more missing teeth using a prosthesis the patient can take out and reinsert. It relies on remaining teeth and oral tissues for support, retention, and stability.
Designing one well is harder than it sounds. Many clinicians struggle with balancing chewing function, speech, appearance, comfort, and hygiene, all while protecting the abutment teeth that carry the extra load.
Get the design wrong, and the consequences show up fast: loosened clasps, irritated tissue, or an abutment tooth that starts to move.
This guide walks through patient assessment, surveying, component selection, mouth preparation, and how conventional and digital workflows compare, so you can see where the real decision points sit.
Key Takeaways
- Effective RPD design starts with a full assessment of teeth, tissues, occlusion, and patient goals.
- Support, retention, and stability must work as a team, not at each other's expense.
- Rests, clasps, connectors, and indirect retainers each solve a distinct mechanical problem.
- Digital scanning and CAD improve communication but never replace clinical judgment.
RPD Design Fundamentals
The Three Objectives You're Actually Solving For
Every RPD design decision comes back to three forces:
- Support resists movement toward the tissue (vertical seating forces).
- Retention resists removal away from the teeth or ridge.
- Stability resists horizontal or rotational shifting during function.
These forces work as a system, not as add-ons. A clasp that boosts retention but overloads an abutment solves one problem and creates another.
How the Edentulous Span Changes the Plan
The Kennedy classification (Class I through IV) tells you where the gaps sit and how much support the tissue will need to carry versus the teeth.
Distal-extension saddles (Kennedy I and II) transmit load directly to the residual ridge. They are more prone to posterior displacement and rotation, and that risk grows as the saddle gets longer.
Bounded saddles (Kennedy III) draw support from adjacent teeth as well as tissue, which creates a different stress pattern.
Beyond classification, the design plan needs to account for:
- Ridge form and periodontal support of remaining teeth
- Tooth mobility and the opposing dentition
- Patient dexterity, hygiene habits, and material allergies
- Follow-up compliance and willingness to attend adjustments
Treat the Mouth Before You Design the Denture
Caries, active periodontal disease, pathology, and poorly positioned teeth all need attention before a definitive RPD gets fabricated, not after.
Skipping this step has real consequences. A five-year retrospective study found that clasp-retained RPDs showed higher plaque, calculus, and bleeding-on-probing scores than attachment-retained designs, with gingival inflammation concentrated beneath clasp arms and denture-covered tissue.
Poorly planned frameworks don't just look imperfect. They:
- Accumulate plaque under clasps and bases
- Overload abutment teeth
- Irritate covered soft tissue
- Shift teeth over time
Step-by-Step RPD Design Workflow
A clinically sound RPD moves through five stages, each building on the one before it.
- Diagnosis and treatment planning: Review medical and dental history, complete intraoral and extraoral exams, and assess periodontium, occlusion, radiographs, and any existing prosthesis.
- Preliminary records: Capture preliminary impressions or digital scans to build a diagnostic cast or model for edentulous spaces, occlusion, undercuts, and connector space.
- Surveying: Survey the cast or digital model to set the path of insertion, map usable undercuts, confirm parallel surfaces, and mark blockout.
- Mouth preparation: Prepare and verify guiding planes on a check-cast, then add rest seats, retentive dimples, enameloplasty, or restorative work. Complete needed periodontal treatment in this stage.
- Final impression through delivery: Make the final impression (anatomic, functional, or selective-pressure), then move through jaw relation records, framework approval, tooth try-in, and delivery.

Recall is part of the design workflow, not an afterthought. Tissue and bone can shift after a well-fitted delivery, so reassess:
- Framework fit and pressure areas
- Occlusion and speech
- Patient comfort at scheduled follow-up
RPD Components and Biomechanical Decisions
Every framework component solves a specific mechanical problem. Get the assignment wrong, and forces end up where they shouldn't.
Rests, Clasps, and Indirect Retention
Rests (occlusal, cingulum, or incisal) direct functional load toward abutment teeth that can actually handle it. An indirect retainer needs a definite rest seat, never an inclined or weakened surface.
Direct retainers work as a clasp assembly: a rest, retentive arm, reciprocal arm, and minor connector, all coordinated so the retentive arm doesn't torque the tooth it's supposed to protect.
Indirect retention matters most on distal-extension cases. It resists the base lifting and rotating away from the ridge. It only works when the connector is rigid, the rest seat is sound, and the rest sits an adequate distance from the fulcrum line.
Connectors, Guide Planes, and Bases
Major connectors unify the two sides of the arch and provide rigidity; minor connectors link the retainers and denture base to that major connector.
Maxillary and mandibular designs differ in tissue coverage, gingival clearance, and hygiene access, so there's no single "correct" connector shape across all cases.
Guide planes, proximal plates, and retention mesh transfer forces between the framework and the base. Denture bases distribute the remaining load across soft tissue.
Bounded vs. Distal-Extension: A Quick Comparison
| Feature | Bounded Saddle (Class III) | Distal-Extension Saddle (Class I/II) |
|---|---|---|
| Primary support | Adjacent teeth + tissue | Residual ridge (tissue-dominant) |
| Clasp risk | Circumferential clasps can raise abutment stress | Requires load-sharing clasp design |
| Indirect retention | Usually unnecessary | Essential to control rotation |
| Displacement risk | Lower | Higher, increases with span length |
Finite element analysis has shown that reverse Aker clasps produced more abutment stress than alternative clasp designs in distal-extension models, even though they offered better stability and less deflection. That trade-off is why clasp selection needs to match the saddle type, not the other way around.
Conventional vs. Digital RPD Design
Digital workflows belong in RPD fabrication, but they haven't replaced clinical judgment or mouth preparation.
What a Digital Workflow Looks Like
A digital RPD workflow still rests on the same clinical steps—diagnosis, mouth preparation, and try-in. The digital layer typically adds:
- Intraoral or laboratory scans and digitized impressions
- CAD software for surveying and design
- Digitally stored case records for remakes and communication
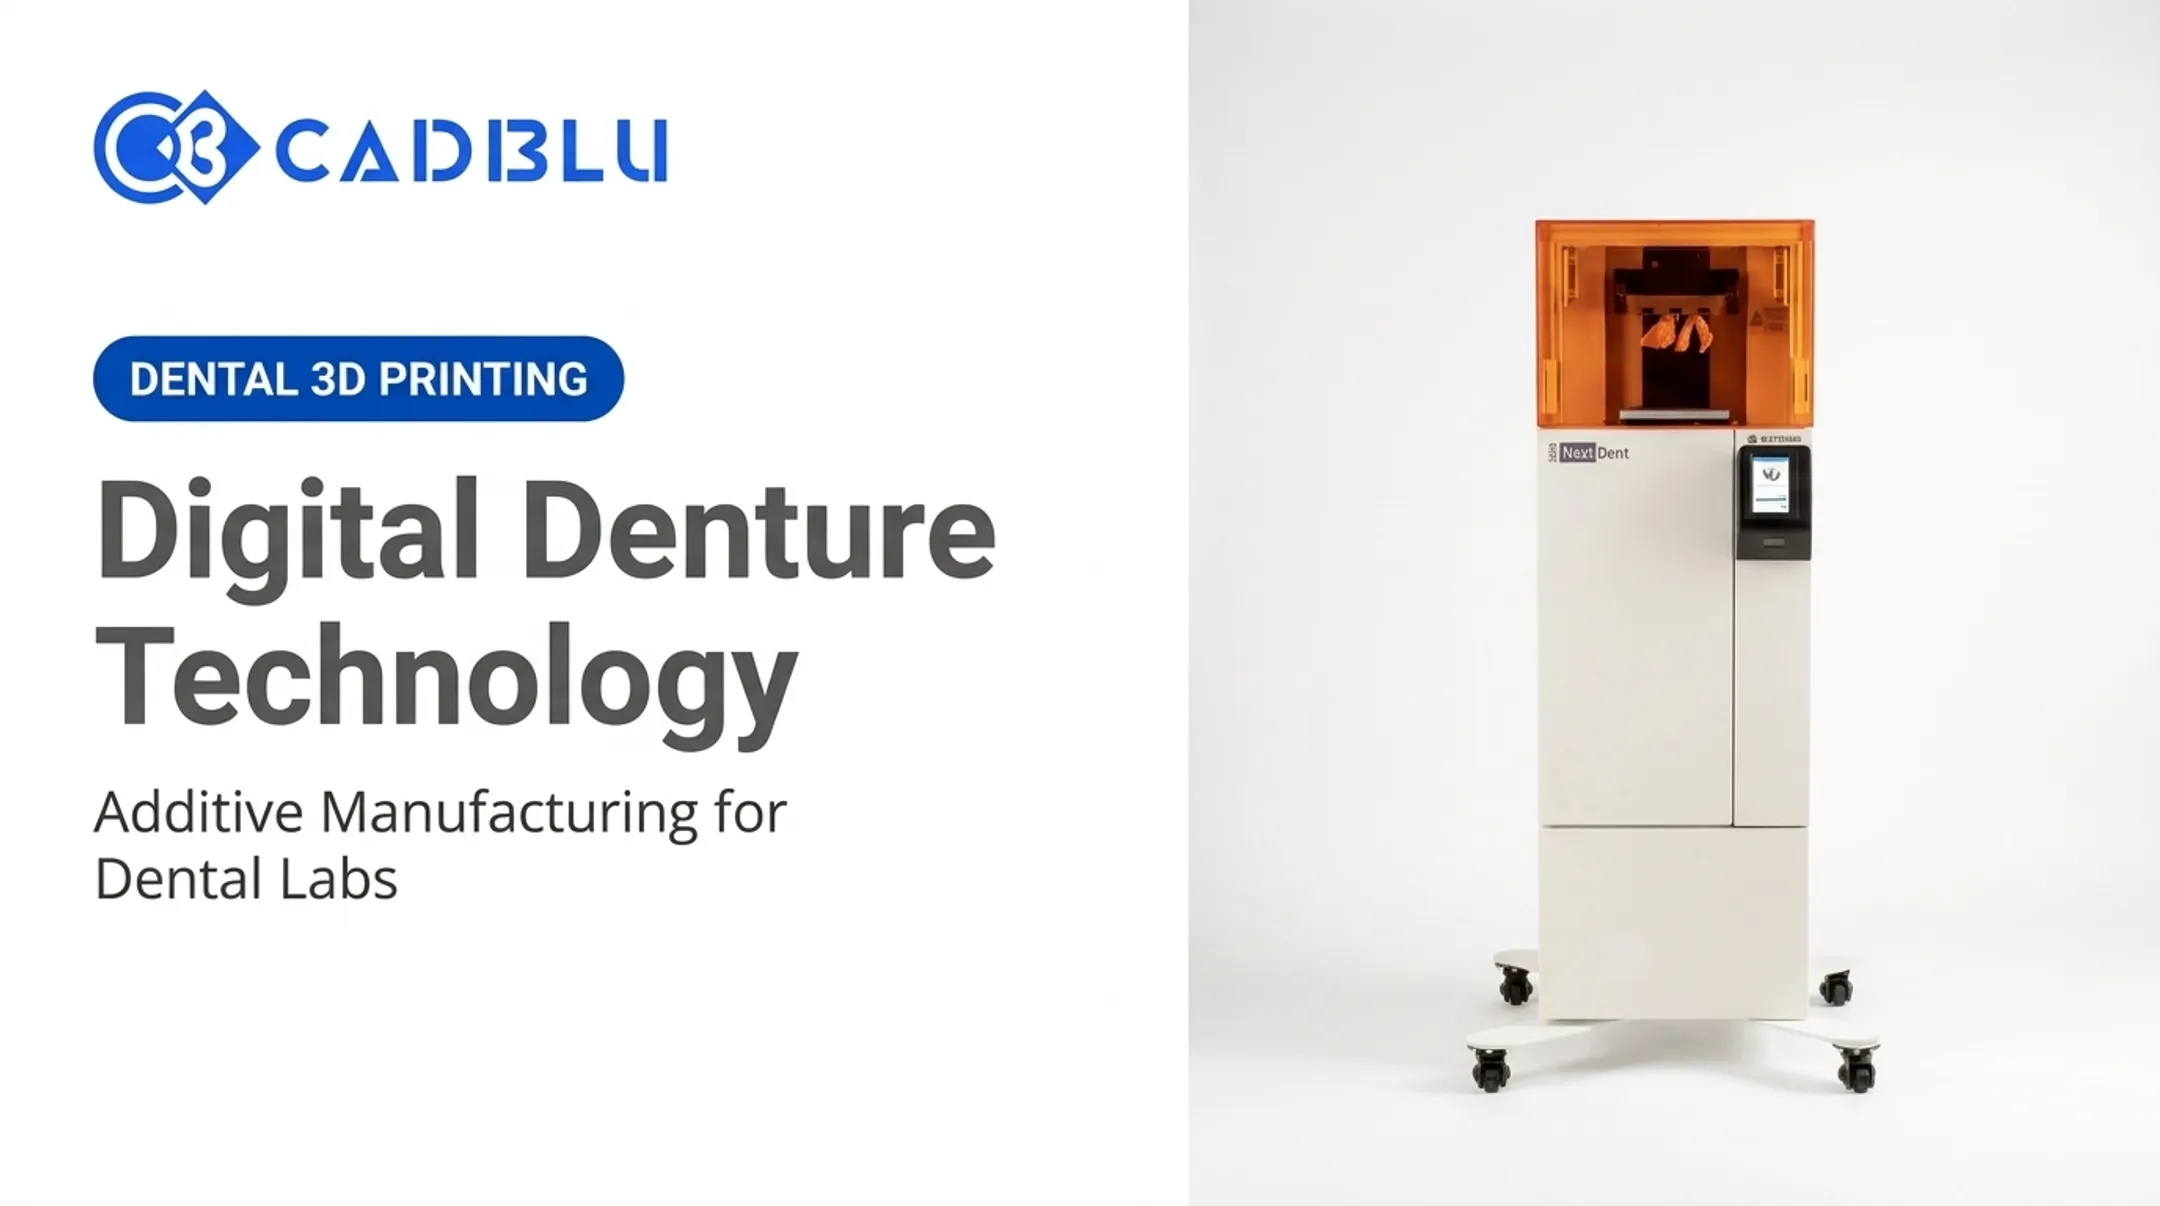
On the production side, a workflow built around a system like the NextDent 5100 often runs in three stages:
- Prepare files in design software (5 to 10 minutes)
- Print the case (3 to 9 hours, depending on complexity)
- Remove the build (about 1 minute)

Total turnaround is roughly 12 hours. Speed helps in the lab, but clinical tradeoffs still decide when digital is the right call.
Where the Two Approaches Genuinely Differ
- Data capture: Digital scans skip impression material; conventional impressions still handle mobile soft tissue and deep undercuts more predictably in some cases.
- Design changes: CAD allows faster iteration and clearer lab communication before milling or printing.
- Distal-extension accuracy: A 2023 in-vivo study found median vertical displacement of 184.4 µm with digital impressions versus 93.8 µm with conventional on distal-extension arches, because digital scans capture uncompressed mucosa. It did not recommend digital impressions for definitive Kennedy I/II cases at that time.
- Record storage and remakes: Digital files store and duplicate more easily than physical casts.
Known Limitations
Digital RPD design isn't universal yet. Current gaps include:
- Difficulty scanning mobile soft tissue and deep undercuts
- Software compatibility issues between scanners, CAD platforms, and manufacturing hardware
- Equipment costs and staff training requirements
- Cases that still need conventional impressions or a hybrid approach
Clinical design decisions always stay with the treating dentist. For labs and practices evaluating scanners, CAD software, and printers such as the NextDent 5100, CAD BLU provides equipment guidance, installation support, and OEM-trained technical service.
Materials, Manufacturing, and Quality Control
Choosing a Material Pathway
RPD frameworks and bases come from several material families, each with tradeoffs worth verifying against current manufacturer and regulatory guidance:
- Cast cobalt-chromium offers high strength and clasp fatigue resistance, though interdendritic microporosity can weaken clasps if casting quality slips.
- Acrylic (PMMA) remains the standard for denture bases and is well understood for repair and reline.
- Flexible thermoplastics (nonmetal clasp dentures) offer aesthetics but come with lower color stability, higher fracture risk over time, and difficult chairside repair.
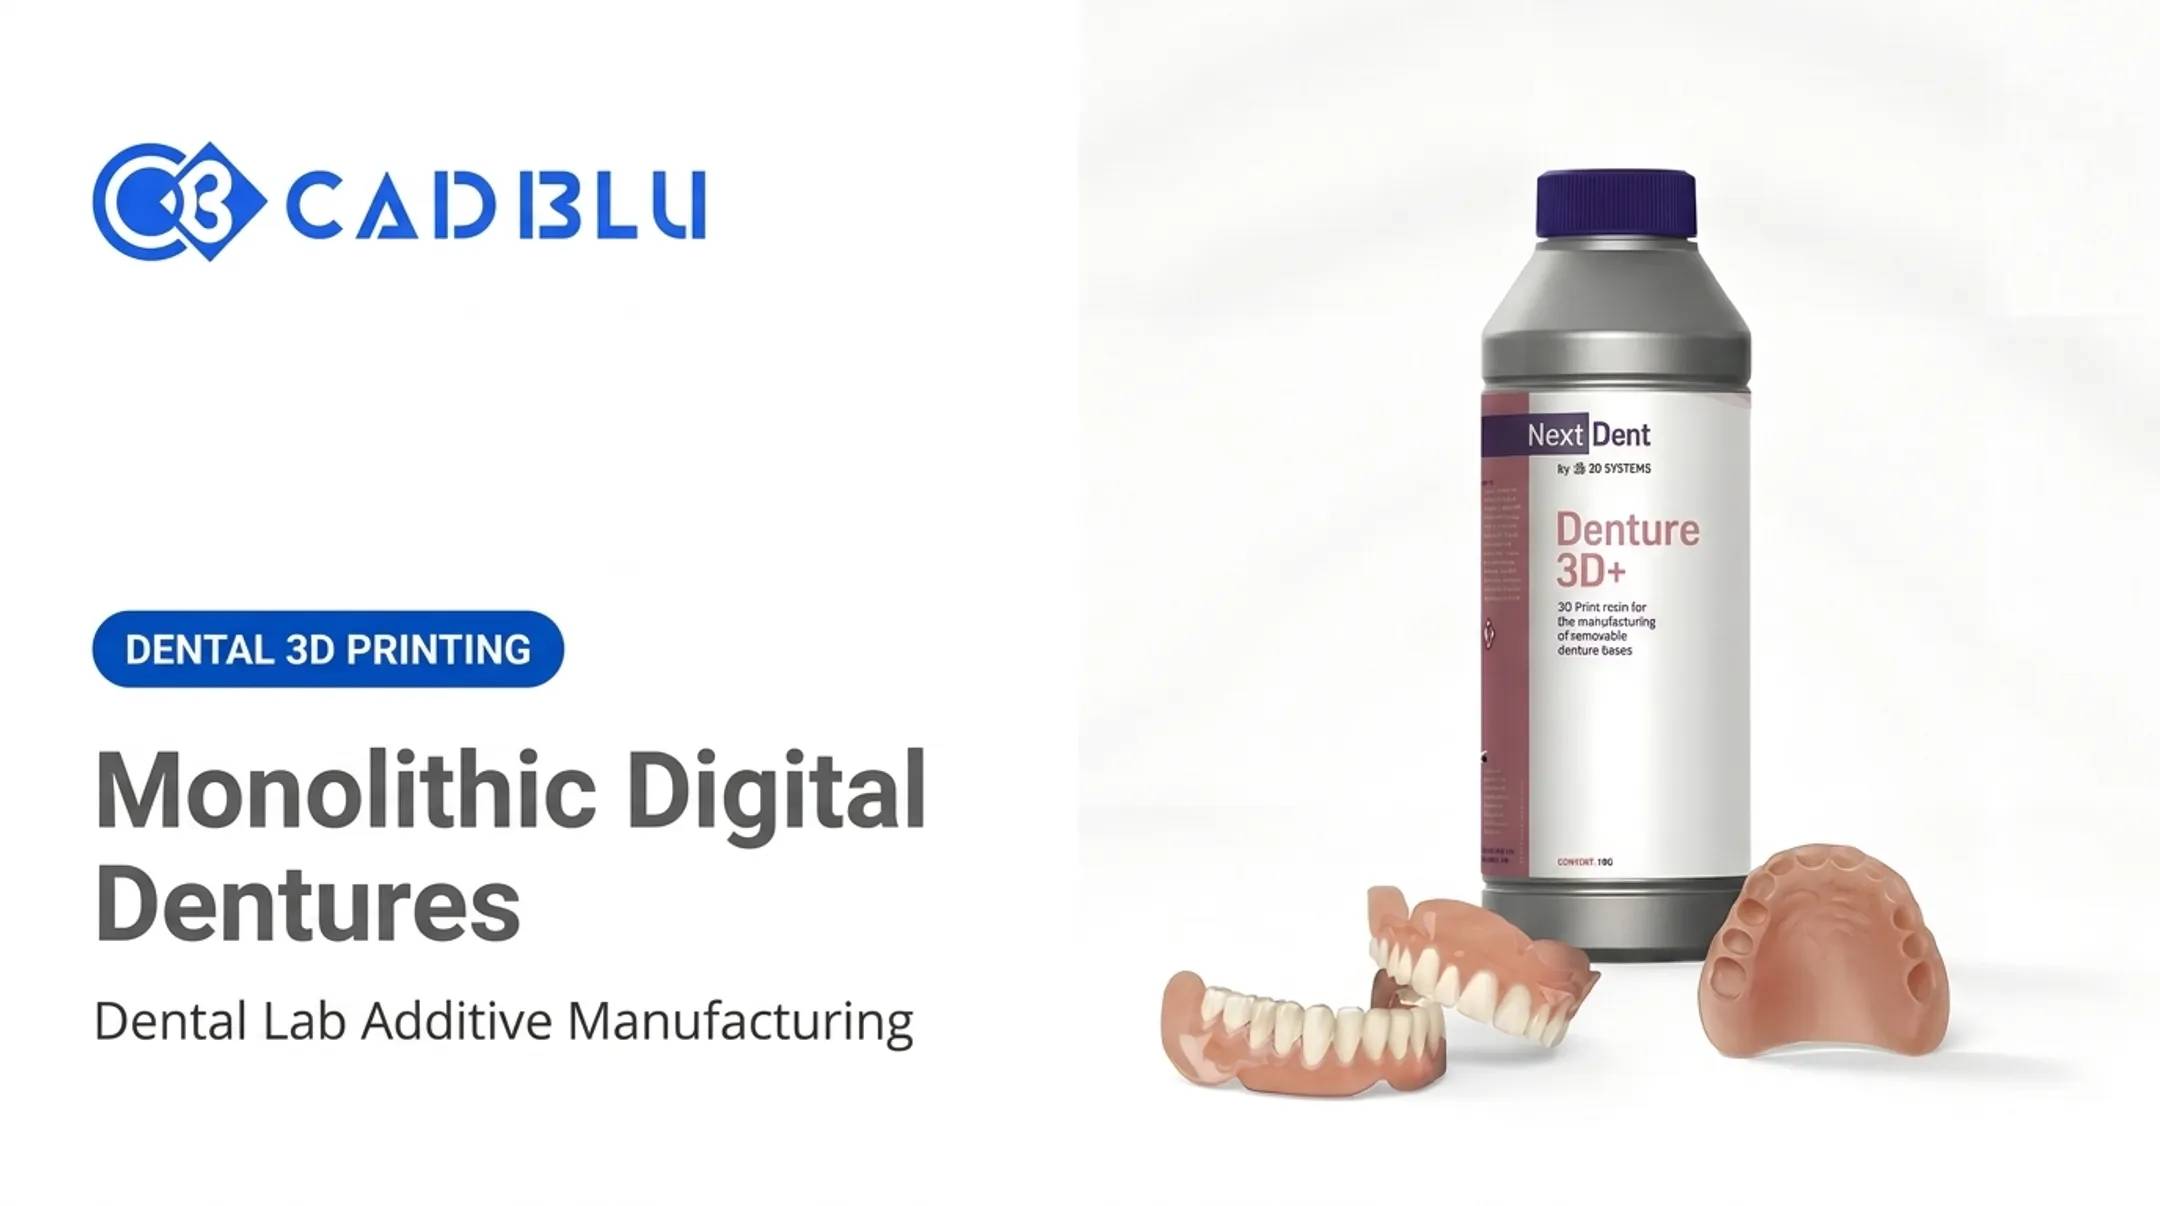
- Digitally printed or milled frameworks are newer options; verify biocompatibility and repair pathways with current ISO and FDA guidance before committing to a material for a specific case.
Milling vs. 3D Printing
Milling is subtractive: a machine cuts a framework from a solid blank, often using five-axis equipment for complex geometry. Printing is additive, building the part layer by layer from resin or metal powder.
Neither method is best for every case. Some in-vitro comparisons have found milled castable patterns more accurate for occlusal rest seats than printed patterns. Broader accuracy reviews have favored digital methods over conventional casting overall. Post-processing (curing, sintering, or finishing) still shapes the final result either way.
Pre-Delivery Quality Control Checklist
Before any RPD leaves the lab or chair, confirm:
- Framework matches the approved design and path of insertion
- Clasps engage undercuts without binding or excess play
- Connectors clear gingival tissue with adequate hygiene access
- Rests seat fully on prepared surfaces, not inclined planes
- Occlusion is even with no premature contacts
- Borders, polish, and aesthetics meet the case plan
- Final digital file and case records are archived

Once material choice and process controls are set, production support still matters. CAD BLU helps labs equip this side of the workflow with 3D printers, dental-grade materials, guidance, and OEM-trained repair service. Diagnosis and design decisions remain the treating dentist's responsibility.
Frequently Asked Questions
How do you design a removable partial denture?
Design begins with assessment, casts or scans, and surveying, then moves through mouth prep, component selection, fabrication, and try-in. A qualified dental professional oversees each step and follow-up care.
What does a well-designed denture look like?
A well-designed RPD stays stable and retentive under function, with balanced occlusion and a comfortable fit. It also protects remaining teeth and tissue, cleans easily, and looks natural in the mouth.
What is the newest type of dentures?
Digitally designed, milled, and 3D-printed dentures are the newest manufacturing options in wide use today. The right choice still depends on anatomy, clinical needs, and a professional evaluation—not the fabrication method alone.