Introduction
Custom jewelry used to mean hours at a wax-carving bench for every single piece. Today, many jewelers start with a CAD file and a resin printer instead, but that shift raises real questions.
Can you actually cast a 3D printed resin part? Which materials work, and which ones ruin an investment mold? What does the whole process cost once you add software, equipment, and casting fees?
This guide walks through the resin-to-metal workflow: how a digital file becomes a castable pattern, what equipment and design rules matter, and where projects typically fail. You will also see how to decide between building an in-house setup or working with a production partner like CAD BLU.
Key Takeaways
- Jewelry 3D printing usually creates a temporary castable pattern, not the finished metal piece.
- Ordinary model resin is not casting-compatible; you need a validated castable formulation and burnout schedule.
- Digital workflows improve design iteration, repeatability, and customization when the process is controlled properly.
- Total cost includes software, post-processing, casting, and labor, not just the printer and resin.
Jewelry 3D Printing and Resin Casting: What They Mean
These terms get used loosely. Clear definitions make equipment and settings choices easier later.
- Jewelry 3D printing — producing a physical pattern from a digital CAD design on a photopolymer resin printer
- Castable resin — material formulated to burn out cleanly, leaving little to no ash in the investment
- Resin pattern — the printed object itself, such as a ring, pendant, or earring shape
- Investment material — plaster-based or gypsum-bonded compound that surrounds the pattern inside a flask
- Burnout — the thermal process that removes the resin and leaves a cavity in the hardened investment
- Metal casting — filling that cavity with molten metal, which cools into the finished jewelry piece
Digital Workflow vs. Hand-Carved Wax
Traditional wax carving is skill-intensive and slow to revise. A digital workflow changes that:
- CAD files can be revised instantly without recutting a physical model
- Designs are stored, duplicated, and resized on demand
- The same file can be reprinted for repeat orders or replacements
Three Production Routes
Most jewelry businesses choose one of these paths:
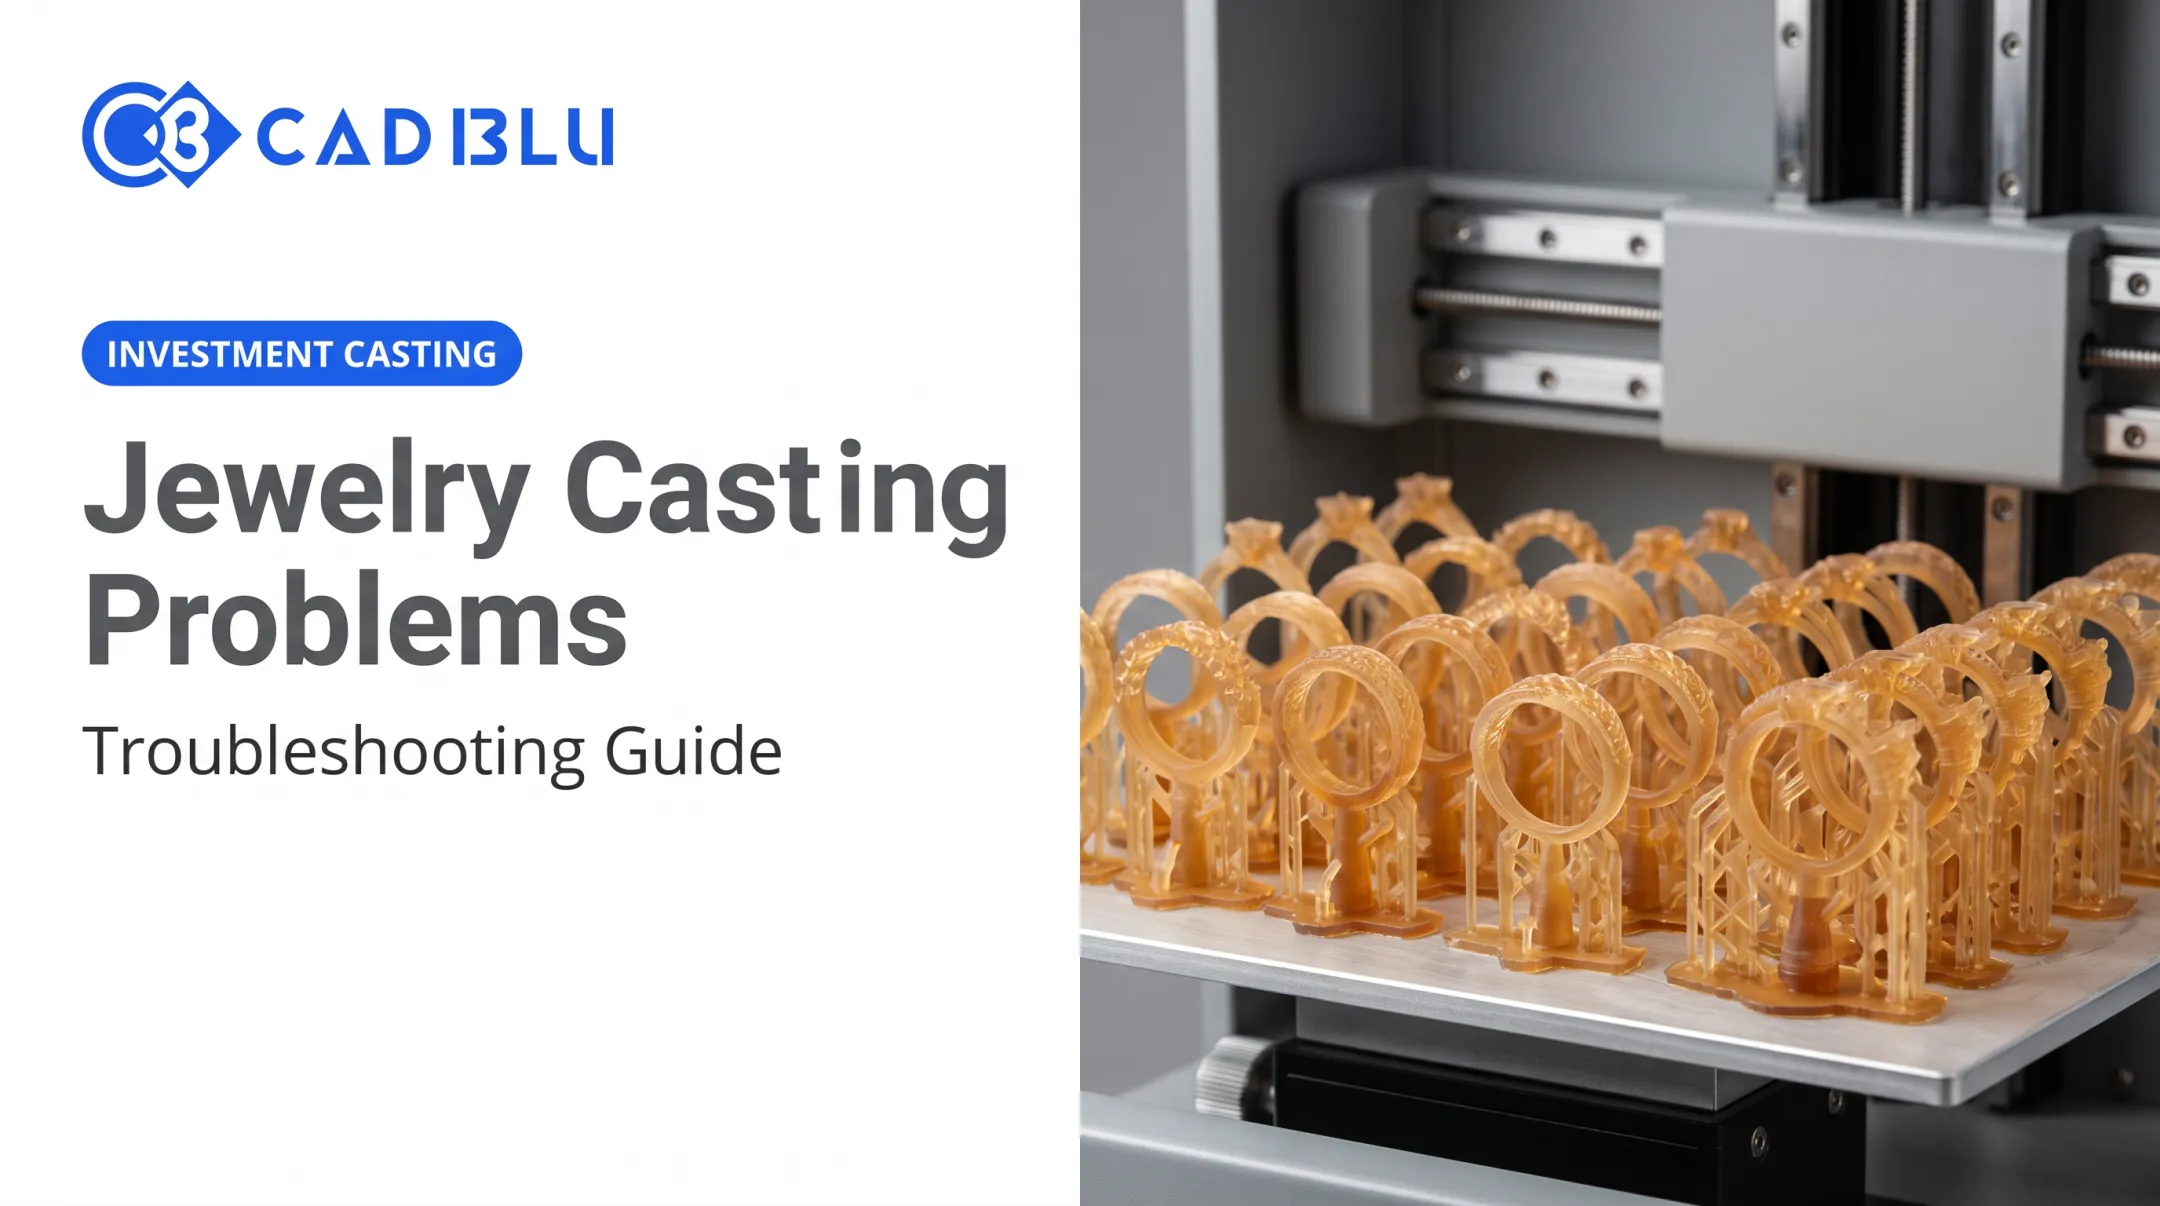
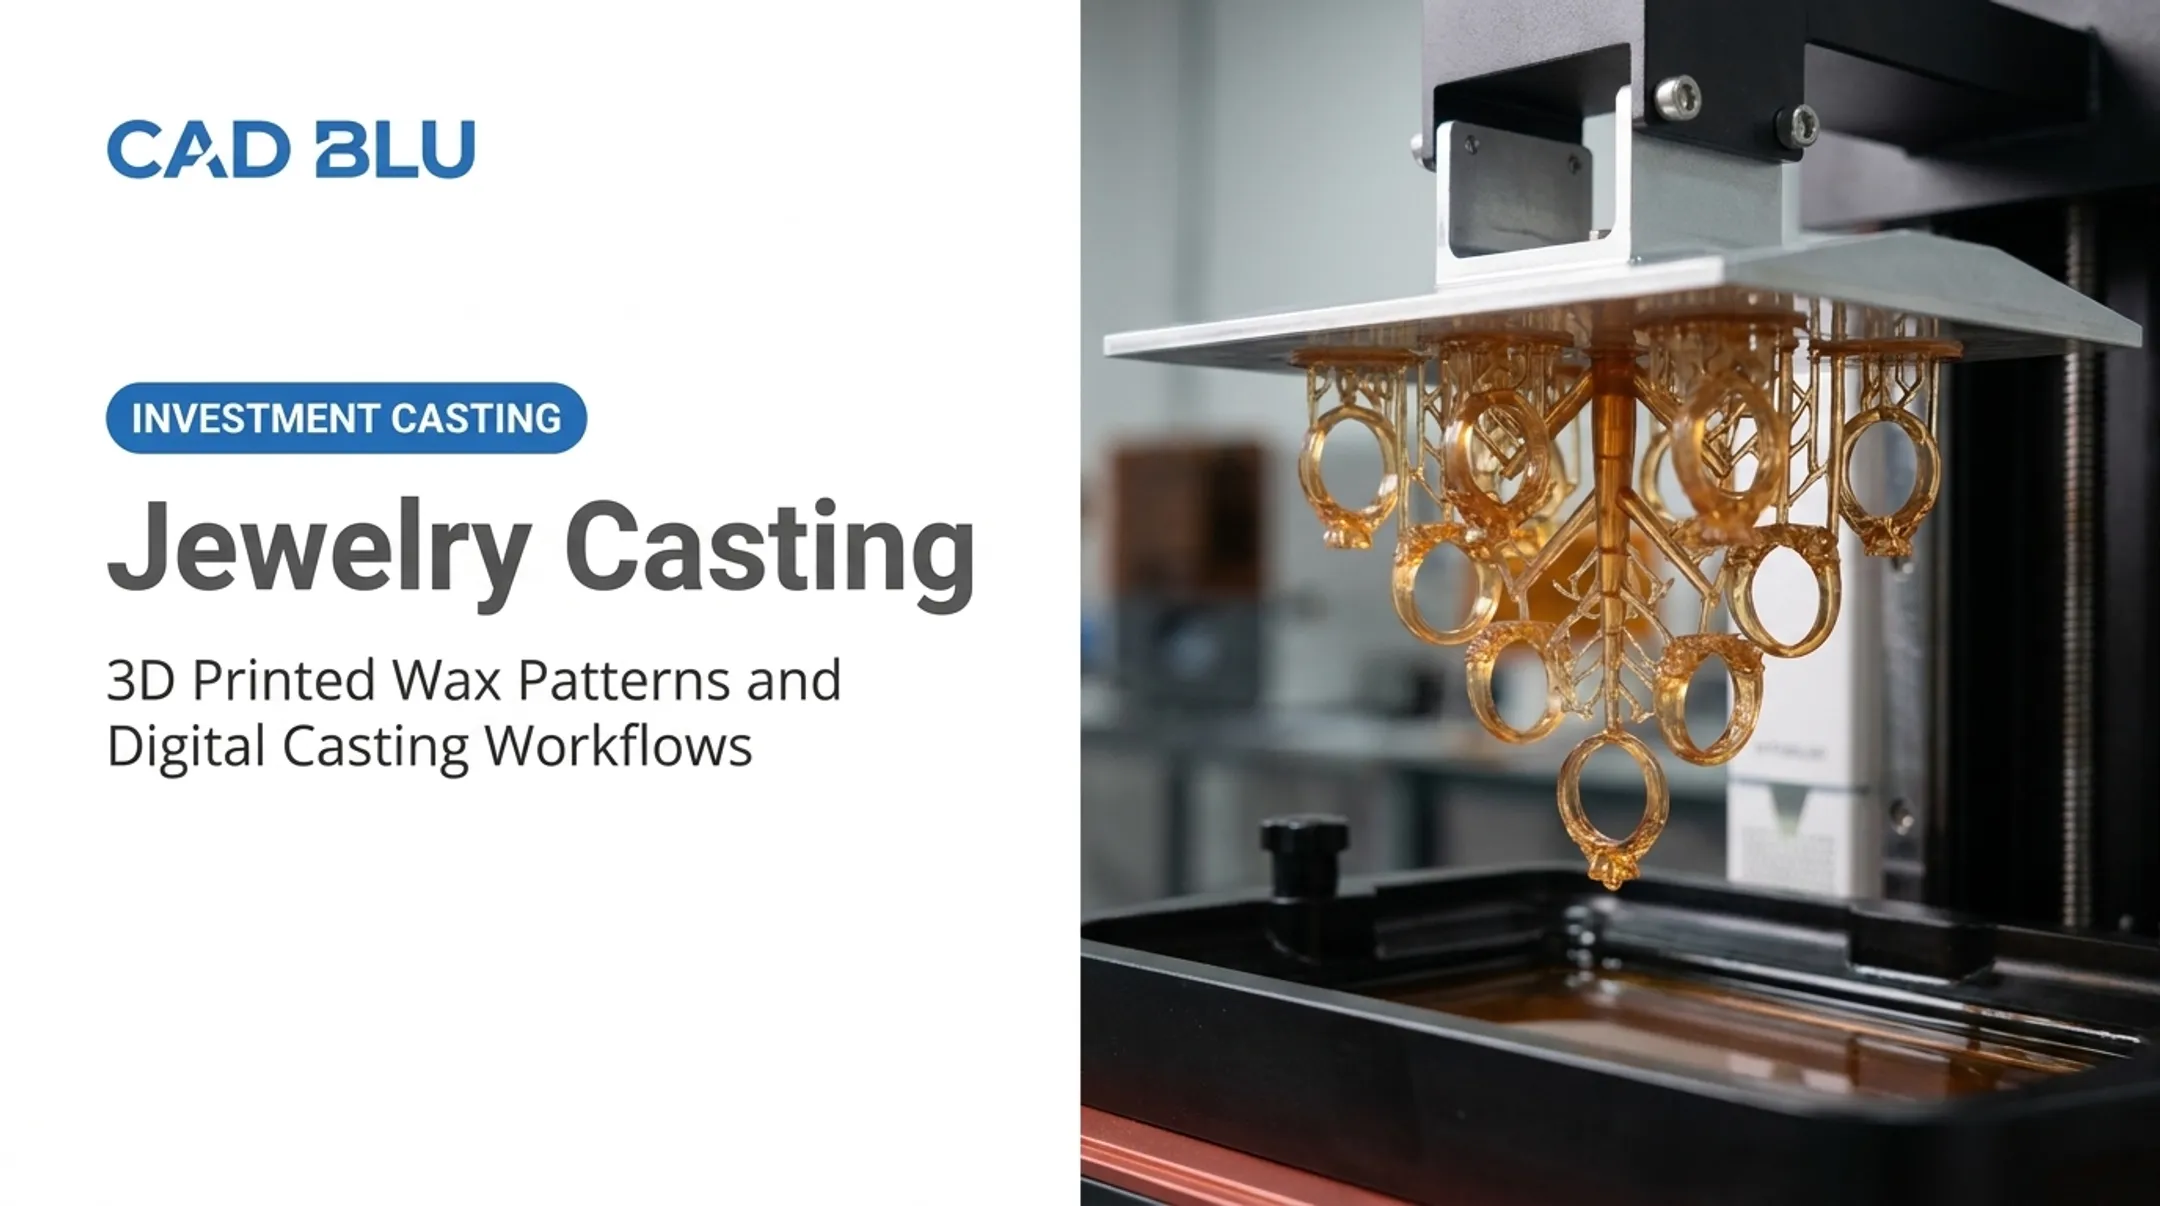
- Printed castable resin pattern — used directly in lost-wax or investment casting
- Printed master pattern — used once to create a reusable rubber or silicone mold for repeated wax injections
- Direct metal 3D printing — a separate industrial process with different equipment, materials, and cost structure than resin casting
The Jewelry Resin-to-Metal Workflow
Turning a CAD file into a finished metal ring means moving through print, post-process, invest, burnout, and cast—each stage can scrap the piece if you skip a check.

From File to Printed Pattern
Before exporting anything, validate the model for:
- Wall thickness and prong strength
- Stone-setting seats and drainage in hollow sections
- Tolerances and casting shrinkage allowances
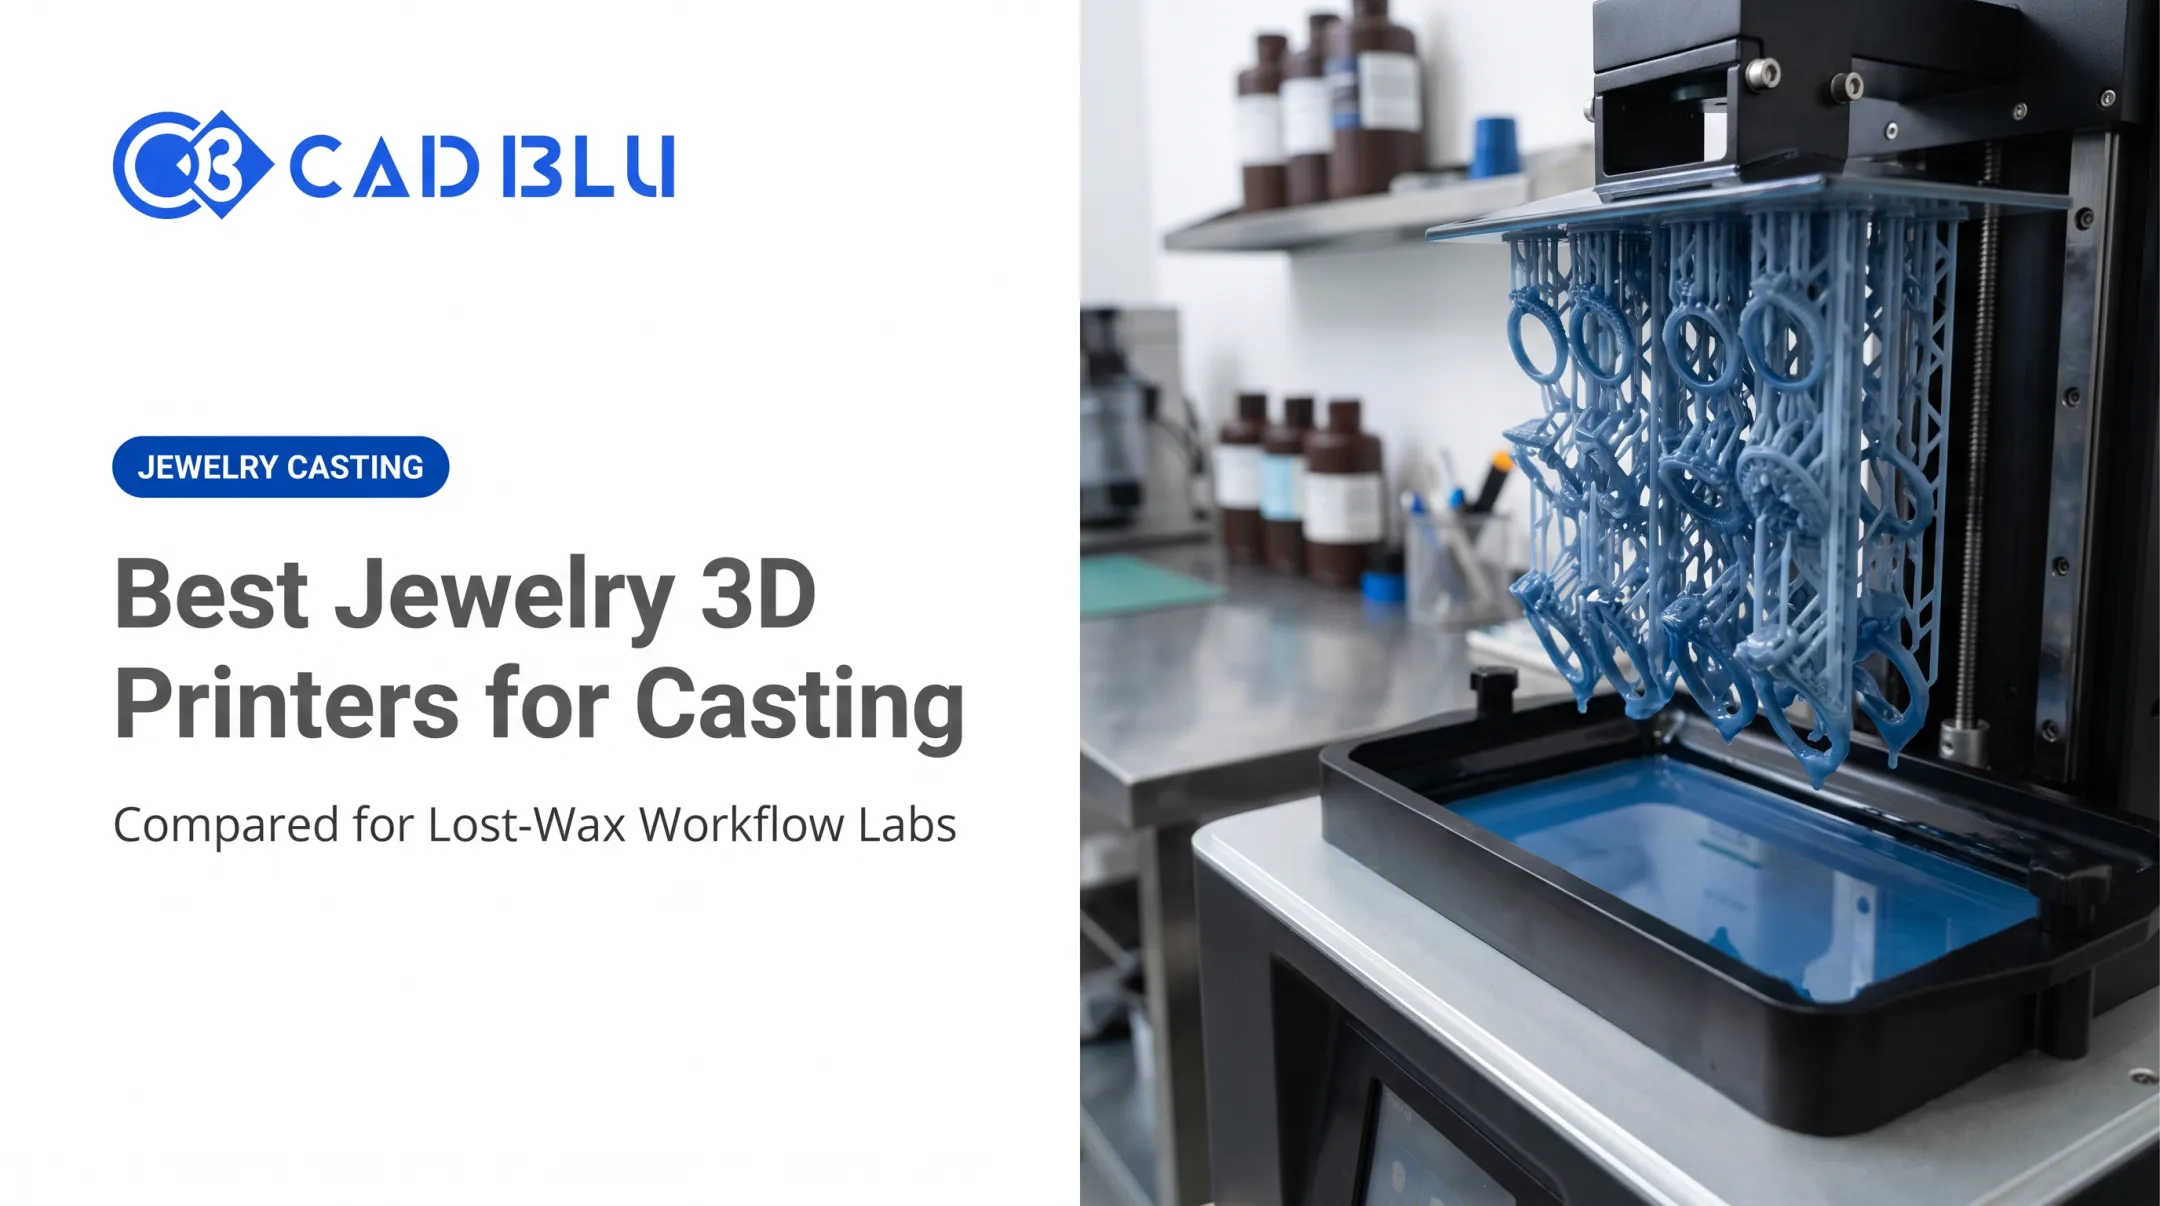
Once validated, orient the model, add supports or sprues where needed, and slice with printer-specific settings for your resin. CAD BLU’s Figure 4 Jewelry platform, for example, pairs 3D Sprint with jewelry-optimized build styles and MicroPoint supports for easier removal and cleaner prong detail.
Washing, Curing, and Inspection
After printing, the pattern needs washing and post-curing according to the resin manufacturer's technical data sheet. Skipping this step is a common cause of failed casts.
Inspect every pattern before investing it for:
- Uncured resin residue or tackiness
- Support marks or warping
- Cracks or blocked drainage openings
- Dimensional errors versus the CAD file
Spruing, Investment, and Burnout
Before burnout, set up the flask carefully:
- Attach sprues so metal can flow in and air can escape
- Seat the pattern in the flask and surround it with investment
- Eliminate trapped air bubbles before the investment sets
Burnout removes the resin from the hardened investment on a temperature ramp specific to the material. One documented castable-resin schedule dries the investment at 150°C (302°F) for 1–3 hours, holds near 370°C (698°F) for 1–2 hours, then runs at 730°C (1346°F) for 2–3 hours before stabilizing at casting temperature.
Always follow the resin’s technical data sheet and the investment maker’s guidance—not a generic ramp. Results shift with furnace type, flask size, and pattern geometry.
Formlabs notes that its direct-casting resins require temperatures of at least 732°C to complete burnout, which lines up closely with the schedule above.
Casting and Finishing
Once burnout is complete, molten metal fills the cavity, solidifies, and the investment is broken away. From there:
- Cut away sprues
- Repair or refine rough surfaces
- Polish the piece
- Set stones if required
Quality-control checklist:
- Dimensional accuracy vs. CAD
- Surface defects and porosity
- Incomplete fill or thin/broken features
- Stone-setting fit
- Consistency across repeated patterns
Choosing Resin, Printers, and Design Settings
Not every castable resin behaves the same way, and the wrong pick can sink a project before it ever reaches the furnace.
Matching Resin to the Job
Consider these factors when selecting a resin:
- Detail resolution for prongs, filigree, and fine mesh
- Wall strength that holds thin sections without cracking in handling
- Burnout cleanliness, including ash content and post-fire residue
- Compatibility with your printer and metal/investment system
Some formulations, such as CAD BLU's JCAST-GRN 10, are built for clean burnout with conventional gypsum investments. Others, like Precision Cast, are marketed as leaving virtually no ash or expansion in direct investment casting.

Always read the resin's technical and safety data sheets. Where you can, prefer manufacturer-published casting results over marketing claims alone.
SLA vs. DLP for Jewelry Patterns
| Factor | SLA | DLP |
|---|---|---|
| Light source | Laser + galvanometers | Digital projector |
| Speed | Generally slower | Generally faster |
| Detail | Very high | Very high |
| Typical use | Fine jewelry, dental | Fine jewelry, batch production |
Both beat FDM for jewelry work—FDM lacks the resolution for fine detail. Direct metal printing is a different path entirely: industrial equipment and a budget most casting workflows do not need.
Design-for-Casting Basics
A pattern that looks perfect on screen can still fail in the flask. Watch for:
- Keep walls above the minimum thickness so thin sections do not crack before casting
- Hold wall thickness steady; abrupt changes trap stress in the pattern
- Drain hollow sections fully—trapped resin will not burn out clean
- Place supports off visible surfaces to cut finishing labor
Equipment Selection Checklist
Before buying anything, assess:
- Design volume and typical part size you will run
- Operator skill with CAD and printing
- Ventilation plus wash/cure space on site
- Software fit with your current workflow
- Need for repeatable, consistent production runs
CAD BLU helps jewelry businesses evaluate commercial printers, castable materials, and software—and supports installation and workflow setup—so you are not making the call alone.
Benefits, Limitations, and Common Failure Points
What Digital Workflows Actually Improve
Jewelers who move to CAD and resin printing typically see gains in:
- Design iteration speed: revisions happen on-screen, not on the bench
- Customer approval models: clients can review a printed try-on piece before casting
- Complex geometry: intricate filigree or lattice work that's difficult to hand-carve
- Repeatable patterns: the same file produces consistent results run after run
According to a B9Creations industry guide, a $40 outsourced castable-resin ring pattern compares to roughly $0.12 in average material cost per model when printed in-house on a DLP printer. That's a manufacturer-reported example rather than an audited benchmark, but it illustrates why volume matters when comparing in-house versus outsourced production.
The Trade-Offs
Digital doesn't mean effortless. You still need:
- Skilled CAD work and careful material handling
- Post-processing time (washing, curing, inspection)
- Kiln or casting access, whether in-house or through a partner
- Ongoing equipment maintenance and process validation
Where Casts Actually Fail
Most failed jewelry casts trace back to one of these:
- Using standard model resin instead of a castable formulation: it can expand, leave residue, or crack the investment during burnout
- Incomplete washing or curing: leftover liquid resin interferes with investment curing
- Poor orientation or weak supports: leads to warping, trapped resin, or broken features
- Bad sprue design or air bubbles in investment: causes incomplete metal fill or porosity
- Mismatched burnout schedule or ventilation: leaves ash behind, producing rough, incomplete castings

Safety Basics
Resin handling and burnout involve real hazards. Follow standard precautions:
- Nitrile gloves, eye protection, and closed shoes when handling uncured resin
- Well-ventilated workspace for solvents like IPA, which are flammable
- Furnace with proper inlet/outlet airflow to exhaust vaporized resin during burnout
- Molten metal handling left to trained casting professionals
Always consult the resin's safety data sheet, and don't skip trained supervision for burnout and pouring stages.
Cost and Implementation Planning
Building the Full Cost Picture
Printer and resin prices alone understate the true spend. Split costs into two buckets:
One-time costs:
- Printer, wash/cure equipment, ventilation setup
- Software licenses and initial training
Recurring costs:
- Resin, cleaning supplies, investment material
- Casting fees, metal, finishing, and stone setting
- Maintenance, failed prints, and ongoing labor
For reference, entry-level jewelry-specific castable resin runs roughly $300 per kilogram. Dedicated jewelry printer platforms have listed around $12,000, and higher-throughput multi-jet systems built for casting patterns have listed as high as $64,700–$69,000, with financing options available.
These are illustrative figures from published pricing, not universal benchmarks—confirm current pricing with any supplier before budgeting.
In-House vs. Outsourcing
Once you know the cost buckets, decide which stages to own versus buy:
| Factor | In-House | Outsourced |
|---|---|---|
| Turnaround | Faster once running | Days per order cycle |
| Upfront cost | High capital investment | Low to none |
| Design confidentiality | Full control | Shared with provider |
| Quality control | Direct oversight | Dependent on partner |
| Scalability | Requires added equipment | Easier to scale short-term |
A hybrid model often works early on: outsource initial patterns or casting while you validate demand, then bring specific stages in-house as volume and confidence grow.
A Simple ROI Approach
Skip resin-only comparisons. Calculate your fully loaded cost per successful pattern, including:
- Equipment depreciation and service contracts
- Labor and utilization rate
- Failed print rate
- Software subscriptions and downtime
Stack that number against a supplier’s quoted per-pattern or per-casting price before you pull production in-house.
CAD BLU helps jewelry businesses run this planning step with commercial printers, castable materials, software, and turnkey or partial workflow support matched to how much of the process you want to own.
Frequently Asked Questions
How much does 3D printing for jewelry casting cost?
Cost depends on equipment, castable resin, software, labor, casting, metal, and finishing, plus whether you print in-house or outsource. Build a documented cost model for your specific volume rather than relying on a single price figure.
Can you 3D print jewelry for casting?
Yes. You print a castable resin or wax pattern, which is then invested and burned out before molten metal is poured into the resulting cavity. The final piece comes from the metal casting step, not the printer.
What are 3D printed casting molds for jewelry?
The printed item is typically a temporary pattern invested in plaster or gypsum-based material, not a reusable mold. After burnout, the resulting cavity receives metal; reusable master patterns can also create rubber molds for repeat wax injections.
Can you use regular resin for jewelry casting?
Not reliably. Standard model resin can expand, leave ash or residue, or crack the investment during burnout. Use a validated castable resin and follow the manufacturer's tested process.
What is the process for turning a resin print into metal jewelry?
Prepare the CAD file, print the pattern, wash and cure it, add sprues, invest it in plaster, complete burnout, cast the metal, then clean up, polish, and set stones.
Is it better to 3D print jewelry in-house or use a service provider?
It depends on your order volume, turnaround needs, design confidentiality requirements, and available staff. Low volume often favors outsourcing; consistent high volume typically justifies in-house investment.