Stock trays still work well for routine, single-unit cases. But their standardized shape rarely provides the control needed for complex arches, removable prosthodontics, implant impressions, or patients with difficult soft-tissue anatomy. This article breaks down why custom impression trays are used, where they deliver the most practical value, and what to check before relying on one.
Key Takeaways
- Custom trays match one patient's anatomy, so clinicians control material thickness and border capture more precisely.
- Tighter fit supports better tissue management, fewer voids, and improved patient tolerance during seating.
- Custom trays matter most for complete dentures, implant impressions, and anatomically complex cases.
- Accuracy still depends on design, spacing, and technique; a custom tray alone does not guarantee it.
What Are Custom Impression Trays?
A custom impression tray, sometimes called an individual tray, is fabricated for a specific patient using a preliminary cast, a digital scan, or another representation of their oral anatomy. Rather than forcing a patient's mouth to fit a preformed shape, the tray is built to match theirs.
The tray's job is straightforward: support and position impression material while providing planned relief, extension, retention, and access for whatever procedure is underway. It's a control mechanism for the impression process, not a replacement for sound material handling or technique.
How custom trays differ from other options:
- Stock trays: preformed and adapted chairside; faster to use but not shaped to the patient's specific arch.
- Disposable trays: prioritize convenience and infection control logistics over customized fit.
- Custom trays: designed around one patient's preliminary model or scan, typically for definitive impressions.
Custom trays show up most often when the case needs a detailed, patient-specific impression:
- Complete and partial denture fabrication
- Fixed prosthodontics
- Implant impressions
Evidence for custom mouthguards and orthodontic appliances is more limited. The ADA confirms individual impressions are used for custom mouthguards, but does not require a custom tray for that step.
Key Advantages of Custom Impression Trays
The real test of any tray is what happens downstream: fewer remakes, less wasted material, shorter chair time, and better patient comfort.
More Controlled Impression Accuracy
A tray shaped to the patient's arch provides more consistent space for impression material than a poorly fitting stock tray. That consistency matters because uneven material thickness can create areas of excess bulk or insufficient coverage, both of which affect how the material sets and behaves dimensionally.
Custom tray design also directly supports capture of critical anatomy:
- Full arch form and vestibular depth
- Palatal contours
- Retromolar and hamular regions
- Implant components and access channels
Not every study finds a clear-cut winner. A 2018 in-vitro comparison of implant impressions found no statistically significant accuracy difference between autopolymerizing acrylic custom trays, light-cured custom trays, and a specialized aluminum stock tray.

Material choice, design, and technique still need case-by-case verification rather than blanket assumptions.
Where digital fabrication does show a measurable edge: a 2024 in-vitro study comparing 3D-printed impression tray materials found mean trueness and precision values below 9 micrometers, though tray material significantly affected overall accuracy — meaning the printed resin itself matters, not just the fact that it was printed.
Accuracy gains matter most for complete dentures, implant-supported restorations, complex arch forms, and any case where a stock tray cannot provide adequate coverage.
Better Tissue Management and Patient Comfort
Customization lets a tray account for the things that make impressions difficult: sensitive soft tissue, muscle attachments, undercuts, flabby ridges, and limited mouth opening. Excessive pressure in the wrong spot doesn't just cause discomfort; it distorts tissue and skews the impression.
Design elements that make the biggest difference:
- Tray extension and border design
- Relief over sensitive or undercut areas
- Handle position that avoids interfering with lip and cheek movement
- Open-tray access for implant components
Tissue stops show how small design details carry real clinical weight. A 2019 clinical evaluation of 3D-printed tray designs in edentulous patients found that an inner marginal-band tissue stop improved pre-border molding and impression extension.
Without proper border molding, though, two tissue-stop designs came up 3-4 mm short at certain sites. The authors linked that shortfall to potential reductions in denture retention.
That's the caution worth remembering: overextension, excessive bulk, or inadequate relief can create discomfort and compromise the impression just as easily as a poorly fitting stock tray. Custom design reduces risk; it doesn't eliminate the need for careful execution.
Signs the design is working include patient-reported comfort, easier insertion, fewer appointment interruptions, and less chairside tray adjustment.
Greater Workflow Efficiency
A well-designed tray reduces wasted impression material and makes border molding or material placement more predictable. That predictability compounds downstream: fewer remakes, less lab rework, fewer chairside adjustments, and more reliable prosthesis fit on delivery day.
Digital fabrication has also narrowed the time gap between custom and stock options. One PubMed-indexed comparison reported technician fabrication times of 28.6 ± 2.9 minutes for 3D-printed custom trays versus 31.1 ± 5.7 minutes for manually fabricated ones, and clinical impression times of 23.4 ± 11.5 minutes versus 25.4 ± 13.0 minutes.
Those figures are study-specific, not universal benchmarks, but they show digital custom fabrication is no longer the slower path by default. Labs and clinics building that workflow often pair printers with dental-grade resins and validated process support from partners such as CAD BLU.
KPIs worth tracking at the practice or lab level:
- Material consumption per impression
- Remake rate
- Lab turnaround time
- Adjustment appointments needed post-delivery
- Restoration delivery time
Custom trays pay off most on high-consequence cases: complex anatomy, implant components, or any restoration where a failed impression means starting over.
What Happens When Custom Trays Are Missing or Ignored
Using a stock tray that doesn't fit well can create a cascade of problems: uneven material thickness, incomplete coverage, distorted borders, voids, soft-tissue compression, or missed anatomical landmarks entirely.
The operational fallout follows a predictable pattern:
- Repeat appointments to retake failed impressions
- Additional impression material consumed
- Lab delays waiting on corrected impressions
- More chairside adjustments after delivery
- Frustrated patients sitting through a second (or third) appointment
Tray rigidity matters too. A 2011 study comparing tray rigidity and impression technique found plastic trays consistently less accurate than metal trays. All plastic-tray techniques differed significantly from the master cast, while only one metal-tray technique showed a similar gap.

Flexible trays flex under load, and that flex shows up as distortion in the final cast.
That said, custom trays aren't a universal fix. A poorly designed or incorrectly extended custom tray can produce the exact same problems: inaccurate impressions, discomfort, difficult seating, and restricted access. The tray type matters less than whether the design matches the case.
Before sending any impression to the lab, check it for:
- Coverage of all required anatomy
- Voids or bubbles in critical areas
- Border quality and extension
- Signs of tray movement during setting
- Material separation from the tray
How to Get the Most Value from Custom Impression Trays
Getting real value out of a custom tray starts before fabrication, not after.
1. Select the case deliberately. Assess the restoration type, patient anatomy, required impression material, implant access needs, tissue condition, and mouth opening. Ask whether a stock tray can realistically meet the requirements. Sometimes it can.
2. Review the design before use. Check arch coverage, relief and spacer design, border extension, rigidity, handle placement, retention features, and any access openings needed for implant components.
3. Coordinate with the lab or digital-design provider. The prescription should specify functional areas, relief zones, landmarks to capture, material choice, and any patient-specific constraints.
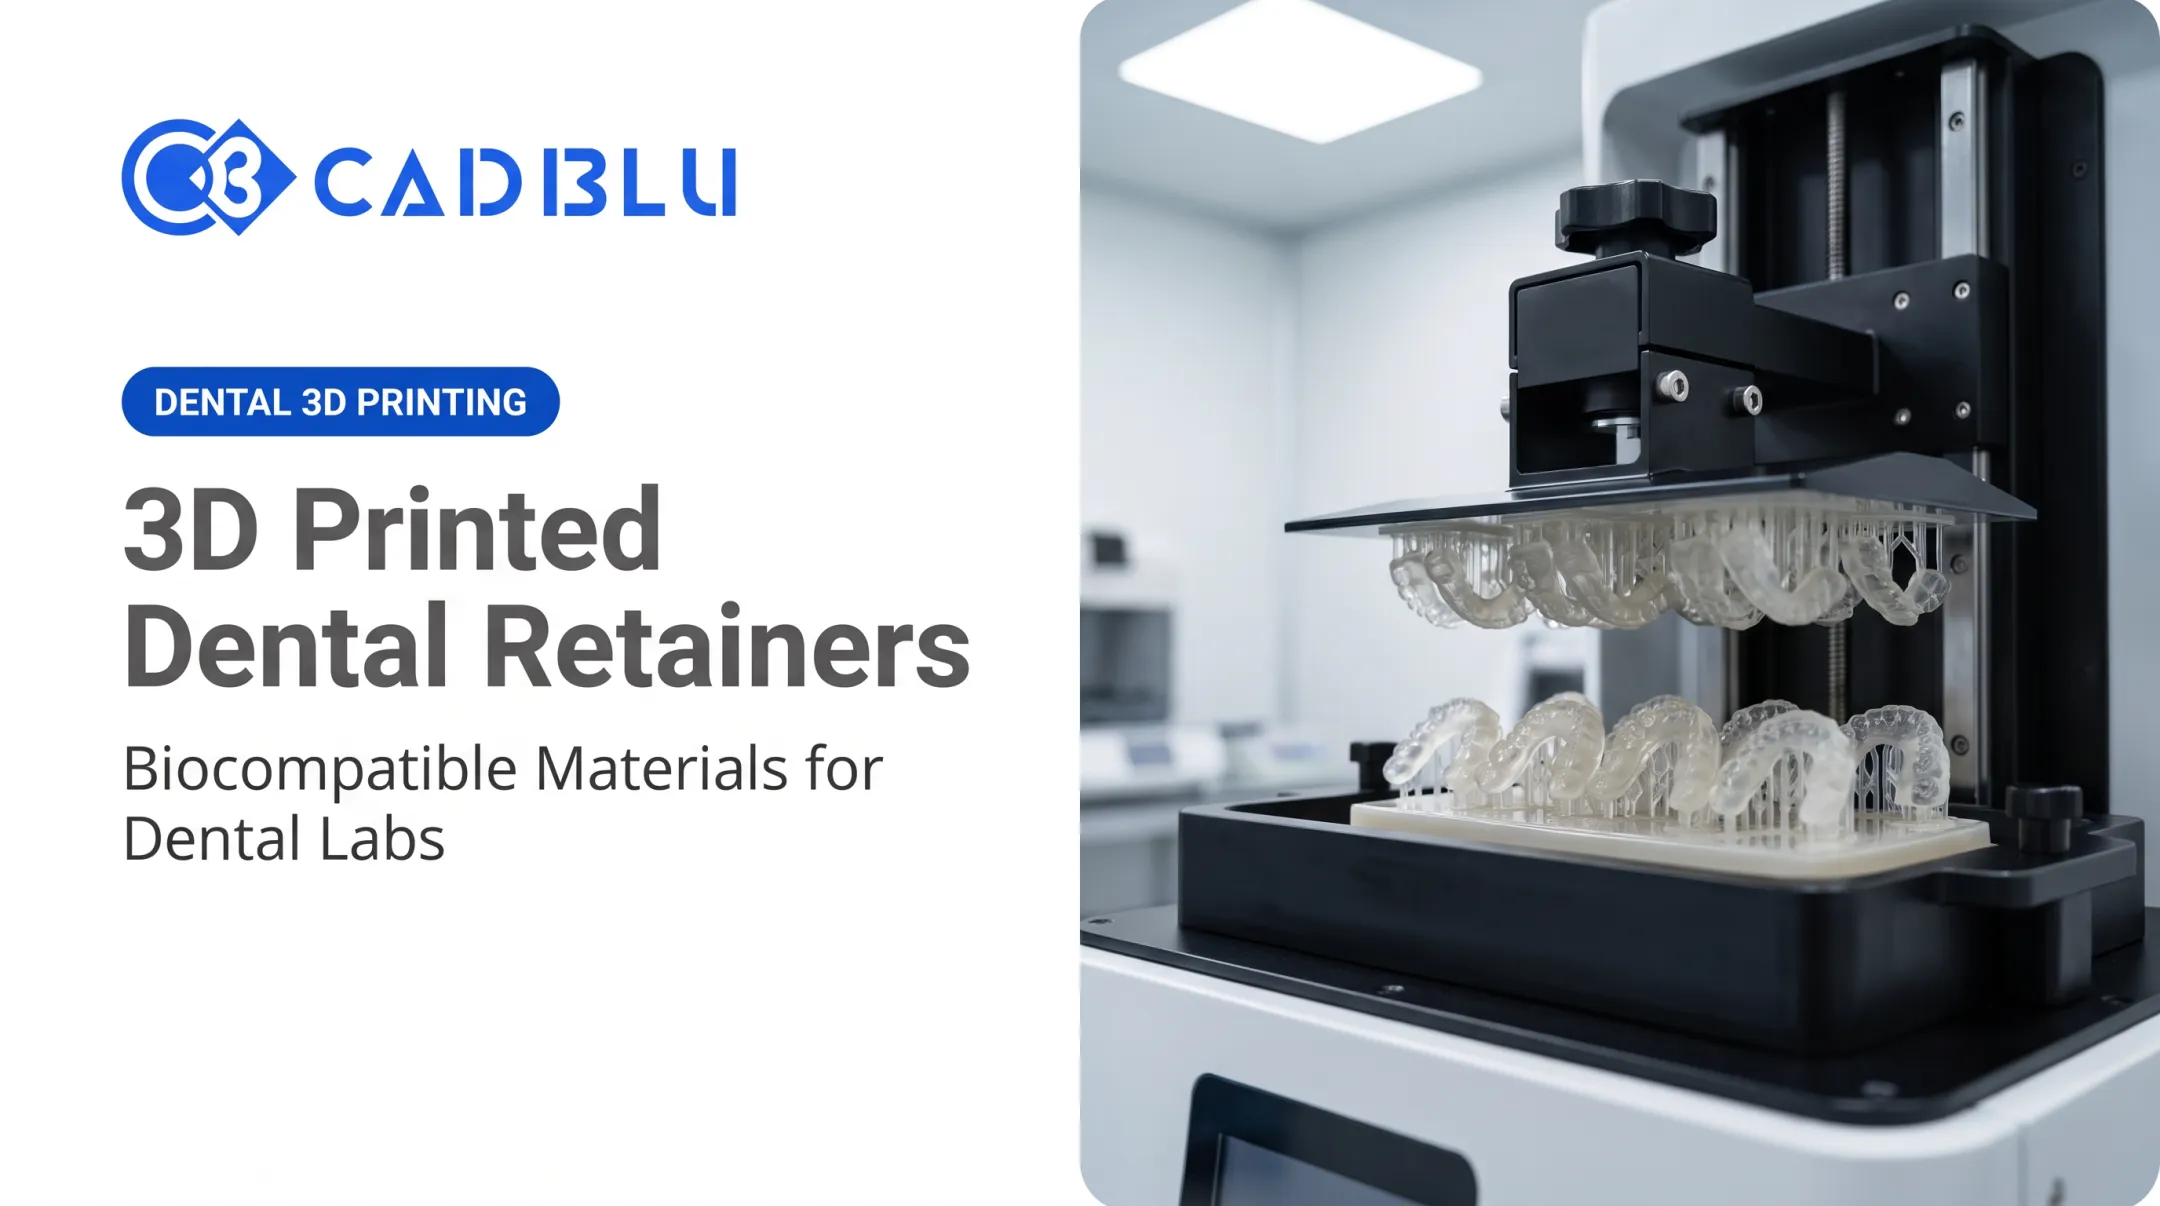
4. Verify digital and 3D-printed trays properly. Digital fabrication doesn't automatically guarantee better clinical results. Confirm print accuracy, material suitability, post-processing steps, fit on the model, and biocompatibility requirements against manufacturer instructions.
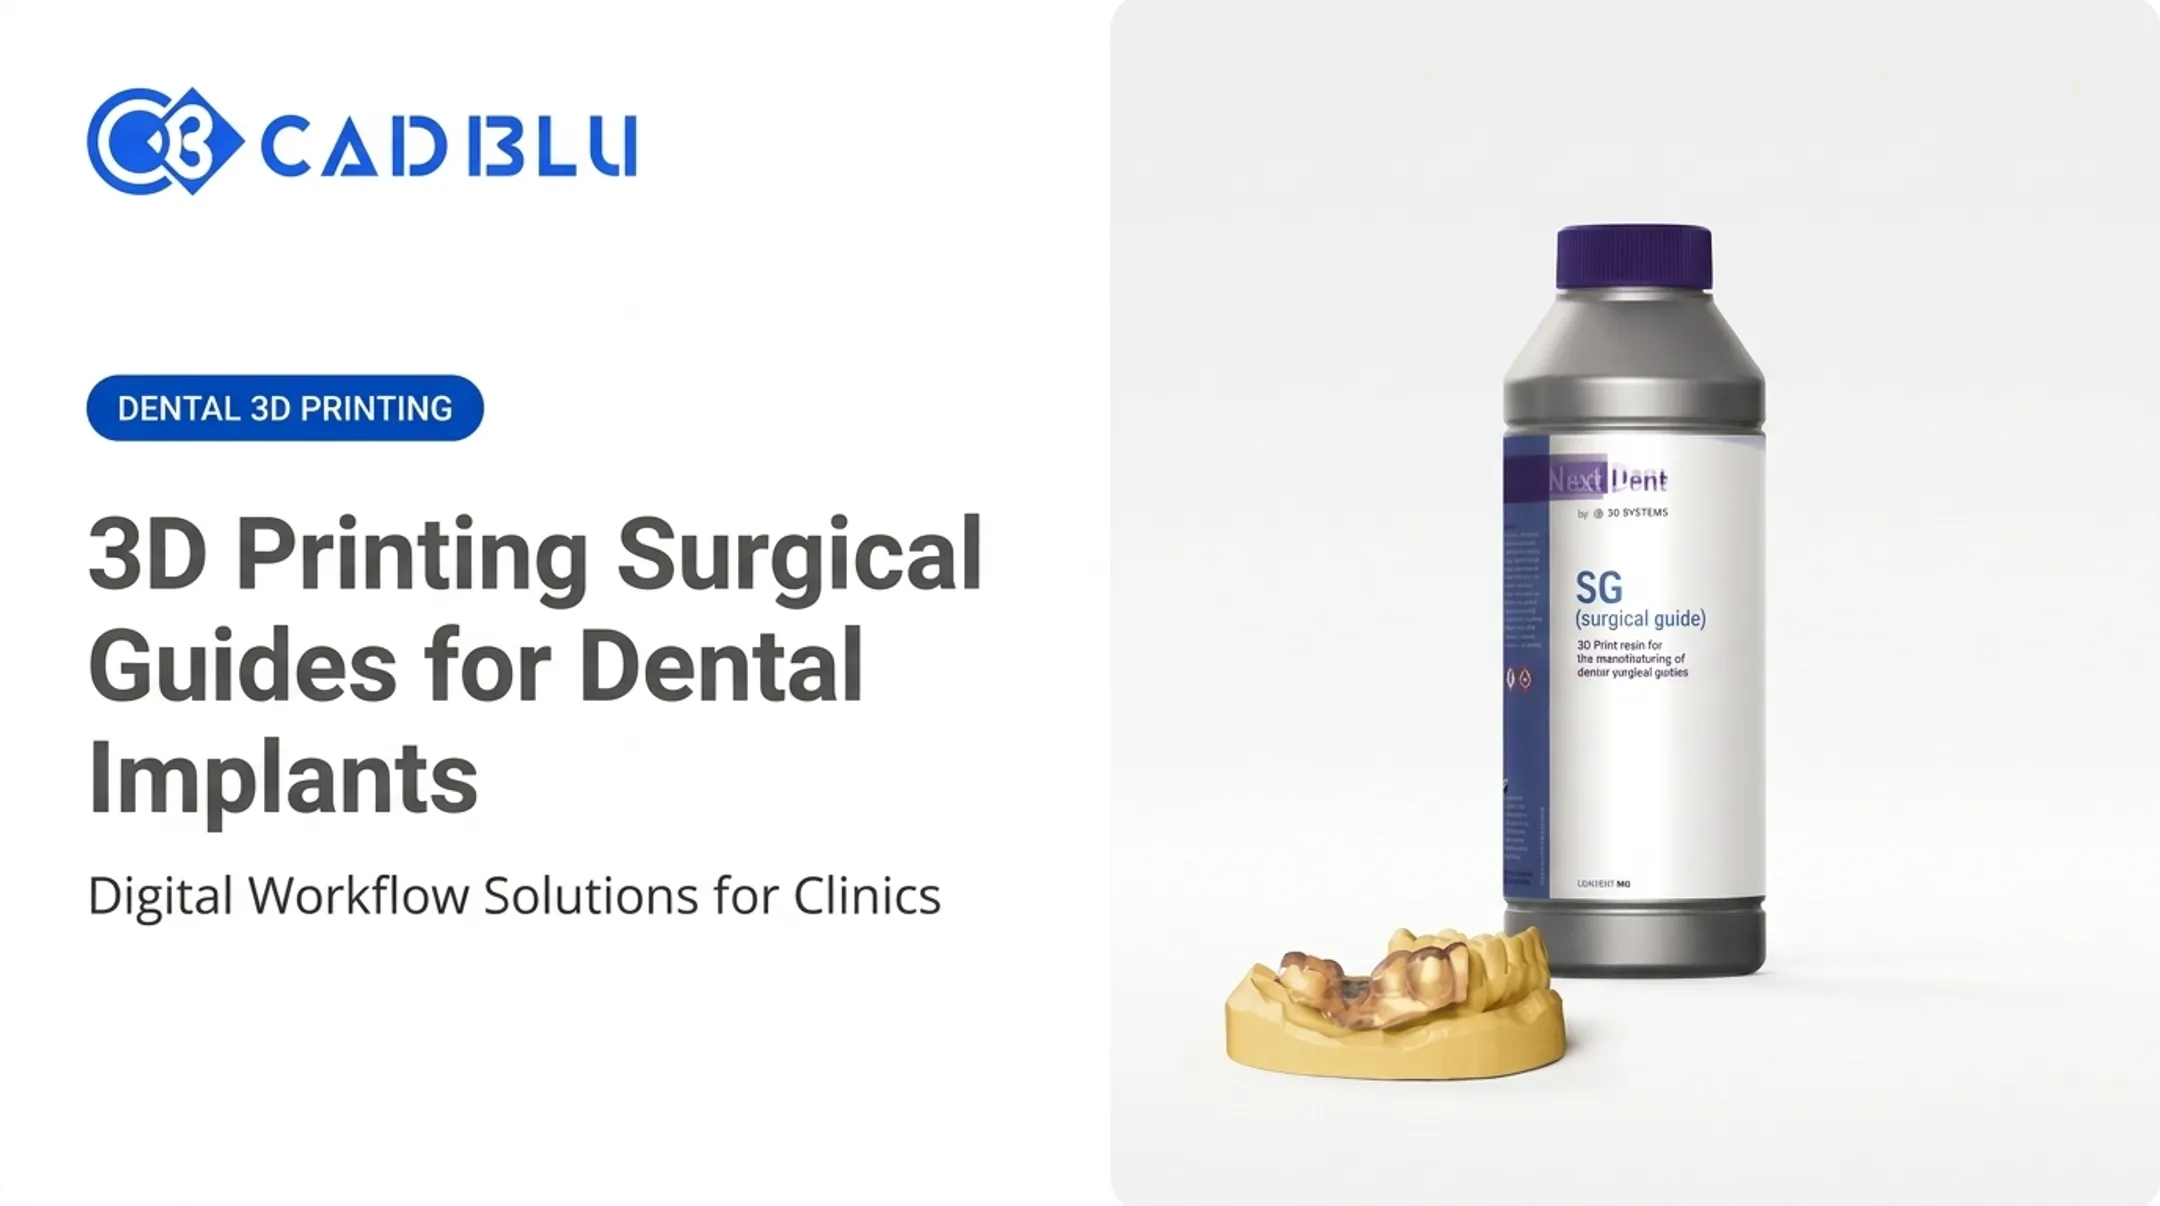
Material choice matters here. CAD BLU supplies NextDent Tray, a biocompatible Class I resin for printing individual impression trays on the NextDent 5100. It produces rigid trays compatible with all impression material types, and print speed lets technicians finish complex geometries in minutes rather than hours.
Biocompatibility claims apply only when the material is printed on an approved NextDent printer and post-cured for the material-specific time in the specified curing unit. Confirm that step against your lab's workflow.
5. Test the tray before the final impression. Check seating and removal, flag areas needing adjustment, confirm the handle clears lip and cheek movement, apply adhesive appropriately, and practice implant access if relevant.
6. Standardize quality control. Track remakes, material use, adjustment time, patient comfort feedback, and lab responses. Use that data to refine future tray prescriptions rather than repeating the same design mistakes.

For labs building a broader digital workflow, the NextDent 5100 pairs with validated dental materials for models, trays, and appliances under one certified process. That shared process makes the QC habits above easier to repeat across case types.
Conclusion
Custom impression trays give clinicians more control over anatomy capture, material thickness, tissue management, and impression stability than a stock tray forced onto anatomy it wasn't built for.
That control matters most when impression accuracy affects prosthesis fit, lab efficiency, patient comfort, or the cost of redoing treatment. None of that happens automatically.
The best results come from:
- Deliberate case selection
- Careful tray design
- Appropriate materials
- Tight lab communication
- Inspecting every completed impression before it leaves the chair
When those steps stay consistent, custom trays deliver the fit, efficiency, and fewer remakes that stock trays often can't match.
Frequently Asked Questions
What is a custom tray in dentistry?
A custom tray is a patient-specific impression tray made from a preliminary cast, model, or digital scan of the patient's anatomy. Unlike a stock tray, it's built to control impression material thickness and capture specific anatomical detail.
What are the three types of custom impression trays?
Most sources group impression trays into stock, custom, and disposable categories, not three subtypes of custom trays. Custom trays then vary by material and arch condition, so focus on fit, rigidity, and impression-material compatibility.
What materials are used to create custom trays?
Common options include autopolymerizing acrylic (PMMA), light-cured resin, thermoplastic spacer materials, and 3D-printed dental resins like NextDent Tray. Always follow the manufacturer's cure time and post-processing instructions for the specific material.
How thick should a custom tray be?
Thickness depends on the tray material, spacer design, required rigidity, and the impression material being used. There's no single universal measurement, so follow your lab's or manufacturer's specifications for the case.
What is a complete denture custom tray?
It's a patient-specific tray used to record the edentulous arch and functional borders during complete denture fabrication. Relief and extension are planned around the patient's specific tissue anatomy and movement.
How much does a custom dental tray cost?
Pricing varies by region, tray material, fabrication method (manual versus digital), and case complexity. Ask your lab for a case-specific quote rather than relying on a general price range.