Introduction
Assembly eats time. A rigid bracket with a flexible gasket, a dental model with a tooth-colored crown and pink gum tissue, or a prototype with an embedded conductive trace used to mean printing separate parts, then gluing, screwing, or bonding them together.
Multi-material resin 3D printing removes that handoff by curing more than one resin in a single build.
The catch: "multi-material resin 3D printer" covers a lot of ground:
- Some systems rotate between vats of different photopolymers
- Others jet multiple resins from separate print heads, layer by layer
- Some blend resins digitally to create new material properties on the fly
This article breaks down how these systems actually work, where they make sense today, and what to verify before you commit budget to one. If you're evaluating options for dental, medical modeling, product development, or specialty manufacturing, the details matter more than the marketing.
Key Takeaways
- Multi-material printing means distinct materials in one build, not just color changes or separately printed parts.
- Contamination control, resin compatibility, and layer bonding are the toughest technical hurdles.
- Dental, medical modeling, and prototyping show the strongest use cases, but each application needs its own validation.
- Judge the full workflow — software, cleaning, curing, service — not just printer specs on a data sheet.
What Is a Multi-Material Resin 3D Printer?
Resin 3D printing, also called vat photopolymerization, cures liquid resin with UV light to build parts one layer at a time. A multi-material system introduces two or more resins into that same job, so a single part can carry different mechanical or optical properties depending on region.
Online, related terms often get collapsed into one label. They are not the same.
Multi-Material vs. Multi-Color vs. Multi-Part
These terms get used interchangeably online, but they describe different things:
- Multi-color printing applies different colors, often within a material family that shares similar mechanical properties.
- Full-color printing blends color-capable materials to create gradients, textures, or lifelike visual models — Stratasys's J850 Prime, for example, supports more than 600,000 Pantone color combinations across seven simultaneous resins.
- Multi-part printing produces separate components in one build tray, assembled after printing. No material integration happens within a single part.
- True multi-material printing integrates distinct materials — rigid next to flexible, opaque next to clear — inside one continuous object.
Common System Architectures
Four system architectures show up most often:
- Multi-vat or rotating-vat systems — the build platform moves between separate resin reservoirs.
- Material-jetting systems — multiple print heads deposit and cure resin droplets simultaneously, similar to inkjet printing.
- Cartridge-based systems — resins load in swappable cartridges, sometimes with automatic mid-build replenishment.
- Digital material blending — two or more base resins mix to form new, tunable material properties rather than staying spatially separate.

Why Switching Materials Is Hard
Uncured resin doesn't disappear when a part moves to a new vat. It clings to surfaces, drips into the next reservoir, and can alter that resin's chemistry over repeated cycles. A 2024 review in npj Advanced Manufacturing notes that vat photopolymerization has historically been treated as a single-material process specifically because material changeovers are cumbersome and slow.
Solved well, multi-material resin printing delivers integrated functionality, fewer assembly steps, and richer surface detail. Those gains require mechanical complexity single-resin printers never carry.
How Does Multi-Material Resin 3D Printing Work?
The workflow starts long before the printer turns on. Designers separate the CAD model into distinct bodies or regions, one per material, then assign materials in compatible software before slicing.
3D Systems' NextDent 300, a dental MultiJet Printing system, uses 3D Sprint for this stage: importing, repairing, and slicing the model while assigning shade and material data for each region. That software layer matters as much as the hardware itself.
Vat Systems vs. Jetting Systems
- Multi-vat/rotating-vat printers position different resin reservoirs beneath the build area, cycling the platform between them as the job progresses.
- Material-jetting printers skip the vat entirely, depositing and curing droplets from multiple heads in the same pass.
Each printer handles the transition differently, and generalizing across brands is a mistake. Confirm the actual mechanism for any specific model before assuming how it behaves.
Cleaning Between Material Changes
This is where most of the engineering complexity lives. Reported cleaning methods include:
- Wiping with absorbent pads
- Solvent baths
- Pressurized air
- Alcohol spray with fan drying
- Centrifugal spinning
Speed varies enormously by method. An npj review found alcohol spray plus fan drying took about 15 seconds versus 120 seconds for older techniques. Centrifugal cleaning at 3,000 to 6,000 rpm cut the full switch-and-clean cycle to under 30 seconds.
Viscosity limits matter too. Pressurized-air cleaning worked reliably for inks at 120 mPa·s or lower, while centrifugal methods have been demonstrated with 6,000 mPa·s ceramic-infused inks.
Calibration and Design Requirements
Every vat or head change risks throwing off positional accuracy. Systems need calibrated build planes, consistent layer registration, and material-specific exposure profiles to avoid misaligned interfaces between materials.
On the design side, plan for:
- Separate bodies or regions per material with clean boundaries
- Adequate wall thickness at material transitions
- Drainage paths for any enclosed cavities
- Support placement that doesn't cross material boundaries
Troubleshooting Checklist
Common failure points worth watching for:
- Resin mixing or cross-contamination between vats
- Failed or incomplete material transitions
- Weak bonding at material interfaces
- Incomplete curing in shadowed regions
- Trapped liquid resin in enclosed geometry
- Warping at material boundaries due to differential shrinkage
Always follow the manufacturer's validated settings and safety data sheets rather than improvising exposure times or cleaning steps.
Benefits, Applications, and Limitations
The appeal is straightforward: fewer assembly steps and parts that behave more like the finished product. The complications are less obvious until you're mid-project.
Product Development and Prototyping
Combining rigid, flexible, transparent, and textured regions in a single print lets teams evaluate form and function together instead of testing separate mockups. PolyJet documentation lists mixed-material prototypes and functional parts among its core applications. Teams use that capability to test snap-fits, seals, or overmolded-style assemblies before committing to production tooling.
Dental and Medical Modeling
Dental labs have been among the earliest adopters. Stratasys reports that German lab Zirkon Customs replaced seven desktop printers with a single J5 DentaJet system, increasing production capacity by 50% and cutting daily labor by 80% over roughly a year of operation.
Those are the lab's own reported figures, not an independent benchmark, but they illustrate the direction of the shift.
Similarly, NextDent 300 uses digital shade mixing to match tooth and gum color in a single monolithic denture, and it holds US FDA 510(k) clearance for that application.
Important distinction: visual or educational anatomical models are not the same as regulated medical devices. The FDA's guidance on additive-manufactured devices states that AM devices generally follow the same regulatory pathway as non-AM devices of the same classification.
Final device performance depends on the material, machine, and post-processing combination used, not just the material spec sheet. Any clinical application needs its own regulatory and biocompatibility review under ISO 10993.
Electronics and Embedded Functions
Conductive traces, insulating structures, and embedded sensors are frequently demonstrated in marketing materials but are much harder to validate for reliability. Electrical isolation, long-term conductivity, and durability under thermal cycling all need independent testing. A working demo print doesn't prove production readiness.
Jewelry, Casting, and Small-Batch Manufacturing
Fine detail and material contrast make multi-material resin printing attractive for:
- Investment casting patterns with burnout-friendly and detail resins in one build
- Jewelry prototypes combining rigid frames with flexible test-fit sections
- Education and research applications where material variety matters more than production volume
Limitations to Weigh
- Higher equipment and material costs than single-resin systems
- Resin waste or recovery losses during material changes
- Chemical incompatibility between certain resin families
- Differences in shrinkage and curing behavior across materials
- A limited library of validated material combinations
- More demanding maintenance and cleaning routines
Safety Considerations
Uncured resin isn't inert. NIOSH notes that uncured photopolymer resin contains acrylates and other chemicals that can trigger asthma or dermatitis with repeated exposure. Basic precautions apply across every multi-material workflow:
- Ventilate work areas and use particulate/gas filtration where applicable
- Wear gloves rated against acrylates and isopropyl alcohol (nitrile or neoprene, not latex)
- Use UV-rated eye protection
- Clean spills promptly with disposable wipes and IPA, and dispose of contaminated materials properly
- Never pour uncured or partially cured resin waste into a sink or drain
Always check each resin's Safety Data Sheet before handling, mixing, or disposing of it.
How to Evaluate a Multi-Material Resin 3D Printer
Specs on a data sheet only tell part of the story. Evaluate the whole system before signing a purchase order.
Hardware and Material Checklist
- Number and type of supported materials
- Open material policy versus proprietary resin lock-in
- Documented material compatibility (not just marketing claims)
- Build volume, resolution, and layer thickness
- Layer registration accuracy and repeatability across jobs
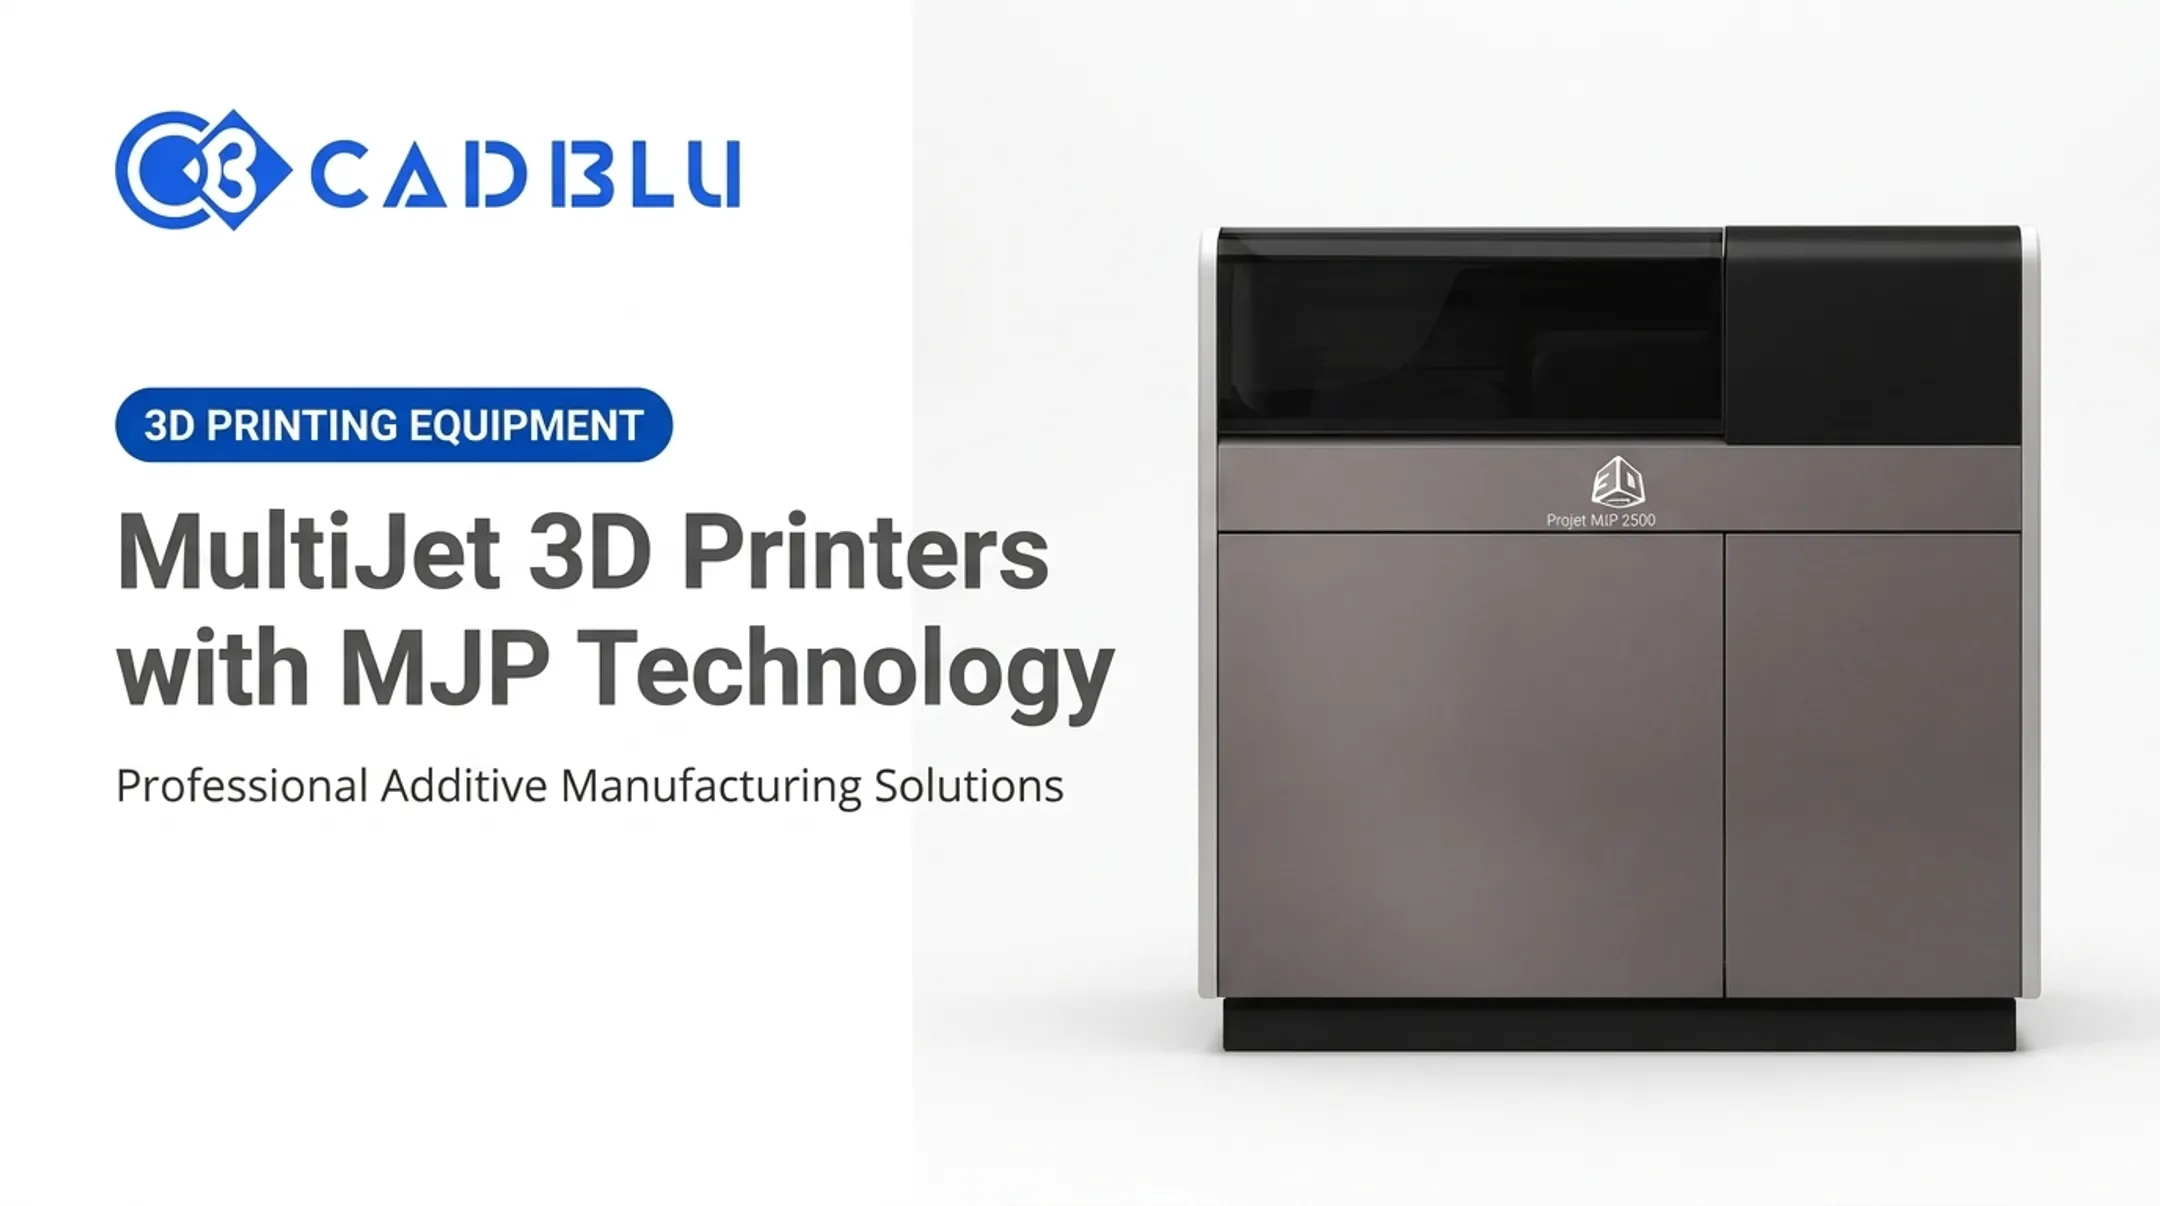
For reference, the PROJET 2500 PLUS runs at 800 × 900 × 790 DPI with 32-micron layers. It supports rigid, elastomeric, high-temperature, and biocompatible resins from 1.5 kg bottles, with auto-switching between two materials.
Workflow Features Matter as Much as Hardware
- Material assignment and slicer support (3D Sprint covers import, repair, supports, and slicing for 3D Systems printers)
- Automatic calibration and contamination detection
- Cleaning cycle design, including steam and dry-heat systems such as MJP EasyClean
- Resin storage, traceability, and CAD/manufacturing software integration
Total Cost of Ownership
Sticker price is only one line item. Budget for the full picture:
| Cost Category | Examples |
|---|---|
| Equipment | Printer, installation, calibration setup |
| Materials | Build resins, support material, replenishment cartridges |
| Consumables | Cleaning solutions, wipes, filters |
| Maintenance | Replacement components, service contracts, training |
| Downtime | Post-processing equipment, technician time |
Current market listings put the NextDent 300 around $72,000 and the PROJET 2500 PLUS around $55,700. MJP support material bottles run near $221 each, with cleaning solution cartridges around $58. Confirm current figures with the seller—pricing varies by configuration.
CAD BLU works with dental, jewelry, medical, aerospace, automotive, and industrial manufacturers to match printers, materials, and software to real production requirements. The team then supports installation, workflow optimization, and OEM-certified repair once equipment is running.
A Staged Evaluation Process
- Define part and performance requirements before shopping for hardware.
- Request representative sample prints using your actual geometry, not a generic demo model.
- Test material interfaces and post-processing under your real-world conditions.
- Validate repeatability across multiple build cycles, not just one successful print.
- Confirm technical support and service response before production dependency begins.

Frequently Asked Questions
Are there multi-color resin printers?
Yes, but multi-color resin systems are distinct from true multi-material printers and full-color material-jetting systems. Color range, material options, and commercial maturity differ by technology, so verify the specs for your use case.
Is 3D printing 40k illegal?
Legality depends on the object, IP rights, materials, and intended use—"40k" may mean a model franchise, a price point, or a print quantity. For a specific case, consult a qualified attorney.
What is the difference between multi-material and multi-color resin 3D printing?
Multi-material printing changes functional or physical properties — rigid versus flexible, for example. Multi-color printing primarily creates visual distinctions. Some systems offer both simultaneously.
What materials can a multi-material resin 3D printer use?
Supported materials depend on the specific printer and its validated workflow, and may include rigid, flexible, transparent, castable, biocompatible, or conductive resins. Always confirm compatibility, curing requirements, and safety documentation for your intended application.
Are multi-material resin 3D printers suitable for production?
It depends on throughput, repeatability, material validation, and regulatory needs for your part. Run pilot testing and production qualification rather than relying on a demonstration print or a manufacturer's marketing claim.