Get any of those wrong and you end up with porosity, a short cast, or a margin that's off by a fraction of a millimeter. Get them right and you've got a repeatable process you can document and defend.
This article compares the materials used in dental casting, from carving wax to castable photopolymer resins, walks through conventional and digital workflows step by step, and looks at where 3D printing actually fits into a modern dental lab or practice.
Key Takeaways
- Casting patterns start as hand-formed wax or as digitally designed, 3D-printed castable resin.
- Printer, resin, alloy, and finishing tools must work as one compatible system end to end.
- 3D printing adds repeatability and digital records, but every print still needs validated washing, curing, and burnout.
- Match workflow to part type, volume, accuracy needs, equipment, and operator skill.
What Is Dental Casting?
Dental casting converts a pattern into a solid dental part by surrounding it with an investment material, removing the pattern through heat, and filling the resulting cavity with molten alloy. Four distinct materials interact in this sequence:
- The pattern — the wax or resin shape carved or printed to match the intended part
- The investment — the refractory material that surrounds the pattern and holds its geometry through the thermal cycle
- The casting material — typically a dental alloy selected for the specific application
- The finished part — the framework, coping, or component left after divesting and finishing
Common applications include cast metal partial denture frameworks, crown and bridge copings, and small connectors between units. Confirm with your own lab which specific applications apply to your case mix before treating any of these as a default.
Casting a final metal component differs from printing a pattern that will later be invested and replaced by metal. Most dental workflows print a pattern, not a finished part. The resin exists only long enough to be invested; it's burned out and replaced entirely by alloy.
Materials meant to stay in the mouth, such as denture bases or surgical guides, follow a completely different validation path.
Quality on the finished casting comes down to a handful of variables:
- Fit and margins — how closely the casting matches the original design at the critical edges
- Occlusion — whether opposing contacts land where they should
- Surface detail — how much fine texture and prong work transfers through investment and casting
- Shrinkage and distortion — dimensional changes introduced at any stage from pattern to finished part
Material selection, sterilization, and biocompatibility for anything used clinically must follow the manufacturer's instructions for use and applicable dental standards. Casting resins destroyed during burnout, such as NextDent CAST Purple, never contact a patient. The finished cast metal appliance still must be validated by the dental laboratory for its intended clinical use before it leaves the lab.
Dental Casting Materials
Wax and Conventional Pattern Materials
Dental wax remains common for a reason. It's easy to carve, forgiving to adjust by hand, and backed by decades of lab practice. For low-volume, highly customized work, a skilled technician with wax and a wax knife is still hard to beat.
That said, wax has real limits:
- Deforms easily from handling, heat, or pressure
- Sensitive to temperature swings during storage and fabrication
- Thickness control depends heavily on technician skill
- Repeated heating above roughly 200°C can measurably change flow and stiffness
Castable Photopolymer Resins
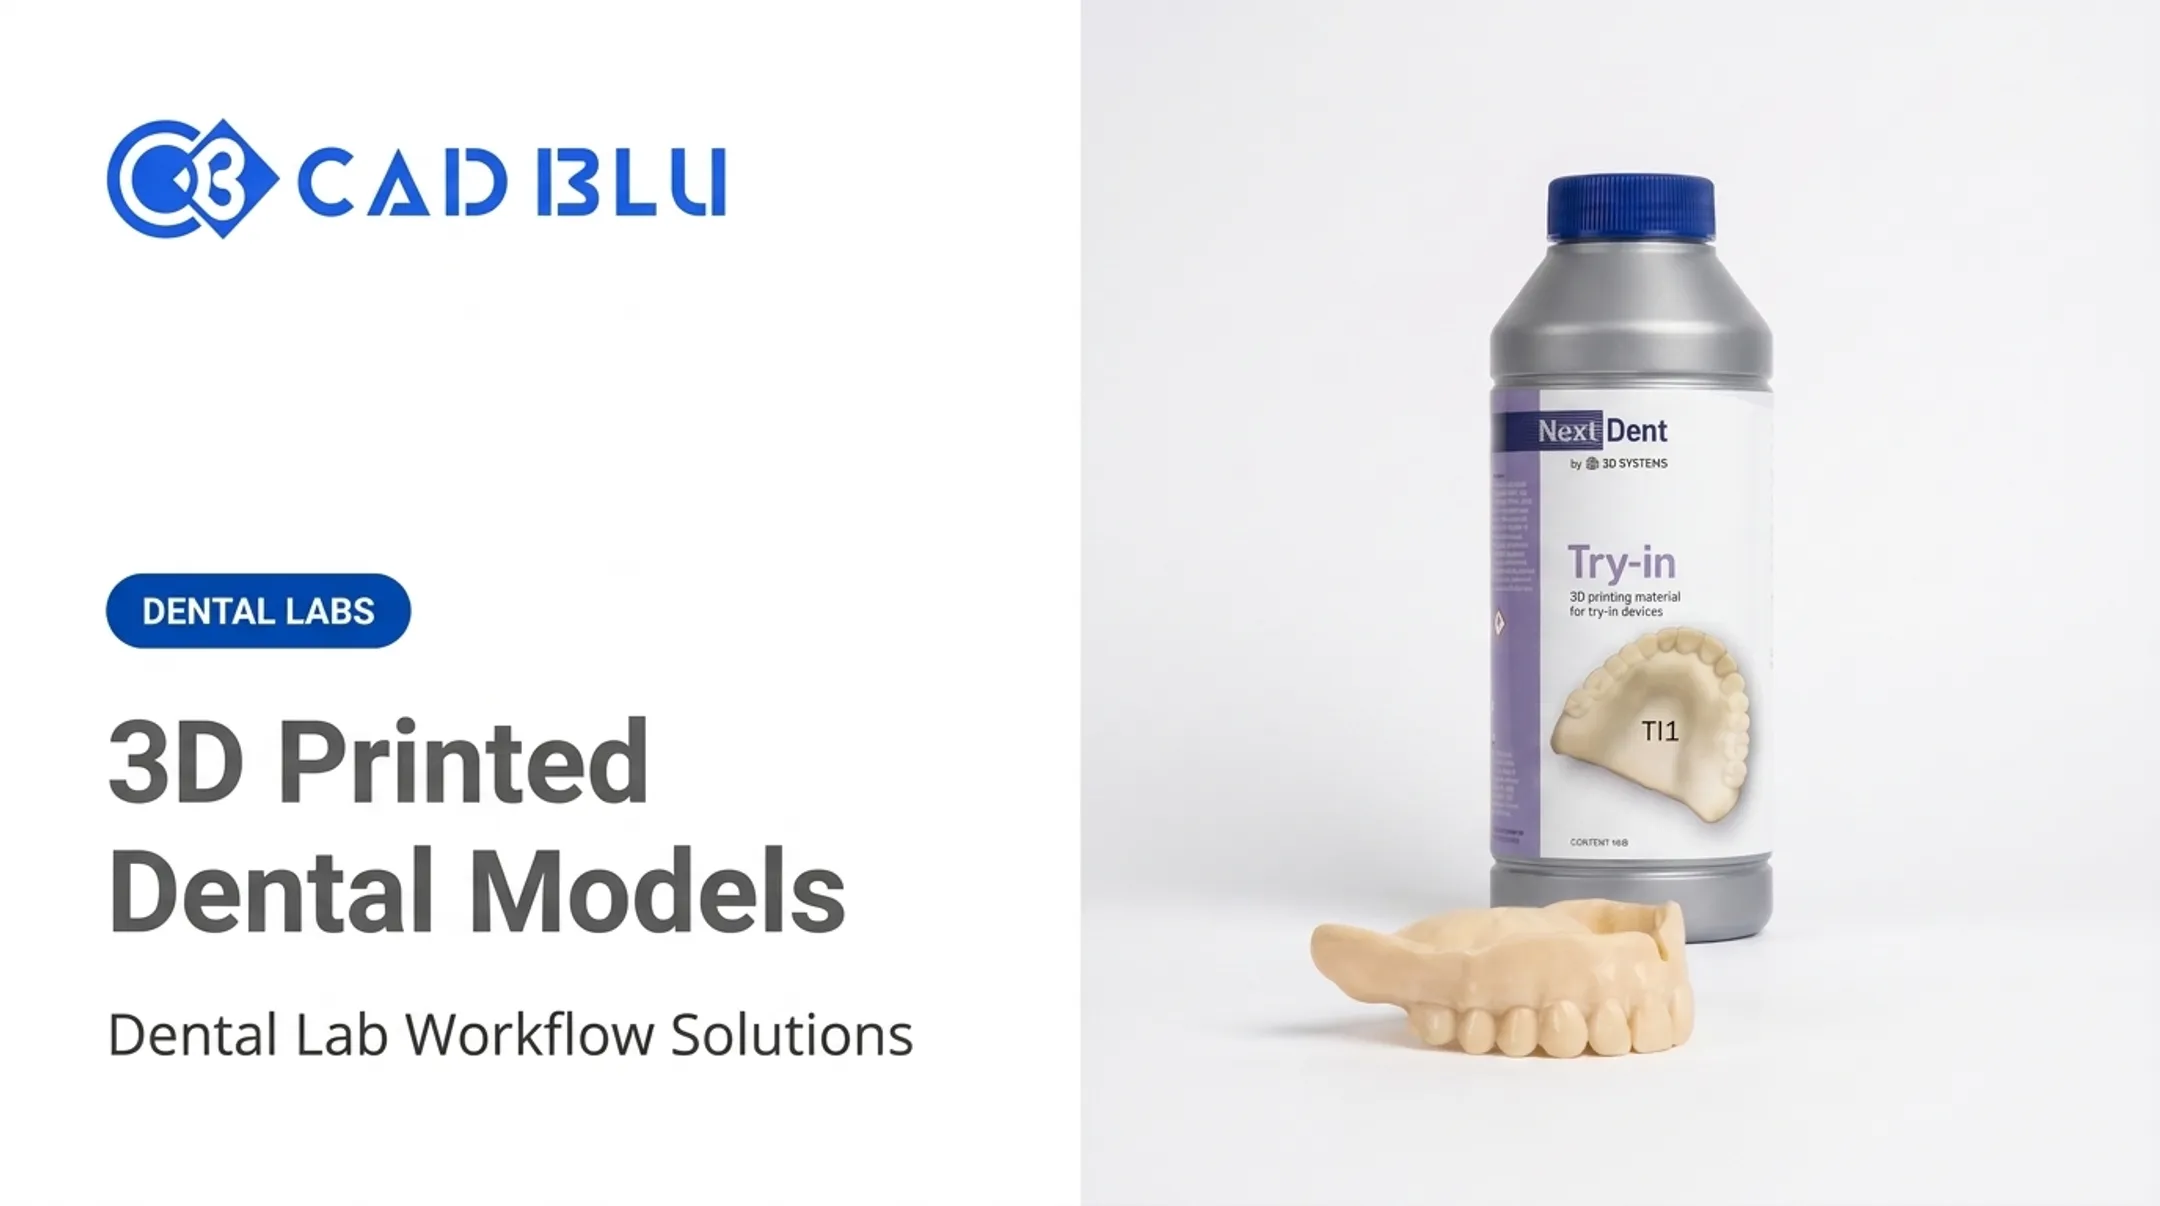
Castable resins are formulated for vat-photopolymerization printers (SLA, DLP, and similar systems) and are designed to burn out cleanly during investment casting.
CAD BLU TDS Daylight Castable, for example, is a UV-curable SLA resin supplied in 1 kg bottles with ash content below 0.18% and specified trace metals under 10 ppm, per its technical data sheet. NextDent CAST Purple targets DLP printers like the NextDent 5100 and is built for residue-free burnout at $217.20 per 1 kg unit.

A few things matter more than marketing claims here:
- Confirm ash and residue behavior against the manufacturer's technical data sheet, not general product copy
- Check burnout compatibility and recommended investment before committing to a resin
- Follow specified layer settings, curing, and storage instructions exactly
- Printed patterns should show no surface tack before investing
Investment Materials and Casting Alloys
Investment captures the pattern's geometry and has to survive the thermal cycle intact. The two main families behave differently:
| Investment type | Best for | Burnout style |
|---|---|---|
| Gypsum-bonded | Low-fusing crown-and-bridge alloys (below 650°C) | Hygroscopic or standard/long burnout |
| Phosphate-bonded | High-temperature alloys and castable resin patterns | Standard or rapid burnout |
According to Whip Mix's investment guide, phosphate investments require special mixing liquids and tolerate the higher-temperature burnout that castable resins typically need. Whip Mix's Formula 1 product lists a 6-8 minute working time, a 15-minute bench set, and a 650-925°C burnout range as one specific example.
Alloy choice then sets melting temperature, shrinkage compensation, strength, and finishing load. There's no universal shrinkage number. Solidus/liquidus range, casting temperature, and sprue design are alloy-specific, so follow the alloy manufacturer's casting instructions rather than a rule of thumb.
Materials for Printed Final Parts
Not every printed dental object is a sacrificial pattern. Some resins are meant to stay in the final device:
- Models and dies — working models used for design, fit checks, and fabrication
- Surgical guides — biocompatible resins for implant placement
- Trays — custom impression trays rated for mucosal contact
- Dentures and bite guards — patient-facing appliances requiring specific regulatory clearance
These need different validation than a burnout pattern. A resin cleared for a surgical guide is not automatically appropriate for a denture base, and vice versa.
Check the manufacturer's documentation and applicable standards for the specific intraoral or regulated use before substituting materials.
Traditional vs. Digital Dental Casting Processes
Conventional Wax-to-Cast Workflow
The lost-wax sequence hasn't changed much in decades:
- Form or receive the model and build the wax pattern on the die
- Attach sprues to create a channel for molten metal and escaping gas
- Invest the pattern, filling the ring around it without trapping air
- Burn out the wax, leaving a clean mold cavity
- Heat and fill the mold with molten alloy
- Divest, remove sprues, then finish and inspect
Each step has failure points. Bubbles during investing leave surface voids. Incomplete burnout leaves residue that shows up as porosity. Distortion can creep in from pattern handling through mold filling.
Burnout timing matters more than many technicians assume. A 2013 casting-accuracy study found a one-hour burnout produced the best results, while 20-minute, 24-hour, and 3-day delays all produced undersized castings.
Digital CAD-to-Castable-Pattern Workflow
The digital route follows a parallel sequence, just with the pattern originating on screen instead of a workbench:
- Scan the model or impression
- Design the component in dental CAD software, checking thicknesses and contacts
- Orient the file and place supports
- Print the pattern
- Wash and post-cure per the resin manufacturer's instructions
- Invest and cast following validated schedules

Speed is only part of the gain. Printed patterns start at CAD dimensions, so you avoid shrinkage stages from rubber molds and injection wax. Remakes and nesting stay simple too—a design change is an edit, not a new mold.
Digital Printing Without Metal Casting
Some workflows skip casting entirely. Models, guides, trays, dentures, and temporary components can be printed directly in a final-use resin with no metal step at all. Direct printing tends to make more sense when:
- Strength and accuracy needs are met by the polymer itself
- Production volume favors printing over investing and casting
- The part has a clear material approval for its intended use
Quality Control and Troubleshooting
Treat the printer, resin, investment, curing profile, burnout schedule, and finishing procedure as one connected system—not separate variables tuned in isolation. Run this checklist on every case:
- Confirm scan quality and CAD design accuracy before print
- Verify printer calibration and support placement
- Complete wash and cure until the pattern has no tack
- Follow validated investment mixing and burnout schedules
- Inspect final fit and surface quality against case criteria
Common defects and causes, per BEGO's troubleshooting documentation, include:
- Rough surfaces from overheated metal or trapped air
- Porosity from contamination or overheated alloy
- Short casts from too little alloy or a mold that is too cold
How Digital 3D Printing Supports Dental Casting
Digital adoption in dental labs is now mainstream. The 2025 NADL/JDT Dental Technology Survey found 72% of surveyed labs now use 3D printers, the highest figure since tracking began in 2014. Among labs not yet printing, 30% planned to buy or lease a printer within three years.

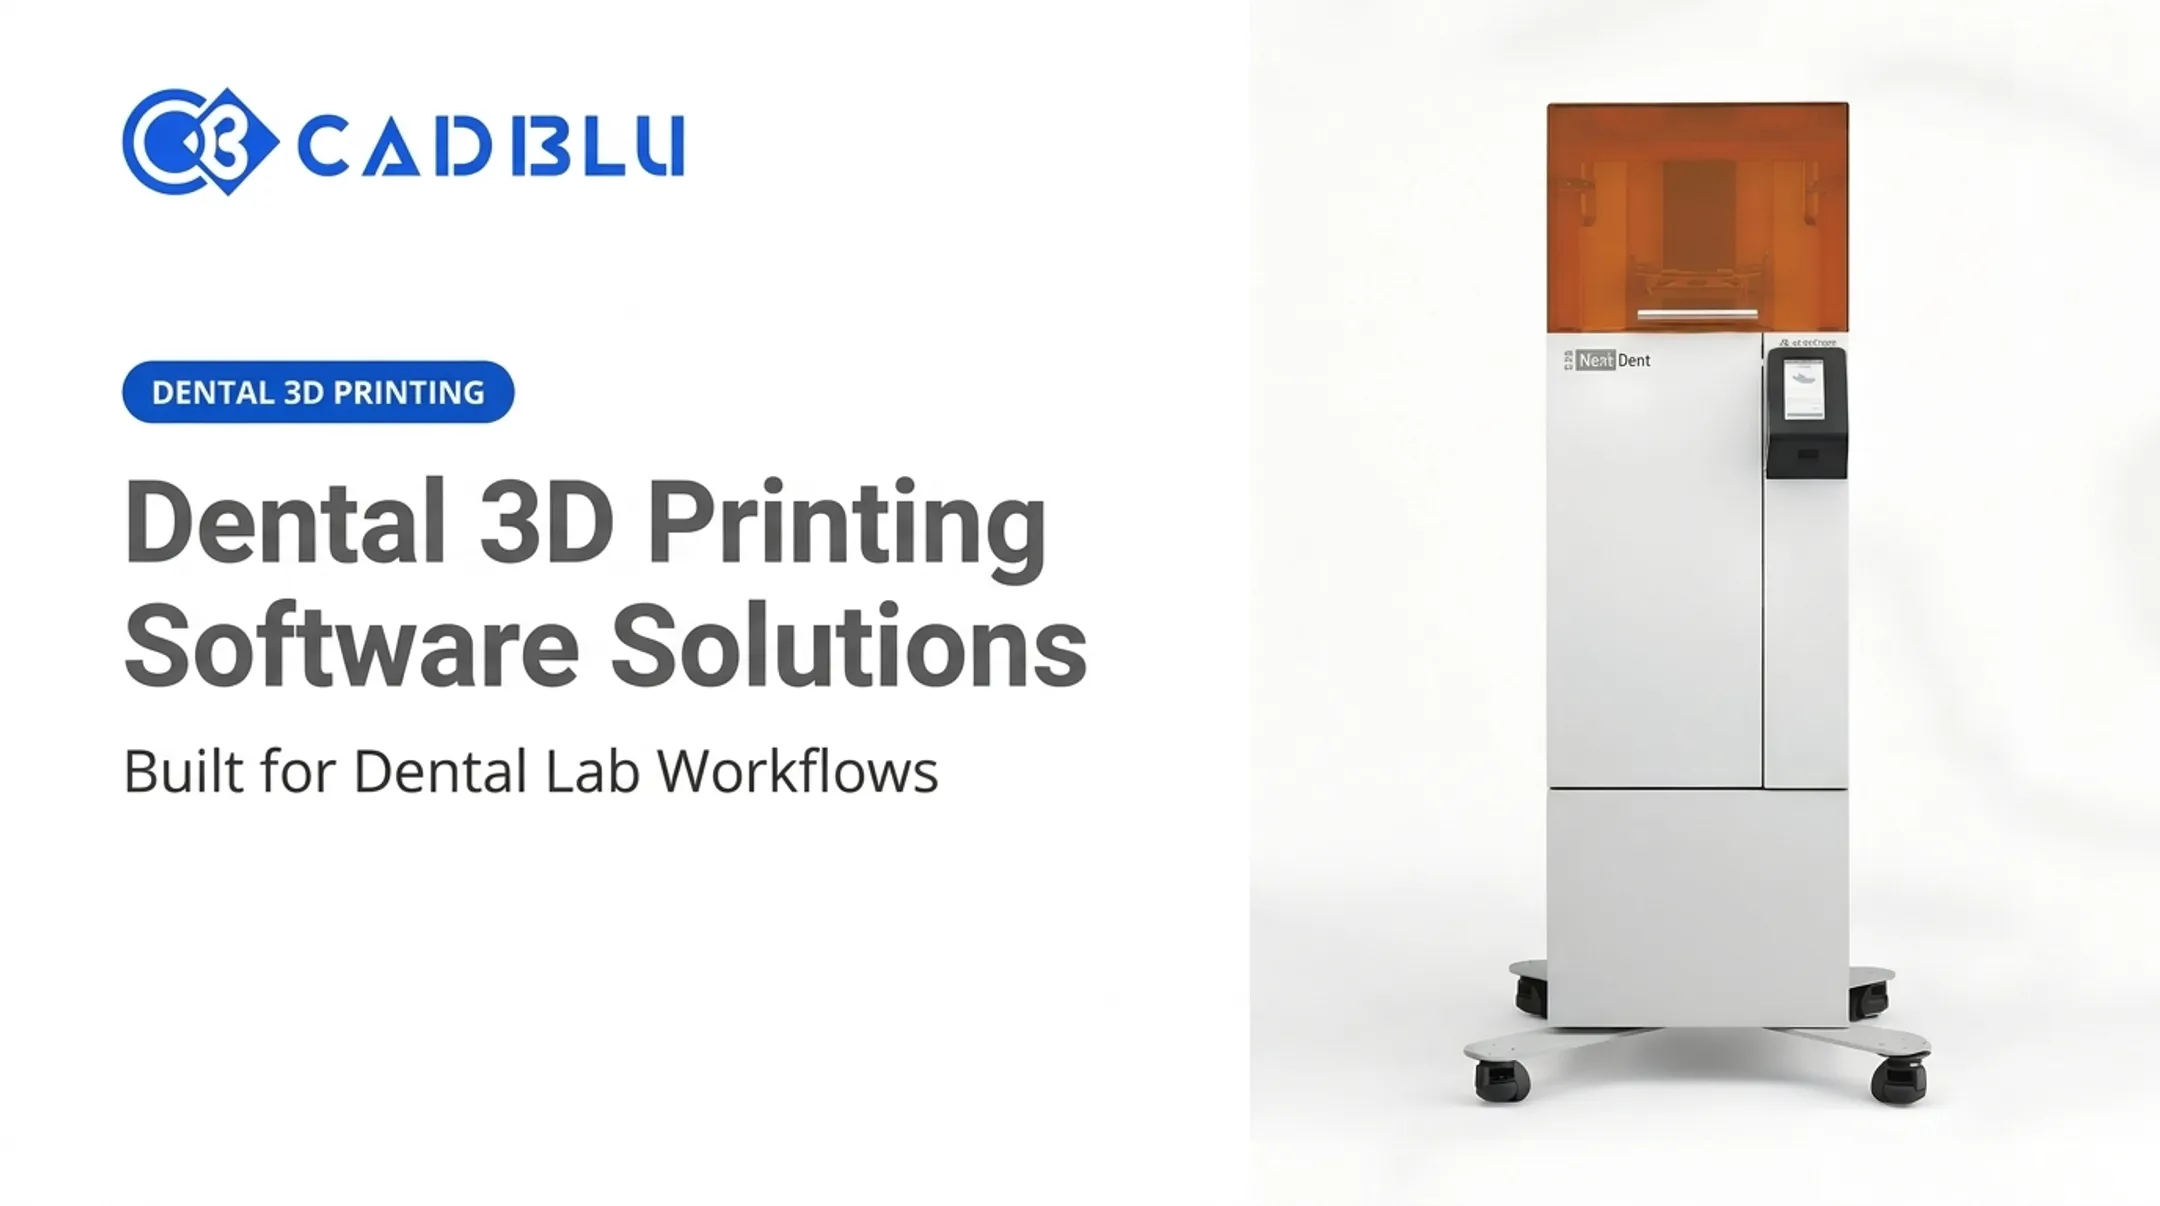
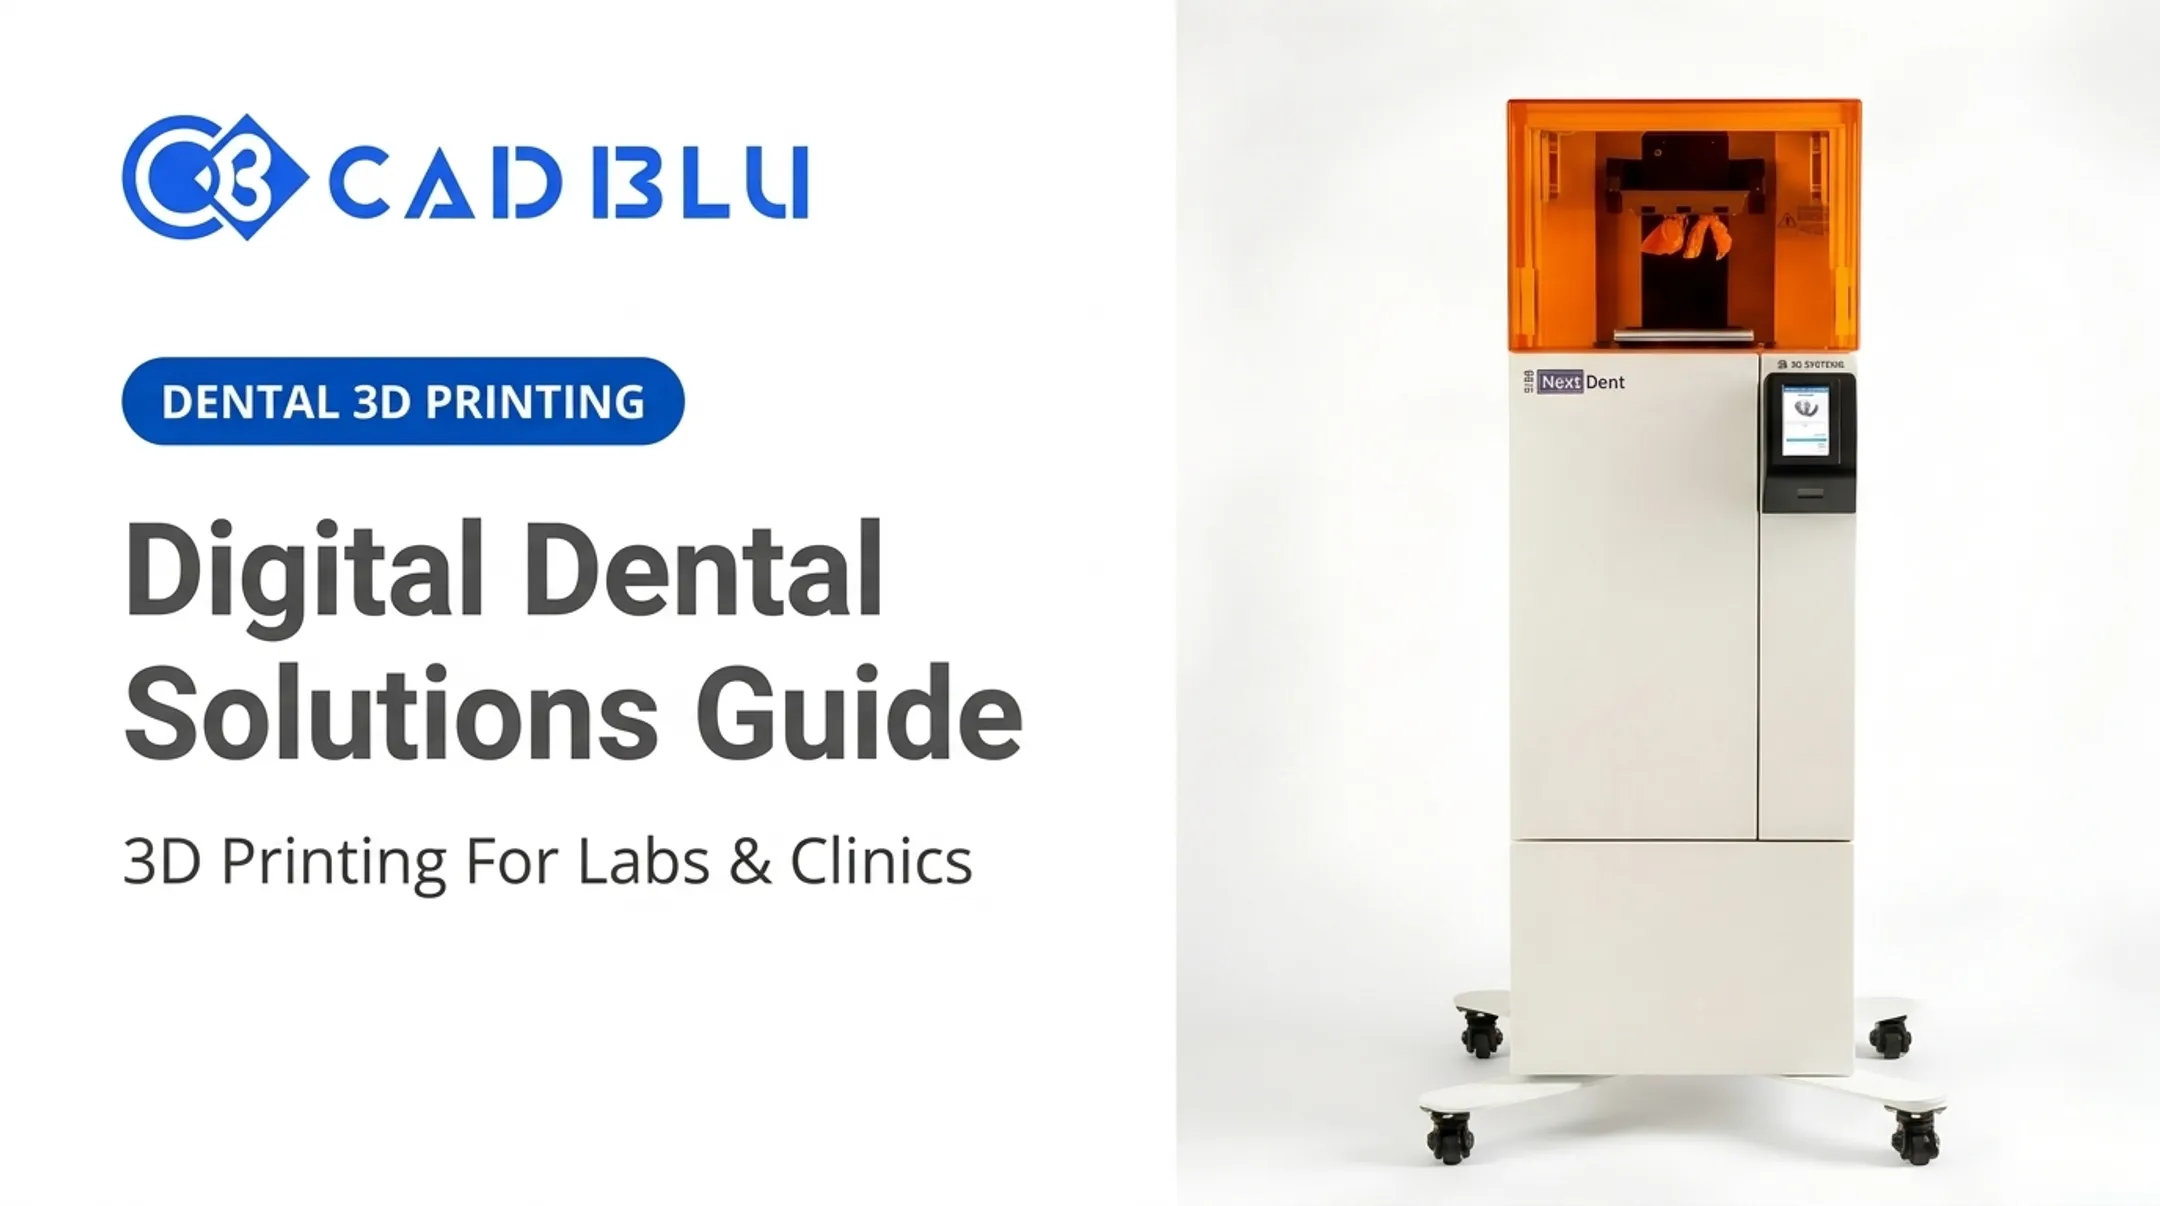
Desktop and production printers now support casting workflows directly—accurate models, castable patterns, and related surgical components. For labs tying print output to metal casting, system choice usually comes down to:
- Printer technology (SLA, DLP, MJP) and achievable resolution
- Build volume and throughput for your case load
- Software compatibility and automated support placement
- Resin availability and validated post-processing equipment
- Operator training requirements
Casting-focused configurations vary by pattern type and throughput. Examples include:
- Liquid Crystal Dental (via CAD BLU): 12.2 × 6.9 × 7.9 in build volume at 80-micron pixel pitch for dental models and patterns
- ProJet MJP 300W Plus: wax metal-casting patterns in a 294 × 211 × 144 mm (about 11.6 × 8.3 × 5.7 in) envelope
- NextDent 5100: castable resins such as NextDent CAST Purple at 13.3 mm/hour in a 124.8 × 70.2 × 196 mm build volume
Those specs only matter when the printed pattern survives investment, burnout, and casting without dimensional drift.
Print orientation, layer settings, wash and cure cycles, investment choice, and burnout schedules must follow the printer and material manufacturers—not ad-hoc settings. Guesswork here shows up later as incomplete burnout, surface defects, or poor fit.
A lab moving into digital casting usually needs a matched set: printer, castable materials, software, installation, calibration, and ongoing technical support. CAD BLU works through that evaluation with dental labs and practices based on case mix, rather than assuming one printer or resin fits every workflow.
How to Choose a Dental Casting Workflow
Matching the workflow to the part matters more than picking a "better" technology outright.
- Manual wax often suits low-volume, highly customized work where a technician's touch adds value.
- CAD and 3D printing tend to fit repeatable designs, digital record-keeping, complex geometry, or higher production demands.
Before committing, weigh total ownership costs:
- Printer and casting equipment
- Materials and consumables
- Software licenses
- Ventilation and post-processing equipment
- Maintenance, training, and labor
- Quality control and waste handling
In-house vs. outsourcing usually hinges on:
- Turnaround expectations
- Case volume
- In-house design expertise
- How consistently you can keep equipment utilized
Sending scan data to an outside partner avoids capital investment, but it adds shipping time and gives you less direct control over the process.
Whatever direction you choose, document a pilot run first. Set acceptance criteria for fit, surface finish, dimensional accuracy, and repeatability before you scale production.
If you need help selecting equipment, materials, or software, CAD BLU offers turnkey and partial-solution support matched to your lab's volume and case mix.
Frequently Asked Questions
How much does a dental cast cost?
Cost varies by part type, material, design complexity, labor, equipment, finishing, and whether the work is done in-house or outsourced. Request a case-specific estimate rather than relying on a general figure.
What is dental casting?
Dental casting forms components such as frameworks, crowns, or bridges by investing a wax or digitally produced pattern, eliminating that pattern, filling the mold, and finishing the casting.
How long does dental plaster take to set?
Setting time depends on the product, water ratio, temperature, and mixing method. Initial set also differs from full working time, so always check the manufacturer's instructions for the product you use.
What are the main types of dental casting?
Three main approaches are used in dental labs today:
- Conventional wax-pattern casting
- Digitally designed, 3D-printed castable-pattern workflows
- Direct printing of a final polymer part with no metal-casting step